Okay…before I start…my husband wants me to put a disclaimer on this post. Here it is:
MAKE AND USE AT YOUR OWN RISK. This homemade bow and arrow set works surprisingly, crazy well. You’re not going to break any windows or bones, but stuff could definitely get broken and someone could potentially get hurt at close range, so please be careful!
Now, I HAVE to tell you how to make this, because honestly, I STILL can’t believe how well it works, especially given how cheap and quick the set is to make. I got the idea from Dad’s Book of Awesome Projects. However, while the author wanted me to go outside and whittle a stick (who has time for that?), I decided to see what I could find at our local hardware store.
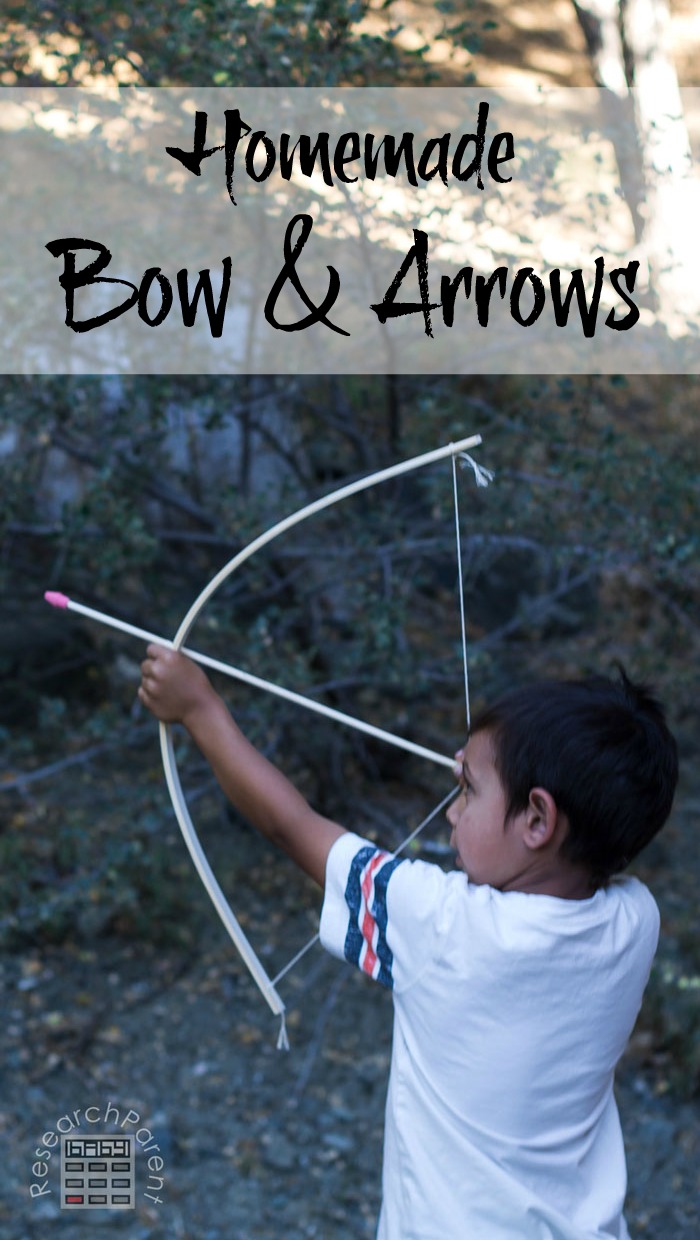
On my first try, I used a piece of wood moulding. It seemed pretty sturdy and I really thought it was going to work, but it was so stiff that it broke when I was trying to flex it to tie on the string. Next, I happened to try PVC composite screen moulding and it worked like magic. I thought it was going to be too flexible to provide enough tension to shoot the arrows, but after a few minutes of practice, my 6 year old was shooting arrows at least 20 feet. (I made one for my 4 year old as well, and while she likes to “play” with it, she doesn’t yet have the coordination to shoot them.)

Recommended Age Range: Elementary
Time Required: ~15 minutes
Difficulty: Easy to make, takes some practice to learn how to use
Cost: I made 2 bows and 6 arrows for under $10.
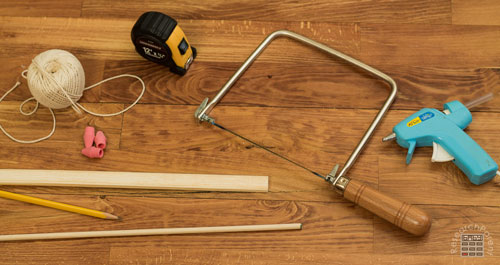
Materials:
- PVC composite screen moulding (You need 30″ per bow, so you could make 3 bows from this 8 foot piece.)
- 1/4″ dowel (You need 18″ per arrow. I bought 36″ length and cut them in half.)
- Cotton twine
- Cap erasers
Supplies and Tools:
- Saw (I used a coping saw, but it doesn’t really matter what kind you use.)
- Tape measure
- Pencil
- Hot glue gun
- Scissors
Instructions:
-
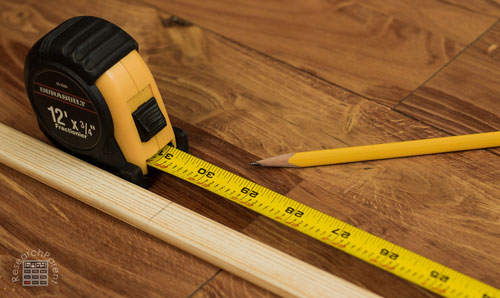
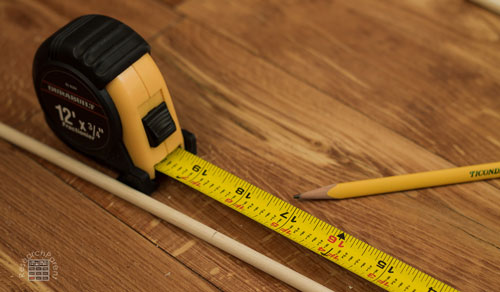
- First, measure 30″ of screen moulding and mark with a pencil.
-
- Cut the screen moulding with a saw to a 30″ length.
-
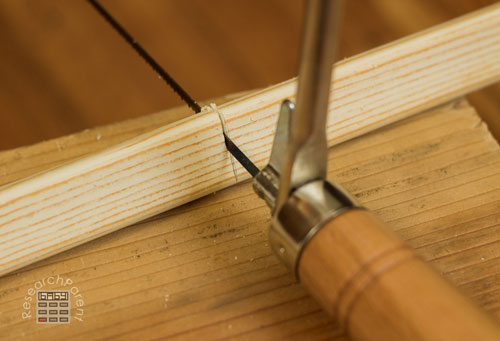
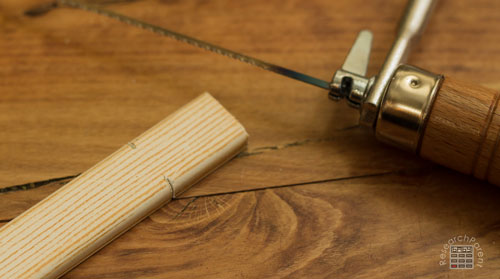
- Cut grooves on either side of screen moulding near the ends.
-
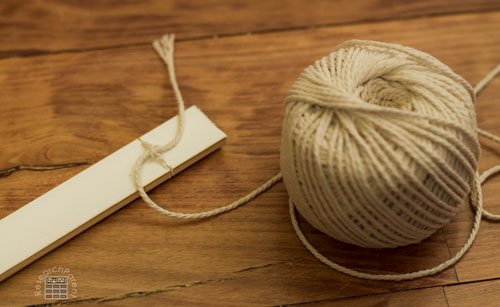
- Tie string to one of the ends, making sure to push the string into the grooves you cut.
-
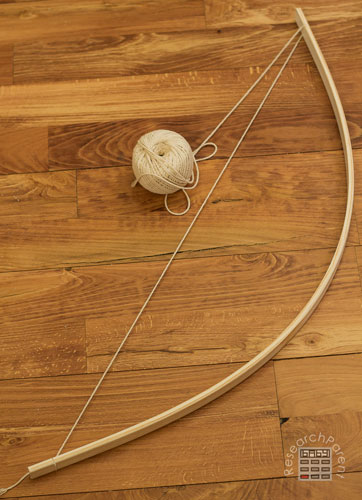
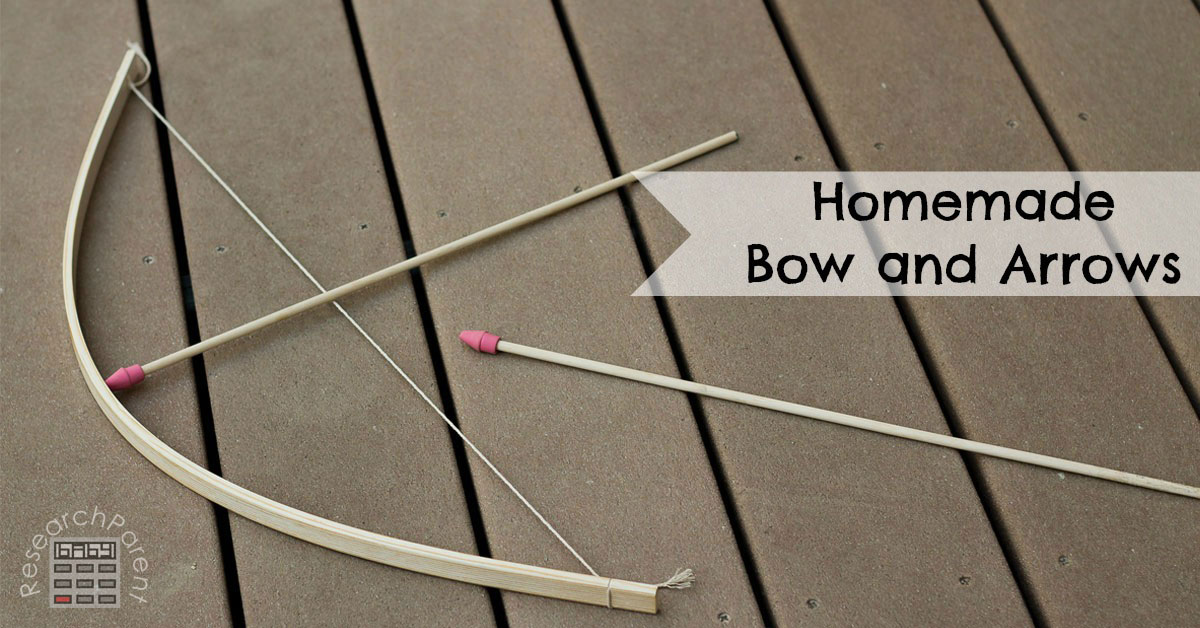
- Tie string to the other end, flexing the screen moulding to make a bow shape. You can experiment with how much you flex your bow, but this is what ours looked like. Our string length was about 24″ tied 1″ from either end of the 30″ piece of moulding.
-
- To make the arrows, cut as many dowels as you want to an 18″ length.
-
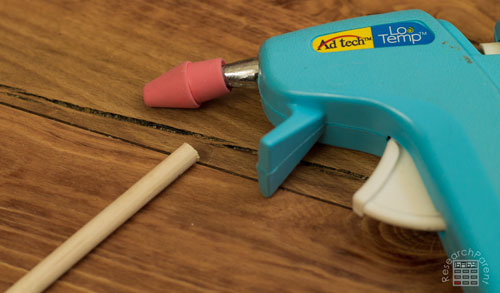
- Hot glue erasers onto one end of each of your arrows.
-
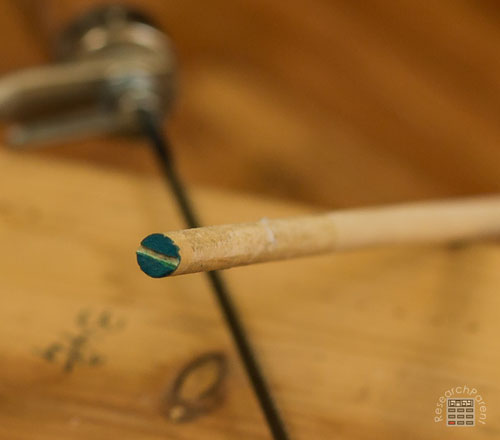
- Cut a groove onto other end. I would have needed to cut them a little deeper and wider to actually have the string fit well inside of them. However, they still helped my son get the string centered on his arrow while he was learning to shoot it. Once he figured it out, he didn’t really pay much attention to where the grooves were anyway.
Learning to shoot the bow and arrow seems to be really natural for some people and really challenging for others. Not to brag, but I couldn’t believe how far it went the first time I shot it. However, it took me a good 5 minutes to teach my son. Our friends have tried with varying success.
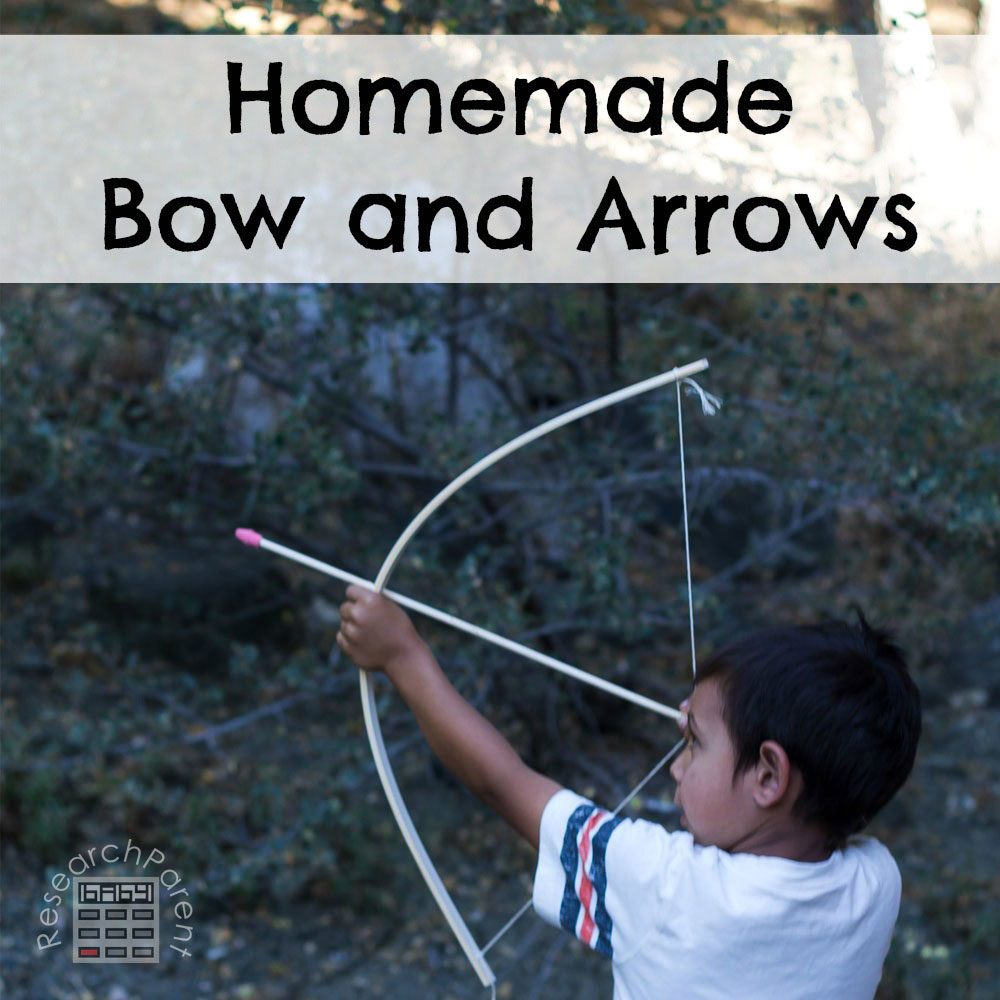
To teach my (right-handed) son I had him 1) Grab onto the bow about in the middle with his left hand. 2) Place the end of the arrow into the groove on the string using his right hand. 3) Pull back on the arrow by placing his thumb and index finger around the string. 4) Rest the front end of the arrow against the string above his hand. 5) Let go of the arrow. I think a lot of his difficultly initially came from trying to pull back on the string instead of the arrow. Now he’s a pro. With some practice, I think any kid in 1st grade or older should be able to get the hang of it.
Click here for more Homemade Fun activities for kids.
Related Links
Best Gifts for Kids
Learning Ideas for Kids
Robotics Activities for Kids


Great tutorial! I’m in charge of making bow and arrows and tomahawks for my kids school play of Peter Pan. This will be a lot quicker than my original idea of scavenging for sticks that would work. Ha! Thanks for sharing this!
That sounds like so much fun! I love children’s theater. Just make sure they don’t ACTUALLY shoot each other, haha! Good luck!
I’m confused on the composite screen molding because if you look that up or click on it doesn’t give you anything remotely close as to what you used for the bow :(
The picture is TERRIBLE, but that link actually still works for me. It is showing the cross section of the piece in black and a tiny little white slice of what it would look like head on. Even though there is no good picture, the dimensions are right. It is basically a long flexible piece of moulding, 8 feet long, 3/4 inches wide, and 1/4″ thick. I found some at our local hardware store. Hopefully you can find some too!