Ever since I was in college, I have always wanted to make my own hula hoop. I was at a graduation celebration once and saw this girl doing the most amazing tricks with her hula hoop. Her impressive feats have stayed in the back of my mind this past decade. During this pandemic time when I’m trying to keep my kids off screens as much as possible, I thought it was the perfect time to finally cross hooping off my bucket list. I knew my kids would enjoy making their own homemade hula hoops.
Although making hula hoops is extremely simple, getting all the right supplies was more of a challenge than I expected. After doing some research online, I placed my order and was surprised when the connectors I ordered didn’t match the tubing. I ended up having to re-order different connectors after figuring out my mistake.
Also, sizing the hula hoops was a little less straightforward then I hoped. Looking online there are so many different suggestions for adults and not a lot of guidance for kids. It took some trial and error, but I am ultimately happy with the sizes we ended up with.
So what did I learn? The type of connector you need is called a “barb” connector. It may also be called a barbed coupling or a barbed tube fitting. Sometimes it is just called a coupling for polyethylene tubing, but if so, be sure to look for the barbs on the picture. It is important that you buy the right type of connector for not only the size of your tubing, but also the material as well. I learned the hard way that a 3/4″ barb connector for polyethylene pipe is not the same as a 3/4″ barb connector for cross-linked polyethylene pipe. The inner diameters of the tubing are different despite both being 3/4″.
I decided to go with 3/4″ polyethylene (PE) pipe for my hoops as it was most readily available to me at the cheapest cost. I have also heard of people using high density polyethylene (HDPE) and polypropylene (polypro). For the cheapest price, I recommend going to a hardware store and talking a to representative to see if they have the right fittings. However, the supplies can also be ordered online.
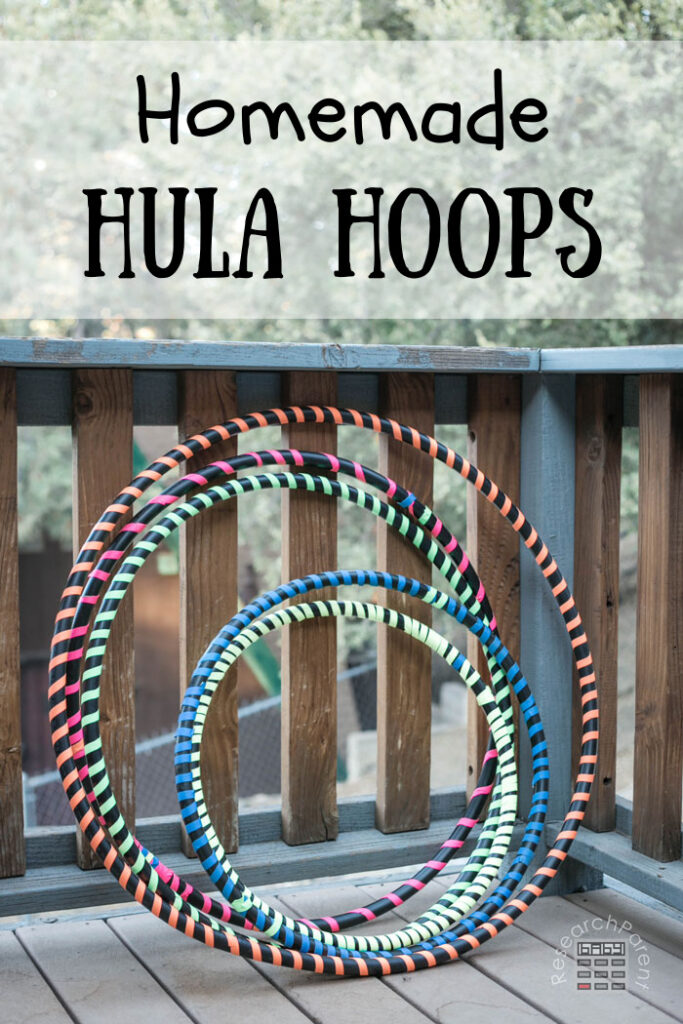
In terms of sizing, I ran into a lot of confusion. Many websites say that a standard adult size hula hoop is 38″ in diameter. However, I am a small person and I wanted to be able to make hoops for my kids as well. After much deliberation, I decided to make myself a 34″ diameter hoop, my 10 year old son a 29″ diameter hoop, my 8 year old daughter a 26″ diameter hoop, my 6 year old son a 24″ diameter hoop, and my 4 year old a 21″ diameter hoop.
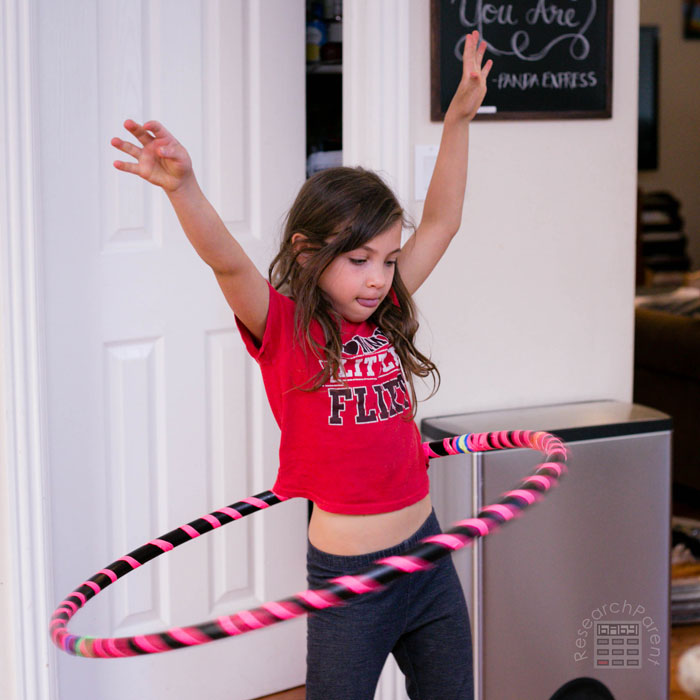
My 8 and 6 year olds were unable to hoop using the size I originally chose. However, they were able to hoop using their older siblings and my bigger hula hoops. (My 4 year old was also unable, but for him, I think motor skills are more of an issue than sizing.) My 6 year old had the easiest time with his 10 year old brother’s 29″ hoop. We remade my 8 year old a 29″ hoop as well, which she was able to use, but she had an even easier time with my 34″ hoop, as did her 10 year old brother.
So what’s the moral of the story? If I was going to make a hoop for a child 4 feet or under, I would probably not go smaller than a 29″ diameter. Making an even bigger hoop, up to 34″ in diameter will make hooping even easier. For kids on the taller end of the spectrum or with a larger waist, I would just opt for at least 34.”
For children taller than 4 feet, I think this article by Ruby Hooping basing hoop diameter on waist size is appropriate. You can check the article for specific recommendations, but basically it recommends for the smallest adults with a waist under 30″, a hoop diameter of 36.” For larger adults with a waist size of 55″, a hoop diameter of 55″ is recommended. Larger hula hoops are easier to hoop with, but smaller hoops are better for more advanced tricks.
Homemade Hula Hoop Details
Recommended Age Range: Kindergarten, Elementary
Time Required: about 20 minutes
Difficulty: Very simple, but requires some strength to attach connector
Cost: Around $3 to $5 per hoop in used supplies, but you might need to buy in bulk if you have to order online. Check your local hardware store.
Materials
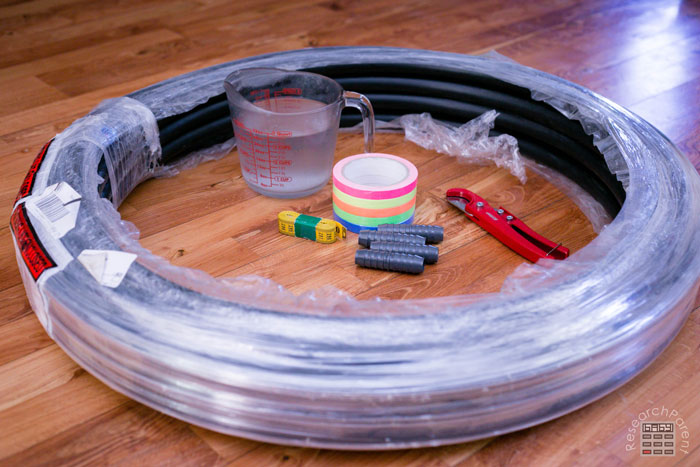
- 3/4″ polyethylene pipe (I purchased 100 feet, but that can be used to make around 10 to 12 child or small adult sized hula hoops)
- 3/4″ barb connector for polyethylene tubing (Here is a 10 pack for under $3)
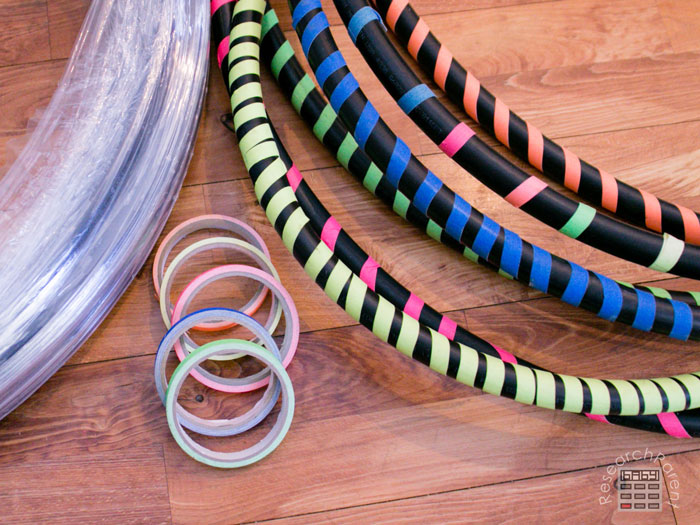
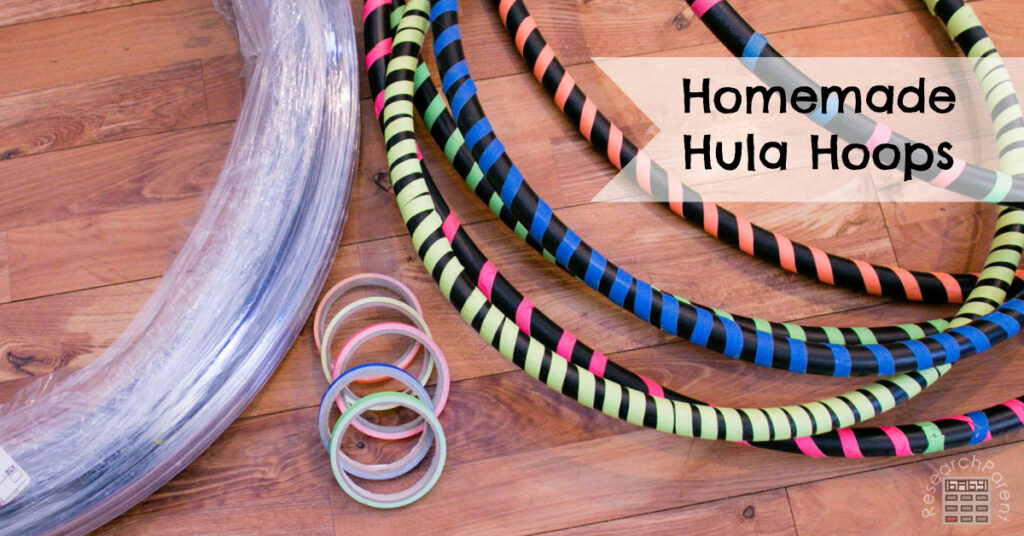
- fun gaffer tape (This is mostly for decoration, but also makes the hoop a little easier to grip. I chose this multicolor 1/2″ pack from Amazon. We did not cover our hoops completely, but we have plenty of tape left over if we had wanted to.)
Supplies
- pipe cutters
- scissors
- measuring tape
- hot water (or a blow dryer)
Instructions
- First you will need to decide how big you want to make your hoop. See the discussion above, but to summarize, I would recommend a diameter (distance across) of 29″ to 34″ depending on the size of the child. For adults, refer to this Ruby Hooping guide.
- Next, convert your diameter into a circumference by multiplying the diameter by 3.14. Who knew this was going to turn into a math lesson?
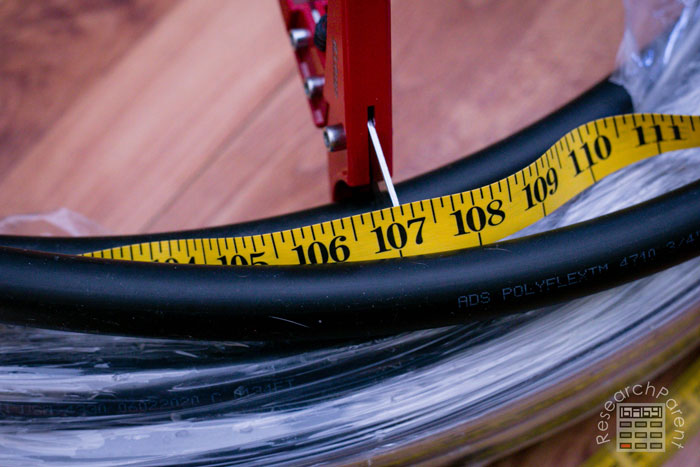
- Use your measuring tape to measure out the desired circumference and cut with your pipe cutters.
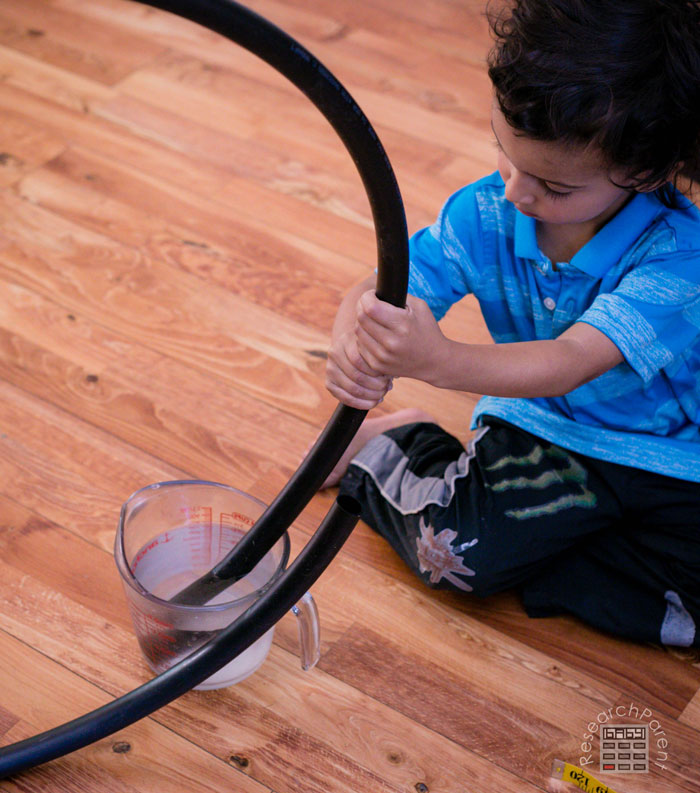
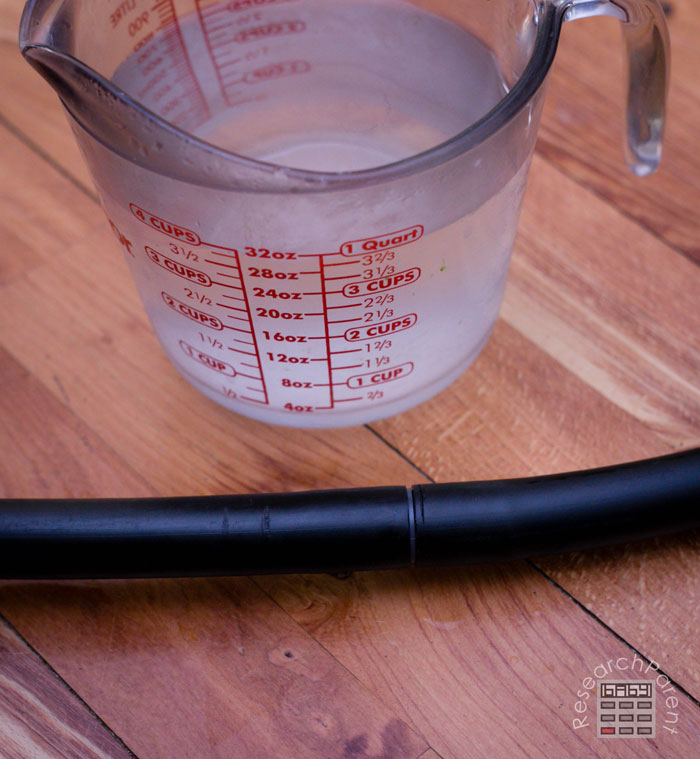
- Next you will want to heat up the end of the tube in very hot water for about 30 seconds. I have heard you could also use a blow dryer, but we found hot water from my electric tea pot worked well.
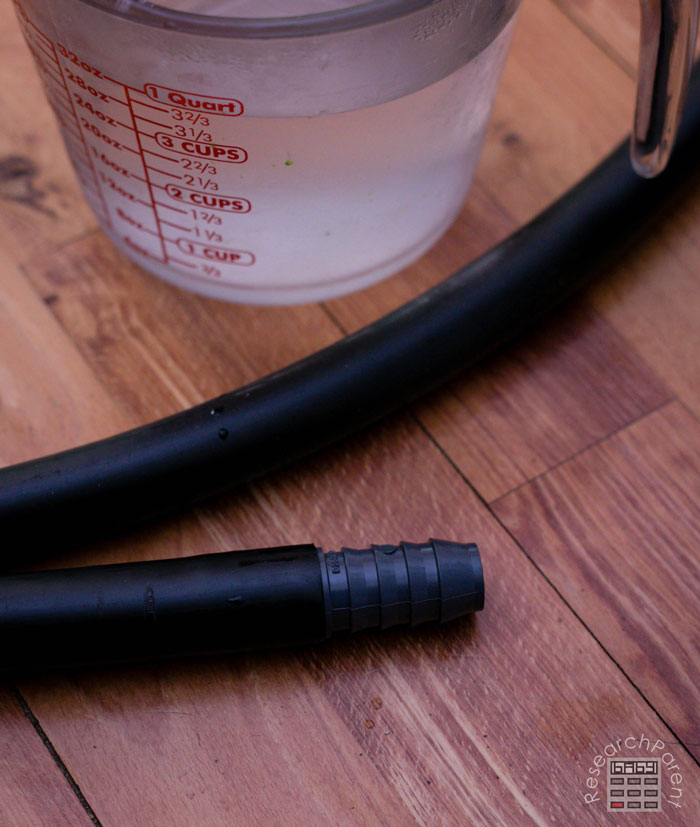
- Next, quickly push the connector into the heated end of the tube. You will need to push pretty forcefully. However, I am not particularly strong and I was able to do it.
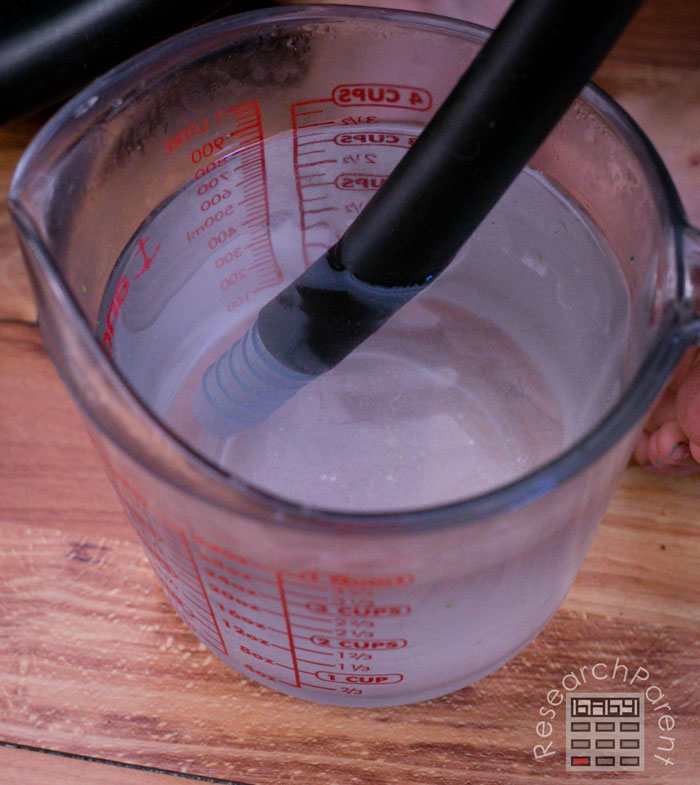
- If you fail to get the connector in before it cools off, you can always put the pipe and connector together back in hot water. This is a good step to let an older child try independently, because it is easy to fix if the connector doesn’t go in all the way. (I would not let younger children near the hot surfaces.)
- This next step is optional, but if you would like your hula hoop to make noise, feel free to use a funnel to add some rice or beans before you close it up.
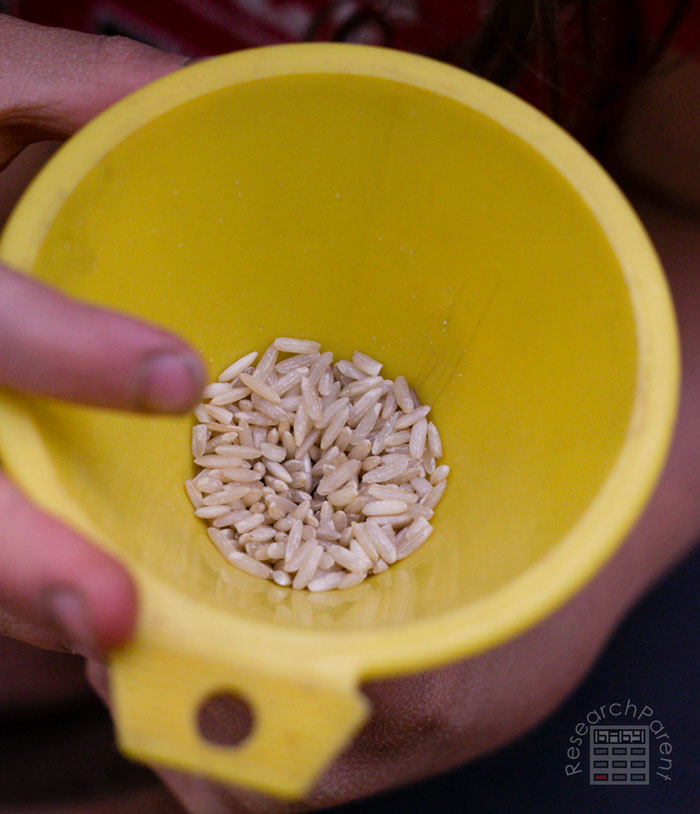
- The next step is a little nerve-wracking, because you really want to get the second end of the tubing attached to the connector as quickly as possible. It would be harder to put the entire hoop in hot water, so if it doesn’t go all the way in, you may want to try a blow dryer to reheat the surfaces. I was able to do all our hoops without asking for a stronger person’s help, but one of the hoops did give me a little trouble. I managed to get it in, but I was struggling for a minute.
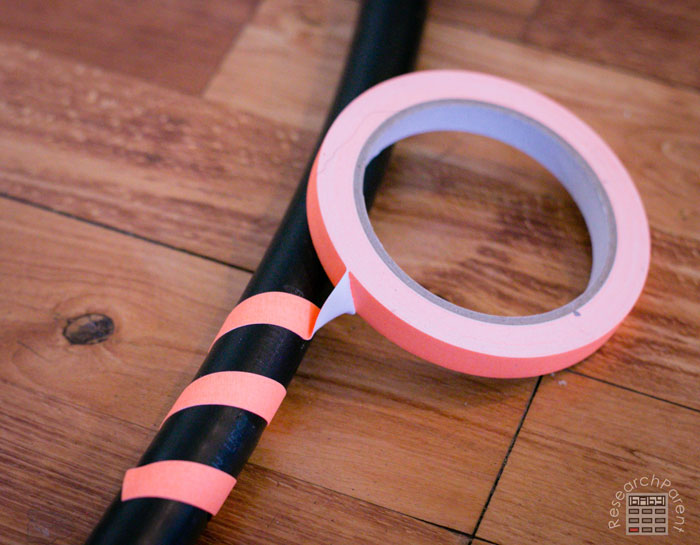
- Next comes the fun part. Decorating! Just wrap your tape around your hoop however you see fit. You can use one color or multiple colors. You can cover the hoop completely or leave some of the plastic showing.
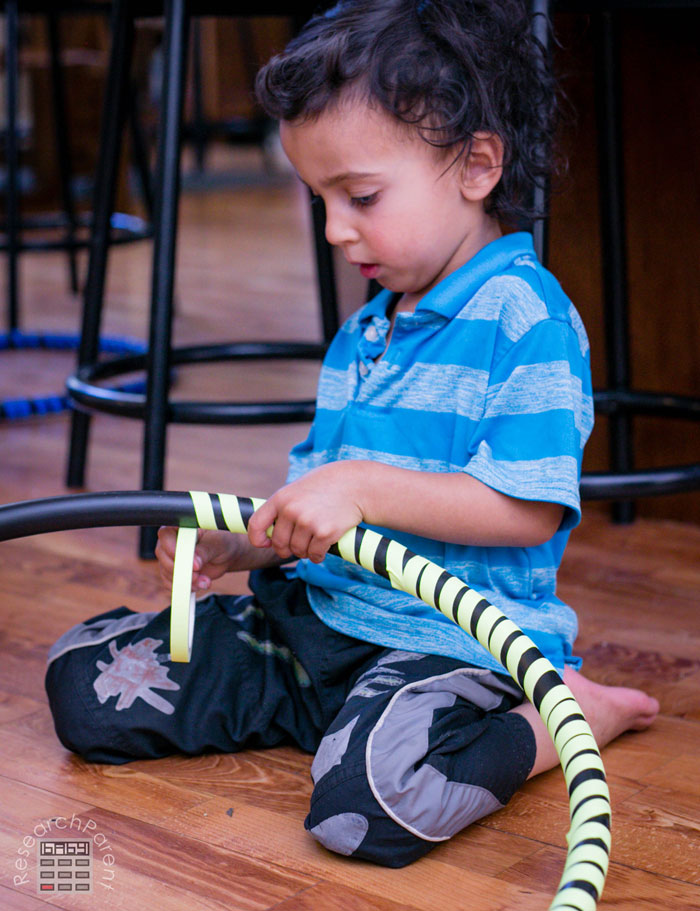
Enjoy your new homemade hula hoops! Hula hoops are such a great way to get kids (and adults) moving and exercising without even realizing it. There are several tutorials on YouTube that can get you started doing tricks. We enjoyed this one. I am also working on the hula hoop vortex. Enjoy!
Click here for more Homemade Fun activities for kids.
Related Links
Best Gifts for Kids
Learning Ideas for Kids
Robotics Activities for Kids


Leave a Reply