After the success of our cave painting activity, I wanted to continue the hands-on learning fun. We got the idea to make some Stone Age Bread, or more specifically, Neolithic bread, from this History Quest Study Guide (affiliate link). Overall, this exercise was a successful failure. It was a failure in the sense that we ended up needing to resort to modern technology. It was a success in that we learned a lot about how hard life must have been during the Stone Age. Also, we got to eat bread.
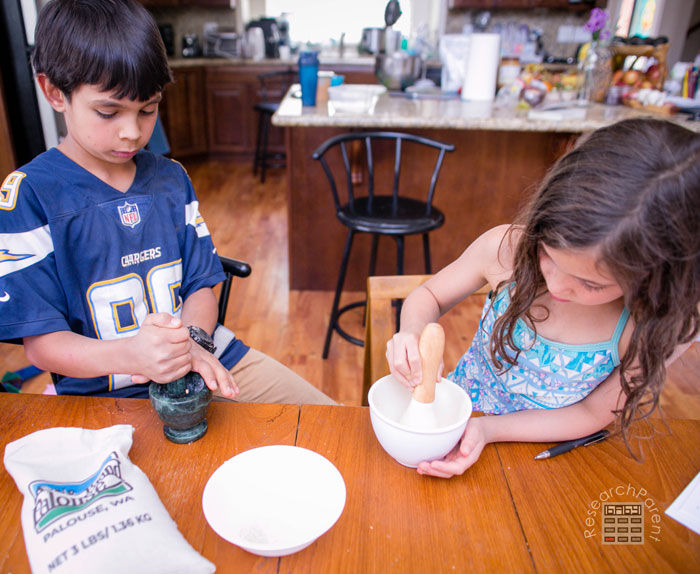
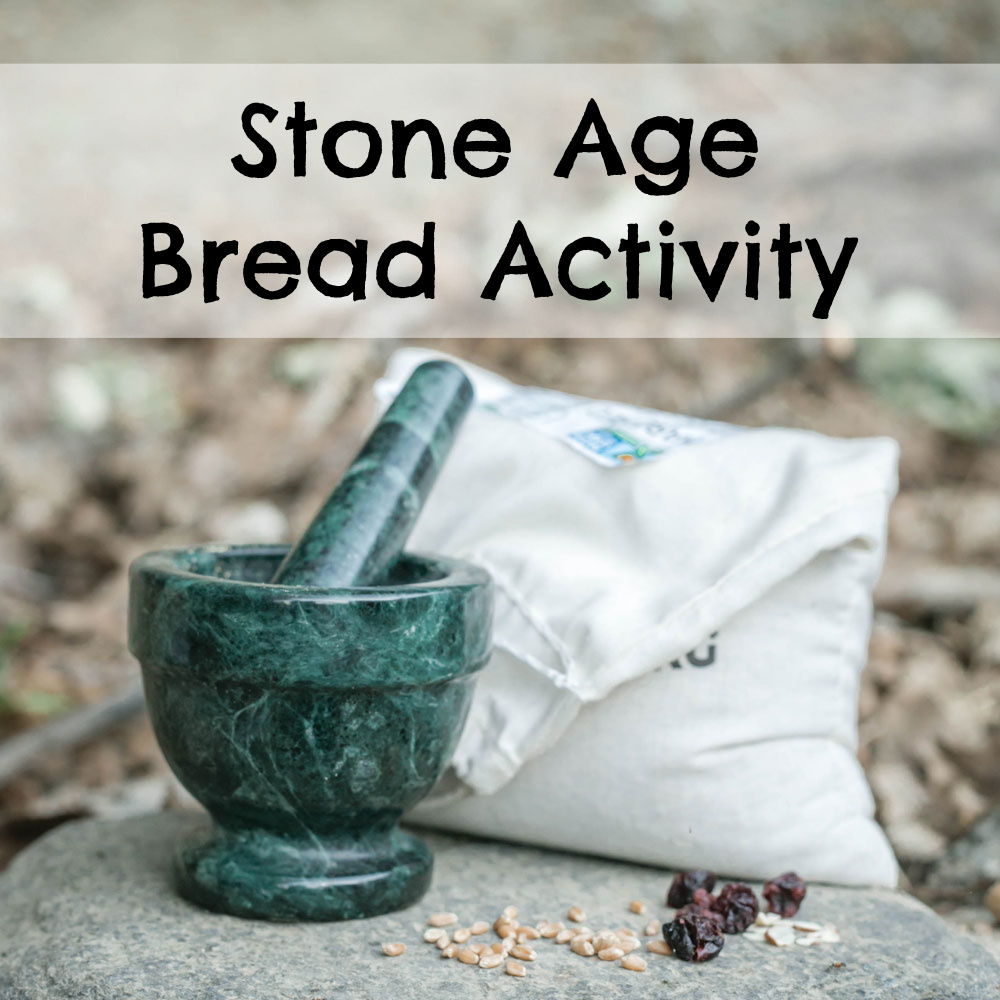
I was impressed by how seriously my kids took the grinding. They worked on it off and on for 3 days. Initially my plan was that we would grind enough flour by hand to make bread. However, after a few days, it became clear that we just weren’t cut out for the job. The kids would grind for about 5 minutes at a time until their hands got tired. Those wheat berries are hard to grind!
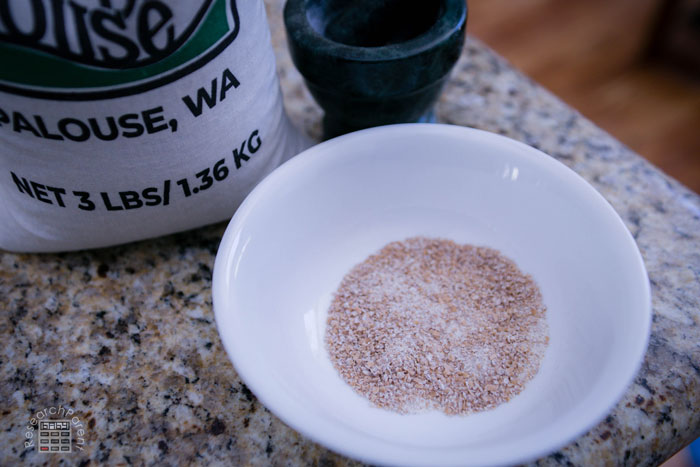
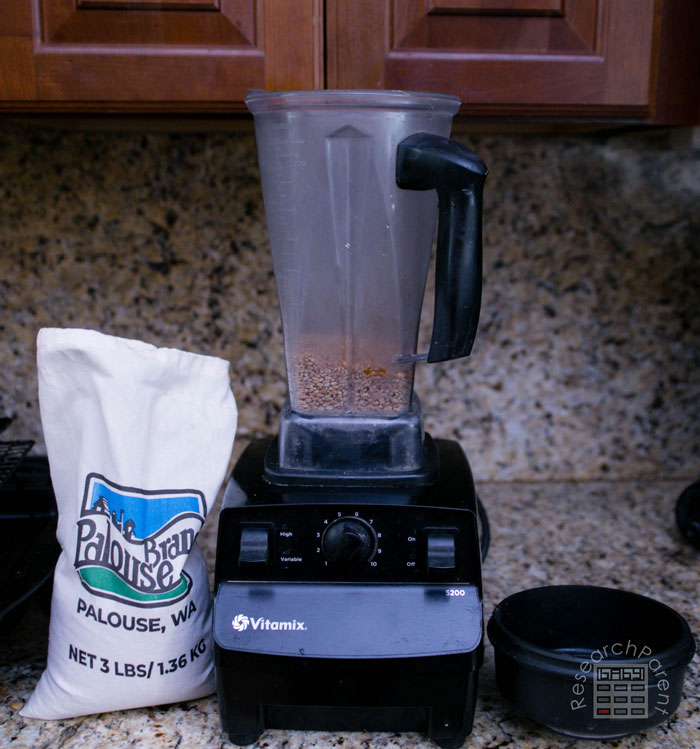
In the end, they only got a couple tablespoons of flour. This was after the kids worked at if for at least a half hour all together. I even tried for a few minutes. However, after seeing exactly how slow this process was going, I realized I would need to change my original plan. We decided to use a blender to process the rest of the wheat berries. The experience definitely gave us all a newfound appreciation for modern technology!
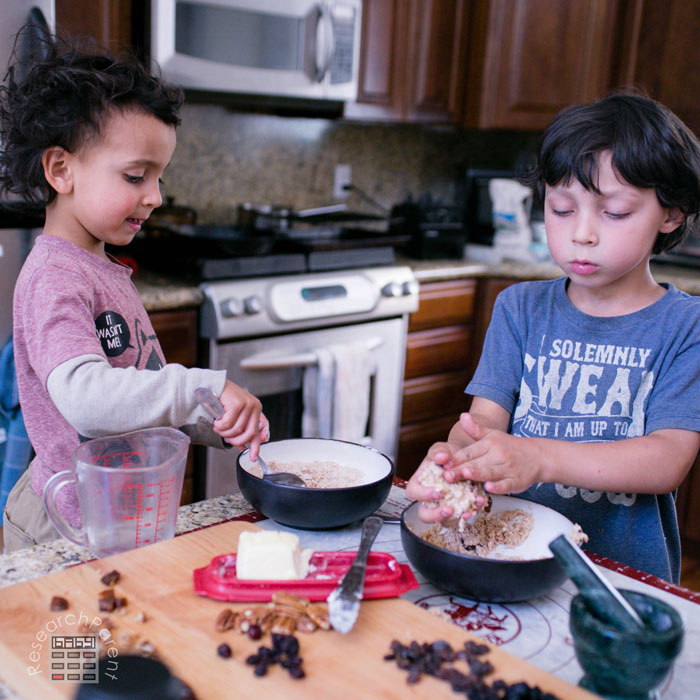
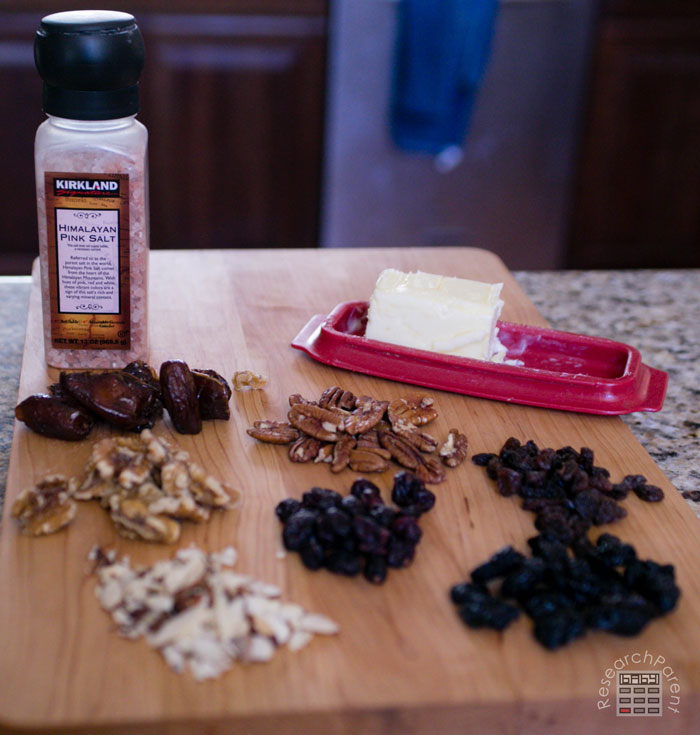
The real fun in this activity was making the bread. We “foraged” in our pantry for nuts and berries. We checked and found that both salt and butter were around back in Neolithic times. Then we added water to our flour and stirred in the desired mix-ins.
Since things like yeast and baking powder weren’t around during the Stone Age, we didn’t use those items. We talked about it in advance and knew that our bread was going to be pretty dense. In the end, the kids thought the results ranged from “not bad” to “literally the worst bread I’ve ever tasted.” Personally, I thought it tasted pretty good (though I did add A LOT of dried fruit to my serving).
The kids ended up adding some honey on top of their baked Stone Age bread. We looked it up and learned that honey was in fact around during the Neolithic Era. In the end, the kids had fun, all the bread got eaten, and we learned a lot. What more can a homeschool mom ask for?
Stone Age Bread Activity Details
Recommended Age Range: Preschool, Kindergarten, Elementary
Time Required: Depends on how long you want to attempt grinding. Once you have the flour, about 20 minutes to prepare bread and 20 minutes to bake.
Difficulty: Hard to grind, easy if you use a blender once you realize it’s hard
Cost: About $10 for a bag of wheat berries, though you do not need the full amount.
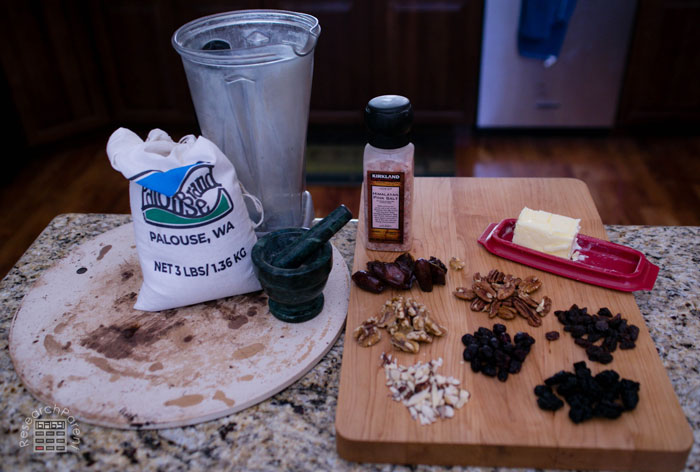
Materials
- a mortar and pestle
- pizza stone (or cookie sheet)
- a blender or food processor (optional, but very useful!)
Ingredients
- wheat berries (depends on how much bread you want to make, but at least a half cup)
- nuts
- dried fruit (we used rainins, cranberries, and dried cherries)
- butter
- salt
- honey
Instructions
- The main point of this activity is to show your kids how hard it is to grind flour by hand. Therefore, use either a mortar and pestle or a larger and smaller rock and let your kids try to make flour out of the wheat berries. You will likely need to use a small number of wheat berries at a time. We found that if we put too many in at one time, it became unmanageable and they would fly out everywhere.
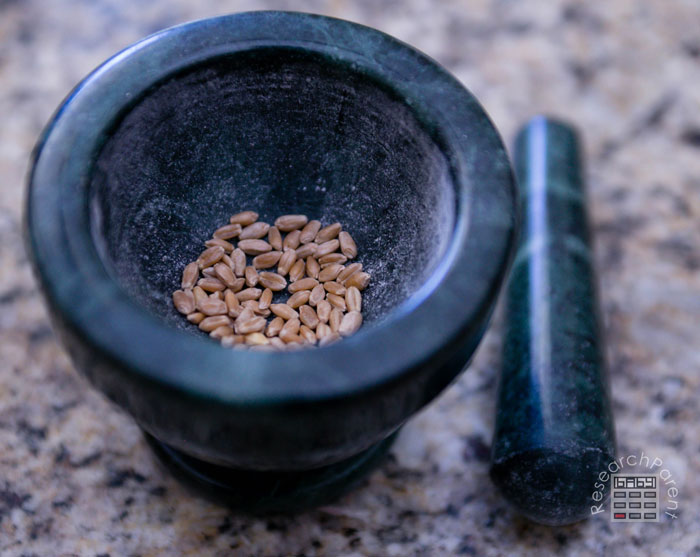
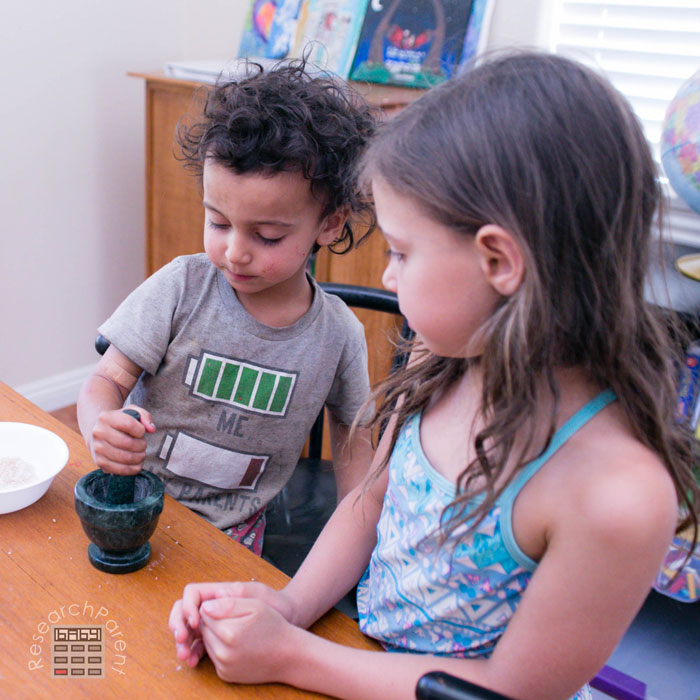
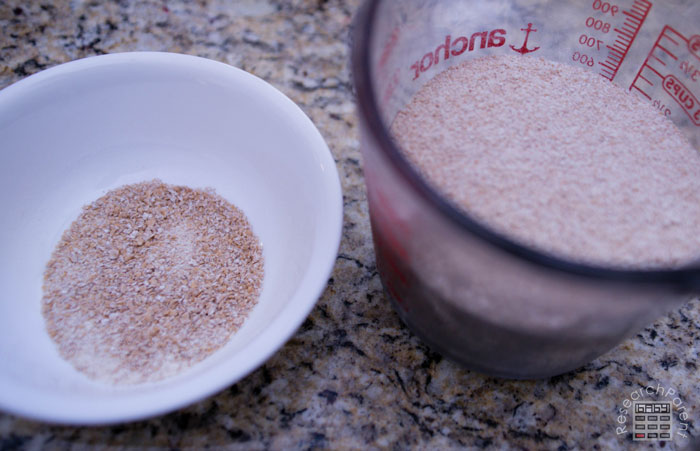
- At some point your kids will become tired of grinding. Take a look at how much you got and make sure to note how hard it was to get that small amount of flour.
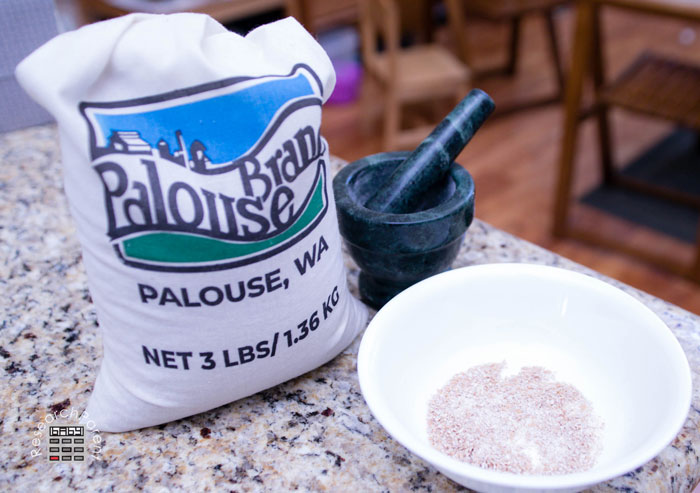
- After your kids get tired of grinding, you use your blender or food processor to grind more flour. Make sure your kids know that you are leaving the Stone Age and entering the modern world. You can ask questions like, “So why do you think the Stone Age people didn’t just use a blender?”
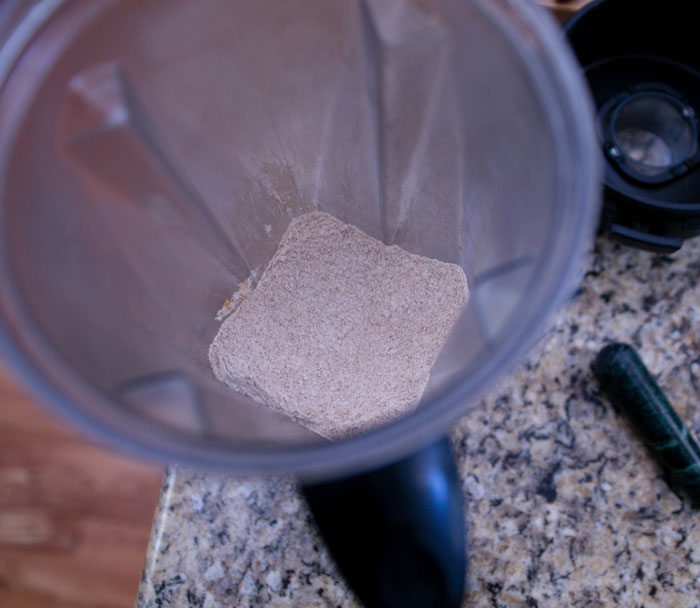
- After you produce flour using modern technology, make sure you take the time to notice how much flour you got in such a short amount of time compared to using the mortar and pestle. Pause for a moment to appreciate the conveniences of our modern lifestyles that we take for granted.
- Once you have a sufficient amount of flour (I used about 1/3 cup per person), get your add-ins ready. We pretended to forage for nuts and berries, by getting them from our pantry. Again you are making your child aware of how much easier it is now to find food than for prehistoric people. Since butter and salt were also available during the Neolithic Era, feel free to include those as add-ins as well.
- Have your child begin to make their dough by adding water. Start with a small amount of water the have them add more gradually until they get a consistency they like.
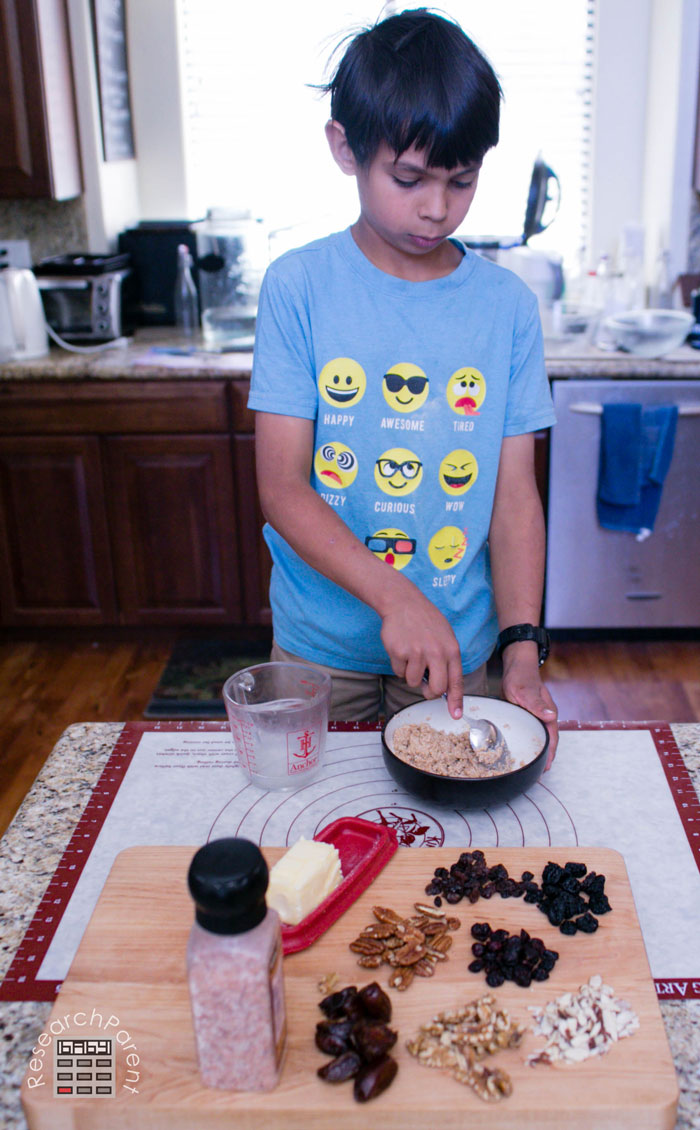
- Next comes the fun part. Kids can add in whatever they want to make their dough. I recommend adding at least some salt to increase the chances your kids will find it edible.
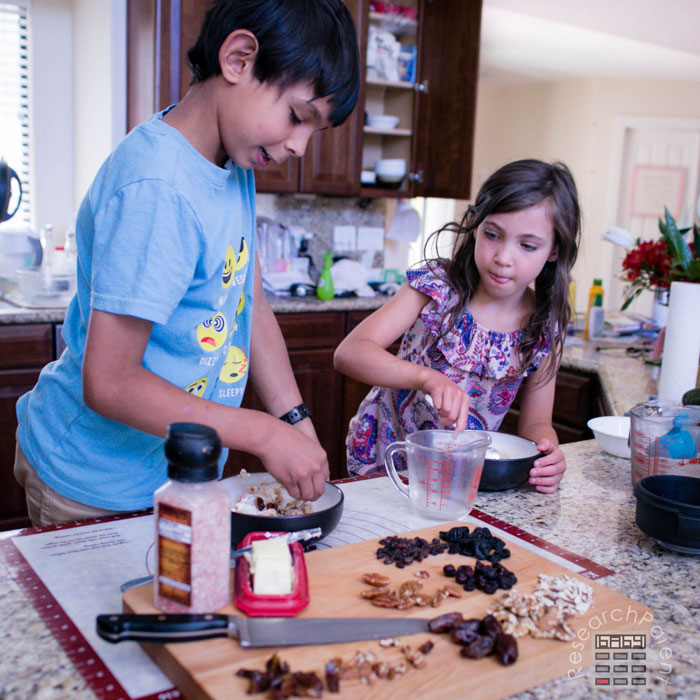
My daughter used the mortar and pestle again to grind up some almonds. I didn’t see any reason why Stone Age people couldn’t have done that as well.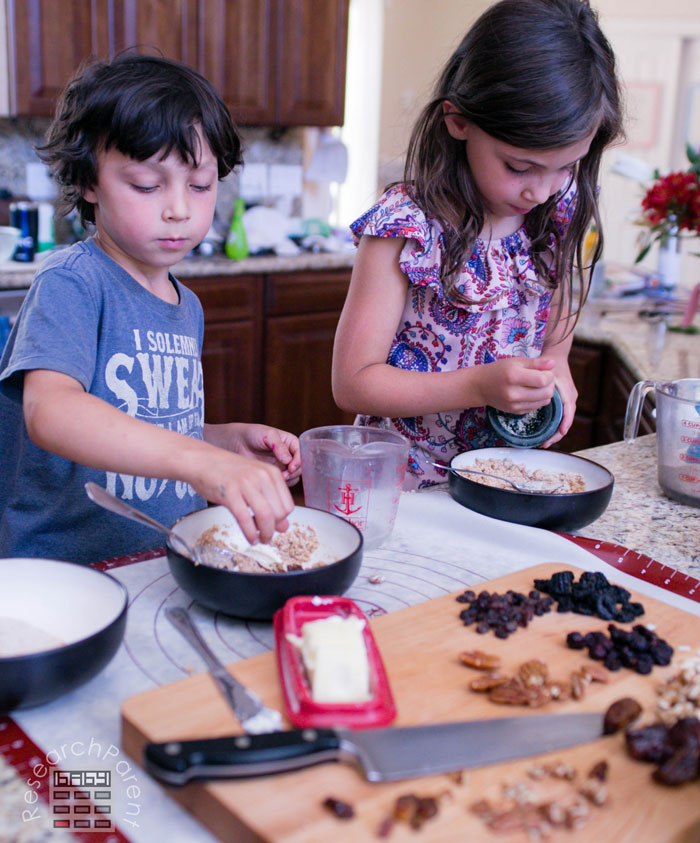
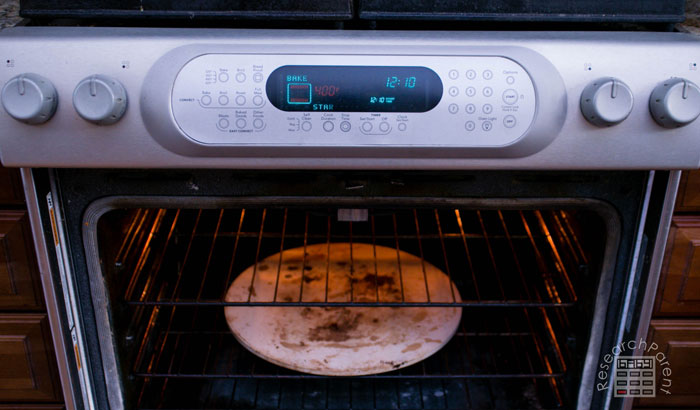
- Next bake the bread on a pizza stone or cookie sheet. Note that Stone Age people would have had to put a rock over a fire pit or made an oven out of something like rocks and clay. You will have to check your bread with a toothpick to see if it is done. We did 375 degree for roughly 20 minutes for our bread “cookies” that were about a half inch thick.
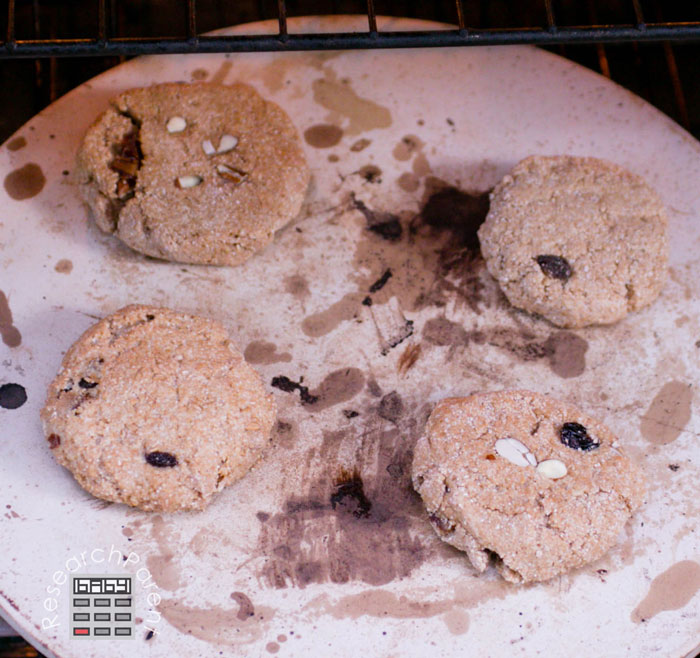
- Lastly, see what your kids think! Some of my kids thought it was okay while one kid in particular didn’t really like it at all. It turns out Neolithic people harvest honey. Therefore, we didn’t feel bad sweetening out bread with a little honey. Everyone knows honey makes everything delicious.
Have fun being Neolithic chefs for a day!
Related Links
History Activities for Kids
Social Science Activities for Kids
Robotics Activities for Kids


Leave a Reply