My 2nd grader is really into detectives, spys, and secret agents. (Check out his secret plans for his latest mission.) Ever since he started reading the detective series, Nate the Great, he likes to turn everything into a case or a mystery. When I was a kid, I went through a Nancy Drew phase, so I completely get it. Ever since then, I’ve thought it would be cool to have one of those hollow books used as a secret hiding place. I knew my son would appreciate this project as well.
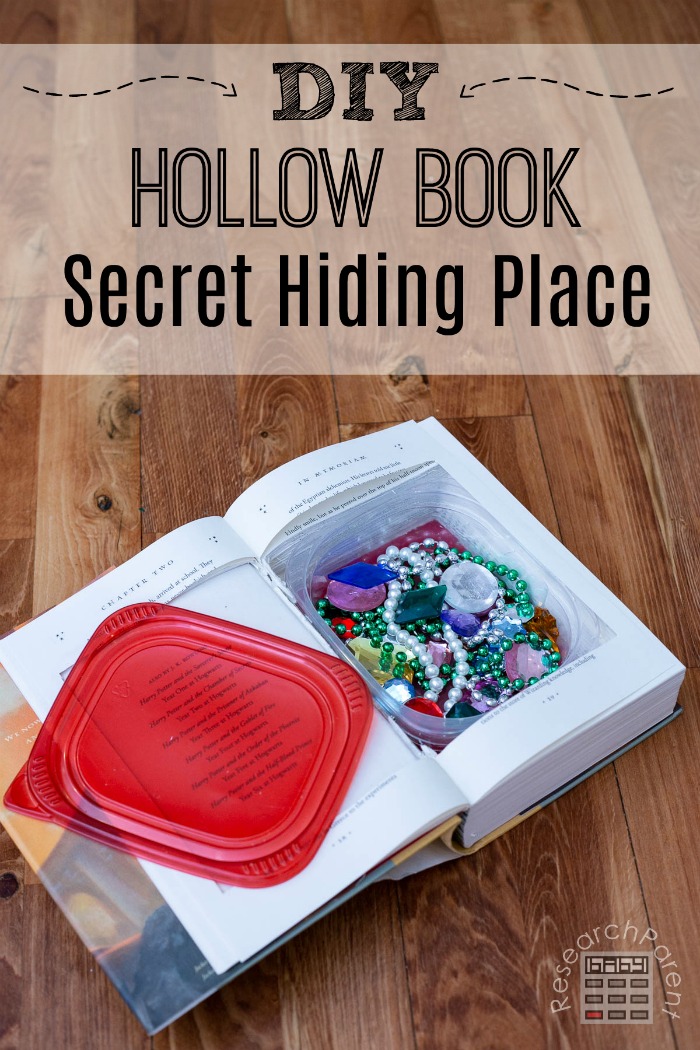
Be forewarned that it takes a lot longer to cut the pages out of the book than you might think. I don’t know what made me think that I could cut 400 pages out of a book in a few minutes. It actually took more like an hour or a little more. However, when I was finished, my kids thought it was awesome. I made a “treasure hunt” for them with clues like, “look in the toy oven” and “look in the silverware drawer.” Eventually it led them to the piano bench which had the hollow book inside.
Now we keep this secret hiding place book on a bookshelf with other normal books so my kids can keep their treasures inside. They rest assured that if our house is ever burgled, all their special trinkets (like bottlecaps and McDonald’s toys) will be safe. Unless the burglar has a strong desire to read Harry Potter and the Deathly Hallows. Then we’re in trouble.
Recommended Age Range: Preschool, Kindergarten, Elementary
Time Required: ~1 to 1.5 hours
Difficulty: Easy (though a grownup should use the X-Acto knife)
Cost: Practically free, we got the hardcover book we used from a used book sale for $1
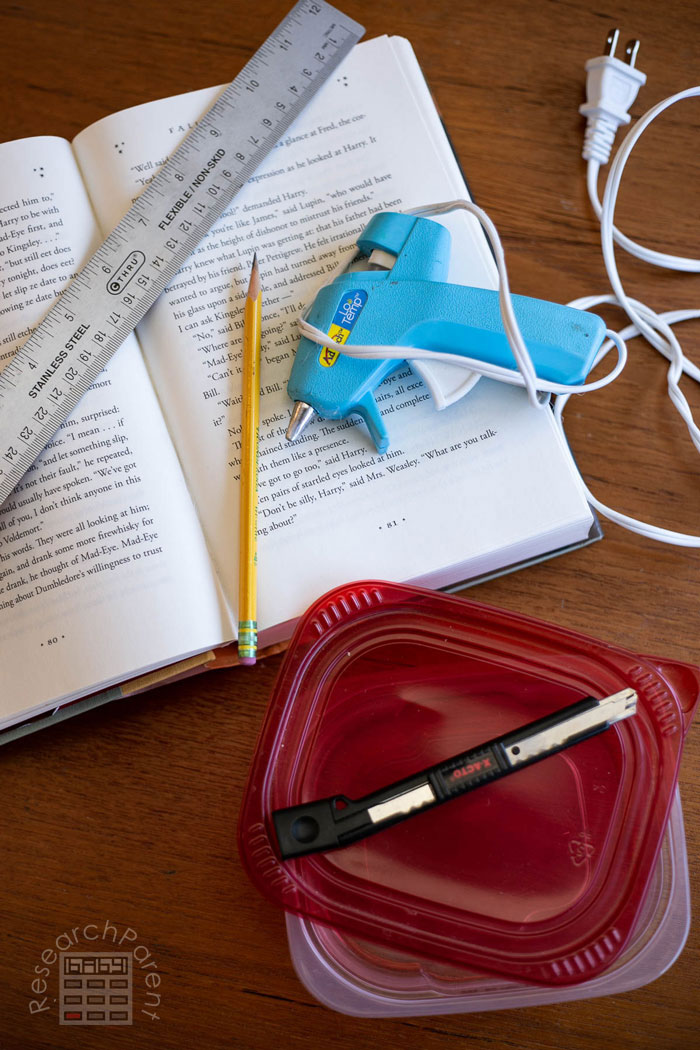
Materials:
- plastic container (I used one from our deli meat)
- hardcover book that is thicker than the plastic container
Supplies & Tools:
- hot glue
- ruler (preferably metal)
- X-acto knife
- pencil
Instructions:
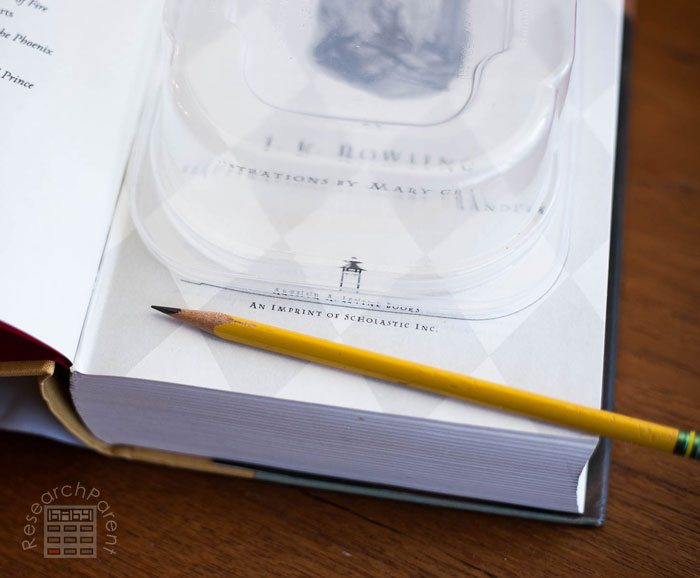
- Place the plastic container into the book and trace around the edge. I chose to push the container all the way to the binding, which made it a little easier to rip out the page, but you could also cut around all 4 sides. Note, if I were starting over, I probably would trace around the lid instead. It worked well enough tracing the container, but ultimately it was a very tight fit to get the lid on.
- Use the metal ruler and the X-acto knife to cut along the lines you traced. Don’t worry about rounding the edges when you cut. Square edges will work just as well. Just use the pencil marks as a rough guide.
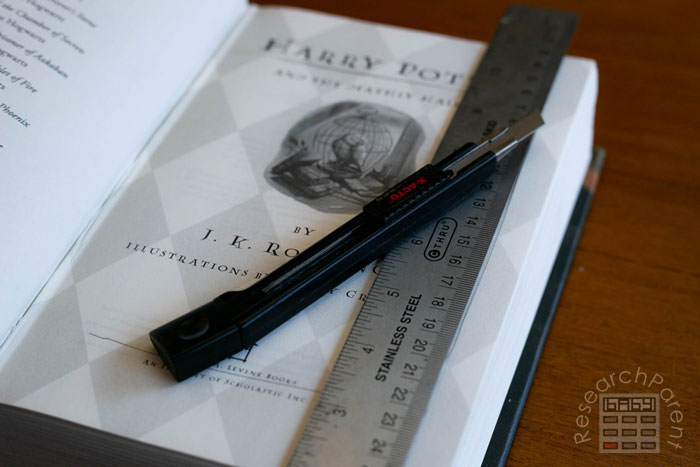
- After you’ve cut along the 3 edges, you can start ripping them out along the binding.

- Continue cutting out pages using a few already cut pages as a guide. After you’ve gone down a bit, double check to makes sure your lid will fit.
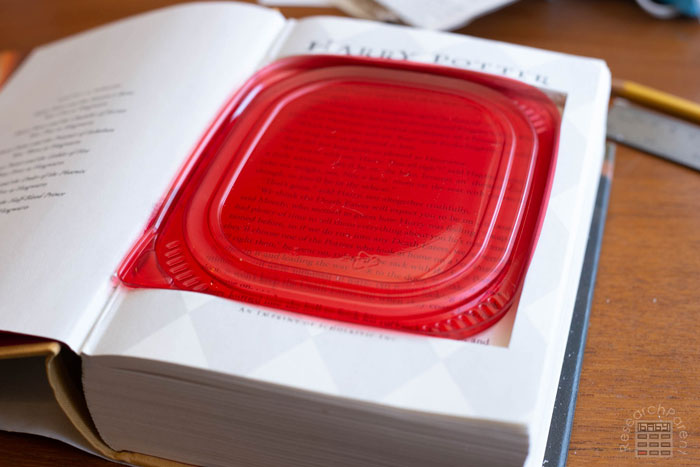
- Keep going! I was surprised by how long it took to remove all the pages. Put on a movie or something fun to listen to while you cut and rip.
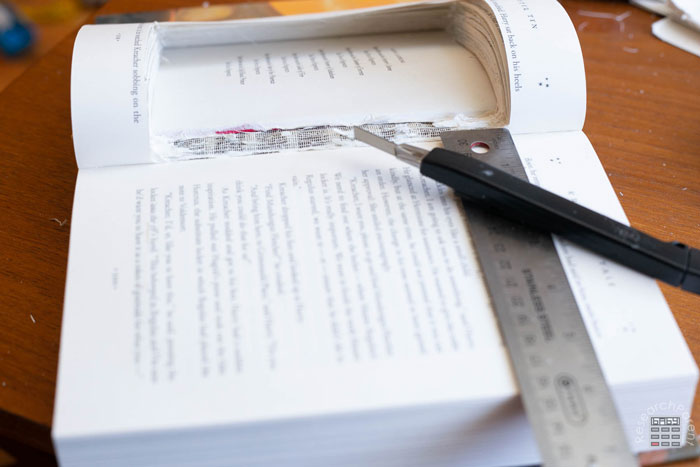
- Periodically check to make sure your container is still going to fit in your hole. It would be a shame to have the hole gradually get smaller without realizing.
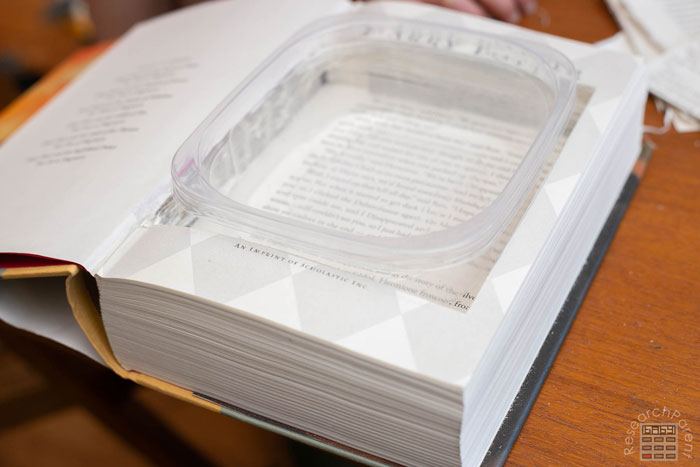
- Continue ripping until you can place the container with the lid into the hole and close the book all the way. For me, that required all the pages to be removed.
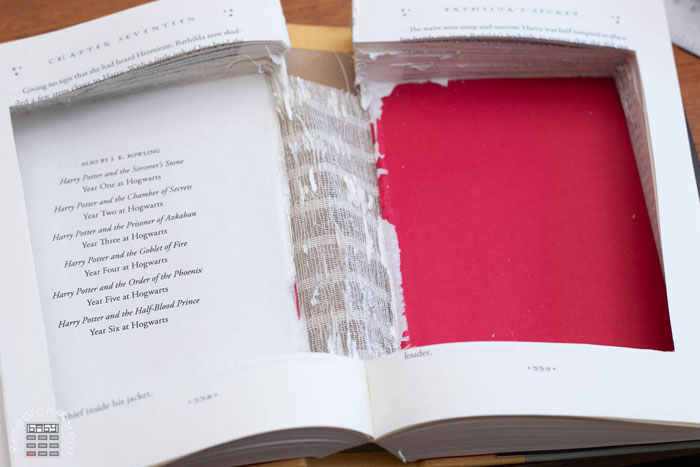
- If the binding broke at any point, just use a little hot glue to attach the pages back together.
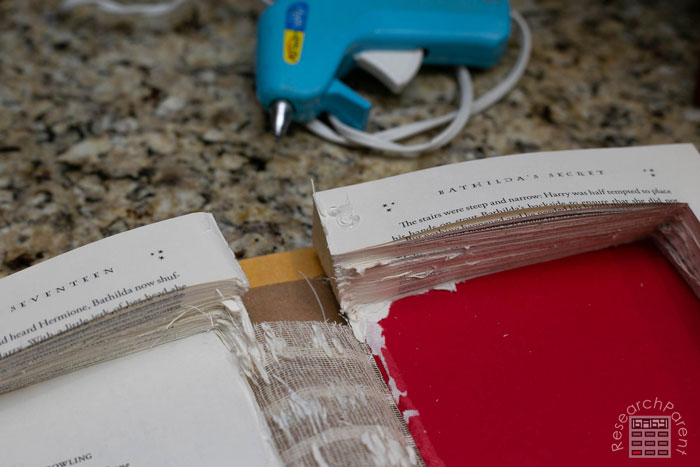
- If desired, use hot glue to attach the container into the book. Just warn your kids first. I forgot to tell mine and the first time I let them play with it, they ripped the container out and I had to glue it back in.
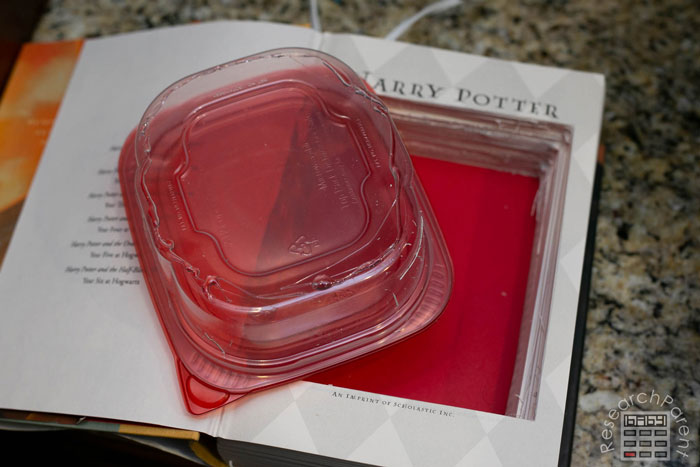
- Check to make sure you can place the lid on the container and close the cover of the book. I found it worked best for me if I opened a few pages before putting the lid on and then closed the pages on top of the lid.
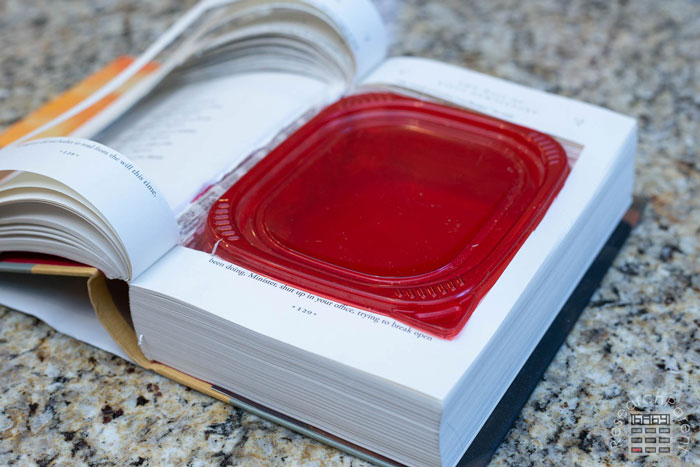
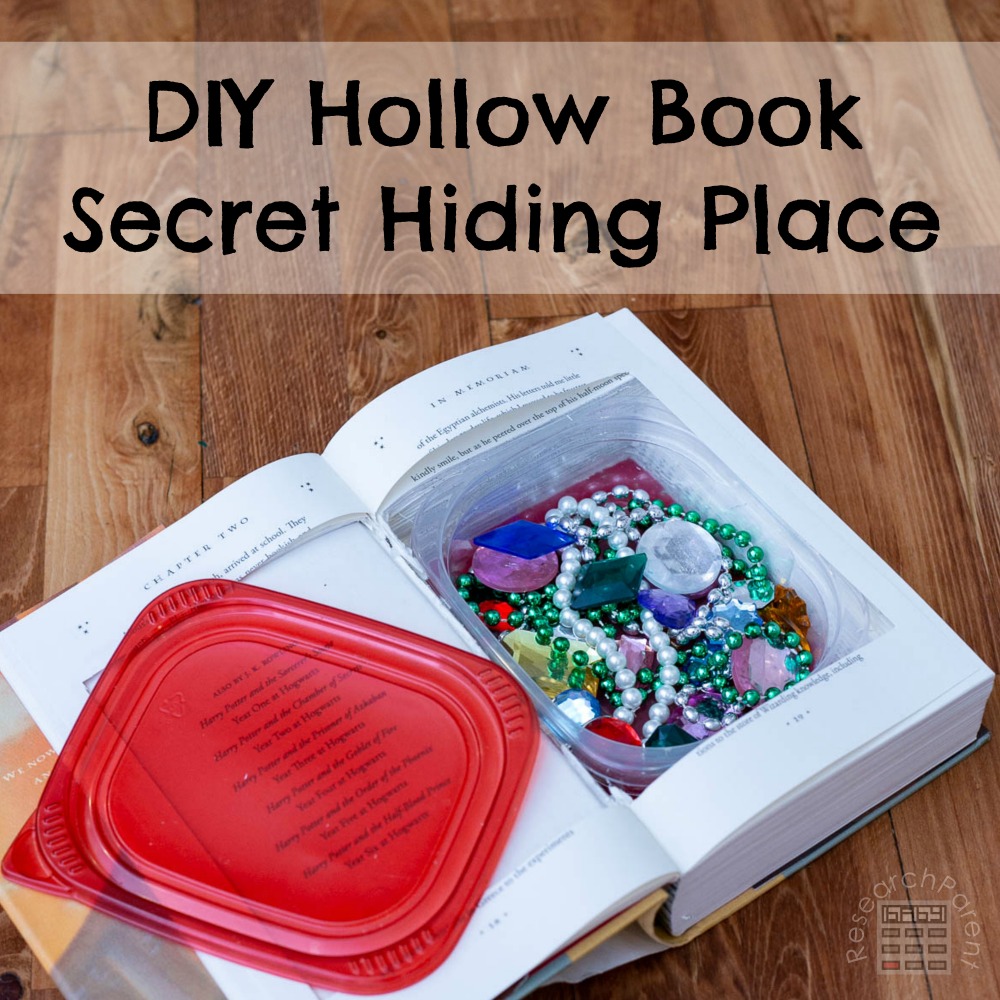
- Place your treasures inside your very own DIY hollow book secret hiding place.
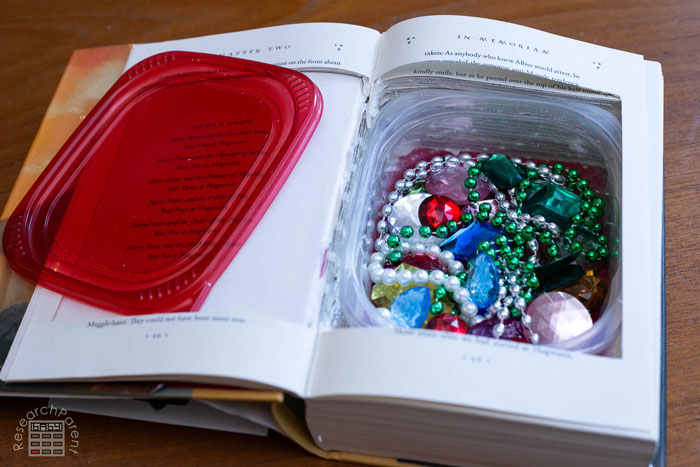
- Secure the lid and close the book.
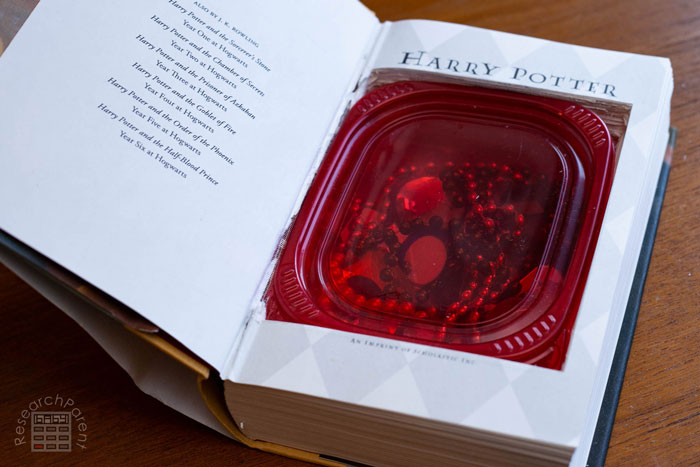
Have fun with your new super sneaky place to hide your valuables!
Click here for more Homemade Fun ideas for kids.
Related Links
Craft and Play Recipes
Best Travel Toys for Kids
Board Games for Kids


Leave a Reply