Extracting DNA in the kitchen? I know what you’re thinking. That *sounds* cool, but I’m sure it’s way too complicated. At least, that’s what I thought. I’d seen some instructions in the past that involved weird ingredients and lots of waiting and I figured, my kids won’t be up for that. Then we did it. We extracted DNA from a strawberry. It took like 10 minutes using supplies we already had. And it was amazing.
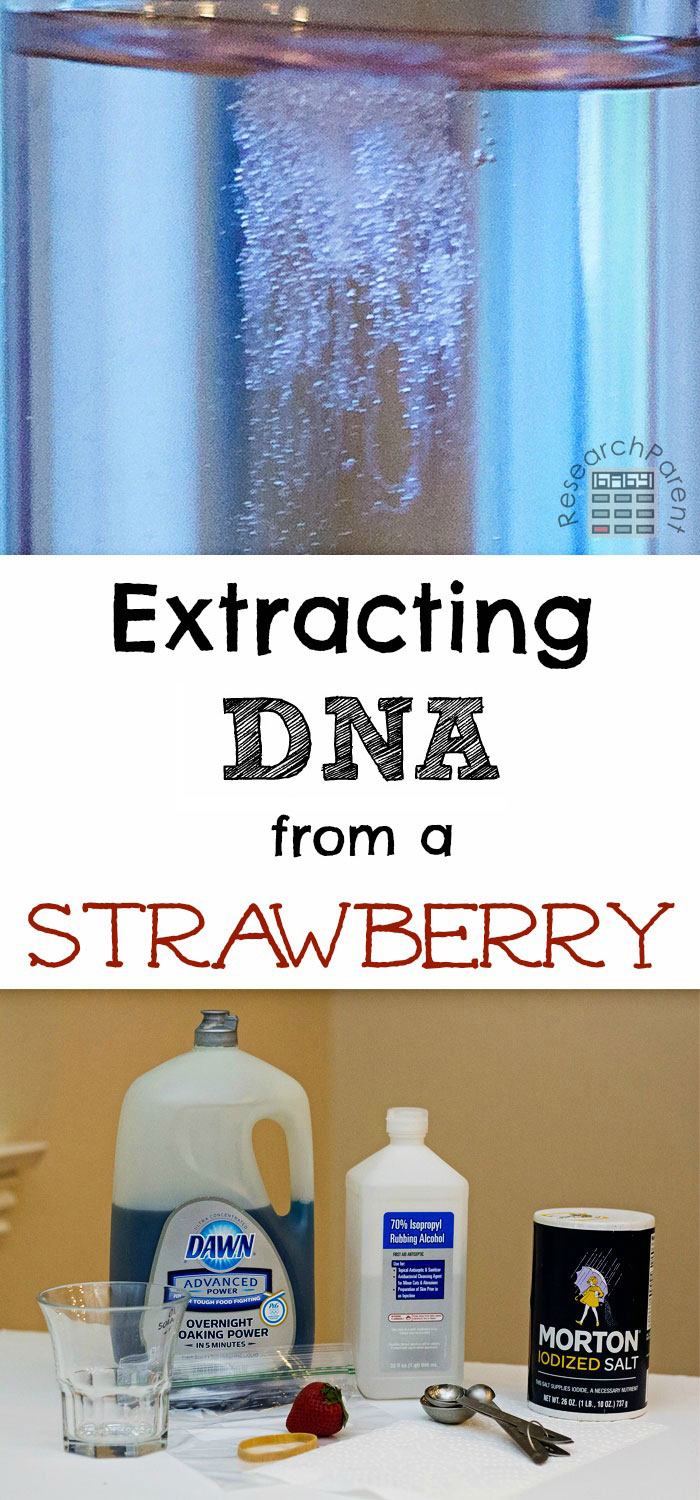
We probably never would have done this experiment if it weren’t for this really cool crime-solving kit my 8 year old got for Christmas. In it, we had to extract DNA from a piece of fruit in order to catch the treasure thief. There was no way around it. To solve the crime, we had to do the experiment. I couldn’t skip over this activity like I normally do when I see it in science books.
Now, to be honest, I don’t think my kids were as blown away by the simple elegance and biological beauty of the activity as I was. They were like, “oh, that’s so cool!” then went back to shooting each other with their new nerf guns. I, however, could not get over the fact that I was holding in my hands clumped together strands of genetic material.
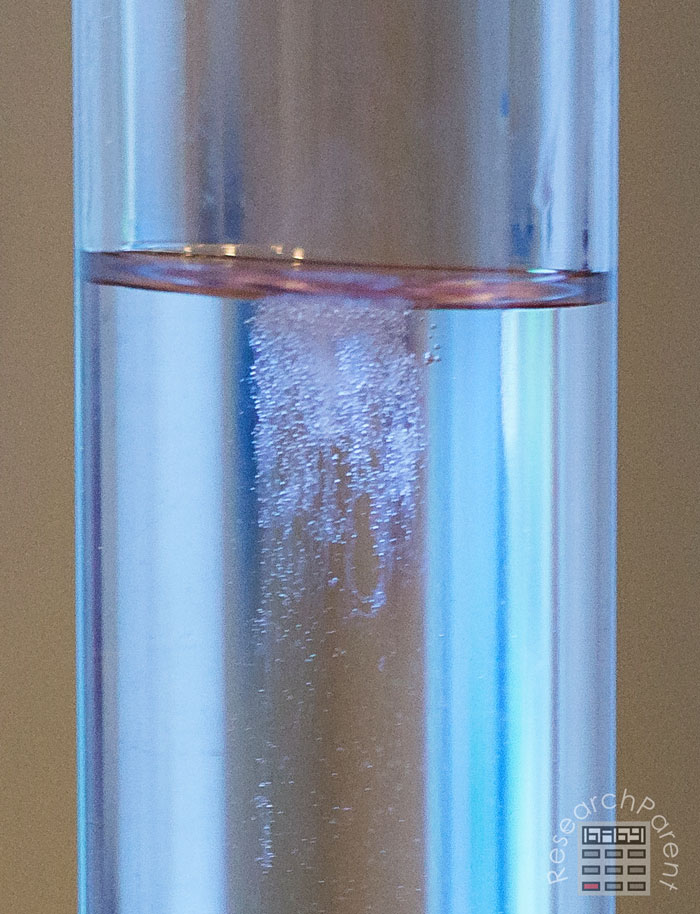
As I stood admiring the gelatinous goo, my 5 year old daughter said, “What would happen if you shook it?” I said, “I don’t know, honey,” and gently swirled the test tube. She took it from me and said, “No, not like that…like this,” and violently shook the tube up and down. At least my girl isn’t afraid of science. It turns out, the DNA was still clearly visible and just as cool.
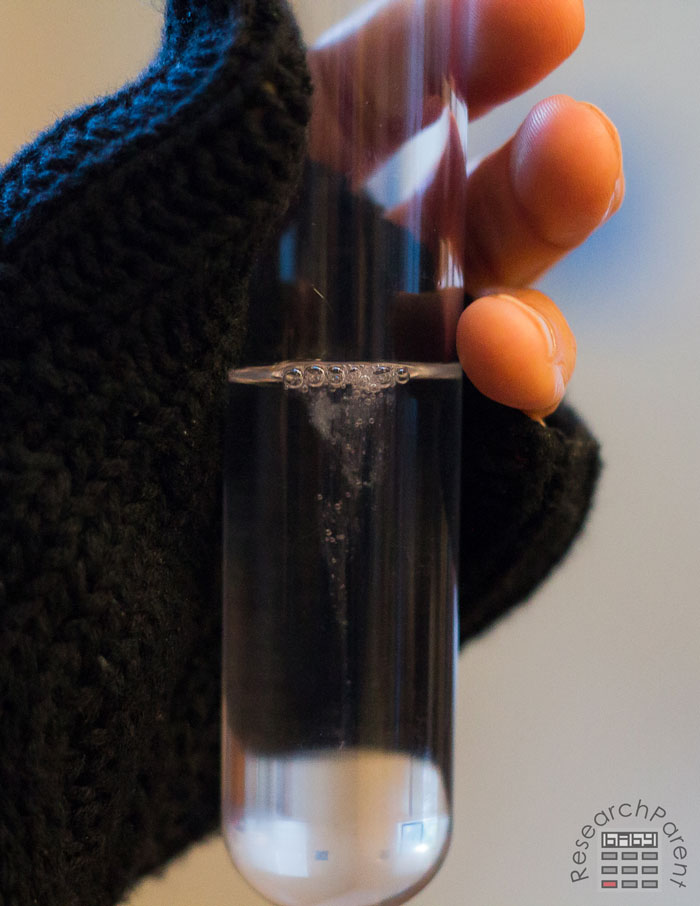
Please note that there are a great many ways to perform this experiment. For example, many instructions involve a blender. Some don’t involve the straining step. The instructions below are loosely based on the crime-solving, spy kit that my son received. I liked this version since I found the process to be simple and the results to be impressive. If you’re interested in more of the science behind the experiment, I recommend this article by Scientific American.
Recommended Age Range: Elementary, Middle School, High School
Time Required: ~10-15 minutes (though rubbing alcohol should be put in the freezer 30+ minutes before the experiment)
Difficulty: Easy
Cost: Less than $5. We had everything on hand. However, if you don’t have rubbing alcohol, dish soap, or salt, you may need to purchase those items. Although it is not necessary, to have DNA float on its own, you may want to spend under $10 on a round-bottomed test tube.
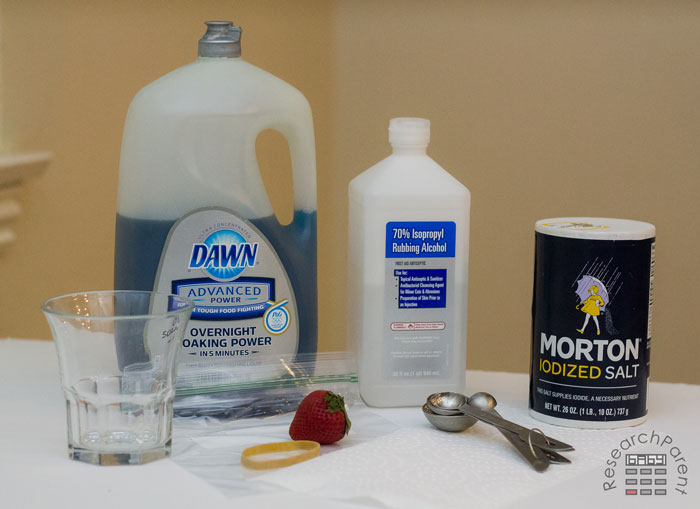
Materials:
- 2 teaspoons water (not pictured)
- 1/4 teaspoon dish soap
- pinch of salt
- about 1 cup of rubbing alcohol (or much less if using a test tube instead of a glass cup)
- strawberry
- Ziploc bag
- paper towel (could also use cheesecloth or even a wire mesh)
- skewer (Optional, not pictured. Used to pick up the DNA. Could also use a toothpick, fork, or sharpened pencil.)
Supplies:
- container such as a glass cup (alternatively, you can use a round-bottomed test tube similar to the one that came with our crime kit.)
- rubber band
- measuring spoons (specifically teaspoon and 1/4 teaspoon)
Instructions:
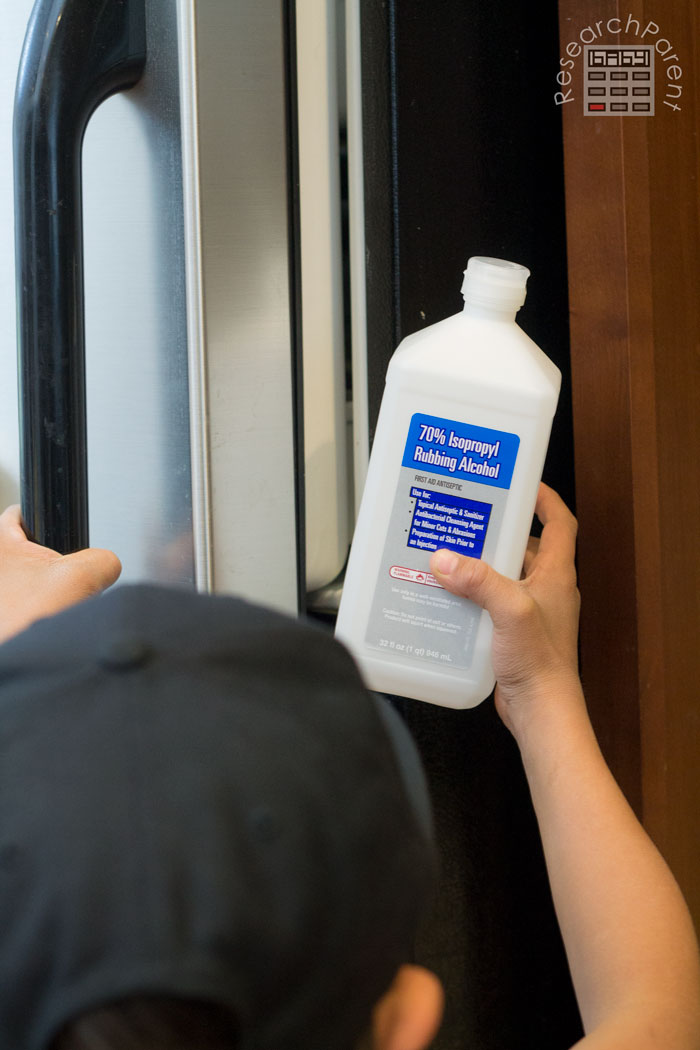
1. Put rubbing alcohol in the freezer. It’s recommended that you leave it in the freezer for at least 30 minutes, but it won’t freeze in the freezer, so you could put it in as long as you like in advance. Also, during one of our trials, we forgot and left the alcohol on the counter for about 20 minutes before adding it to our solution and it still worked fine, so I don’t think the amount of time is critical. The activity just works a little better if the rubbing alcohol is cold.
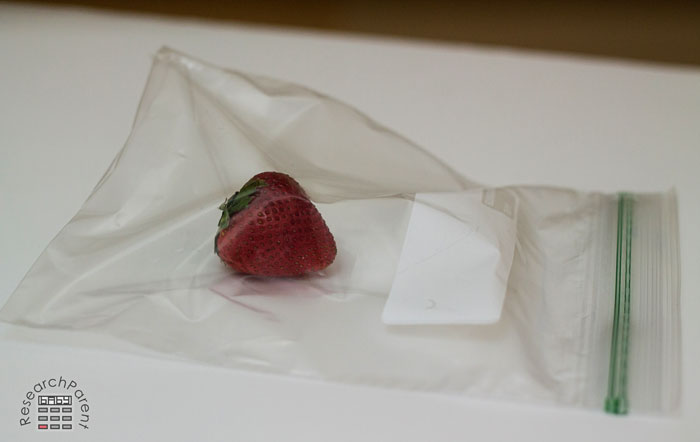
2. Put the strawberry in the Ziploc bag and seal it.
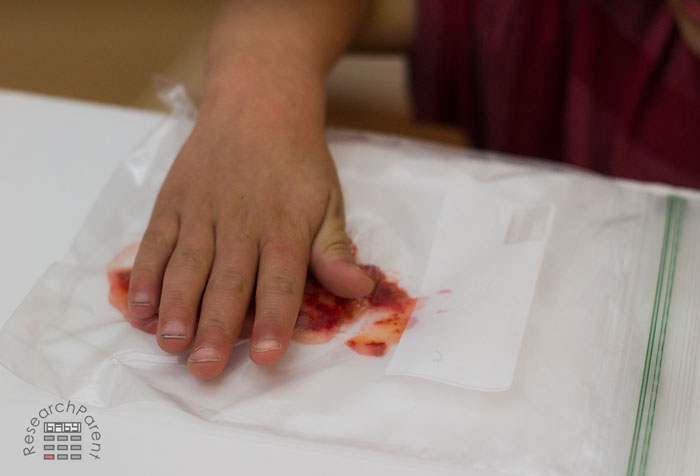
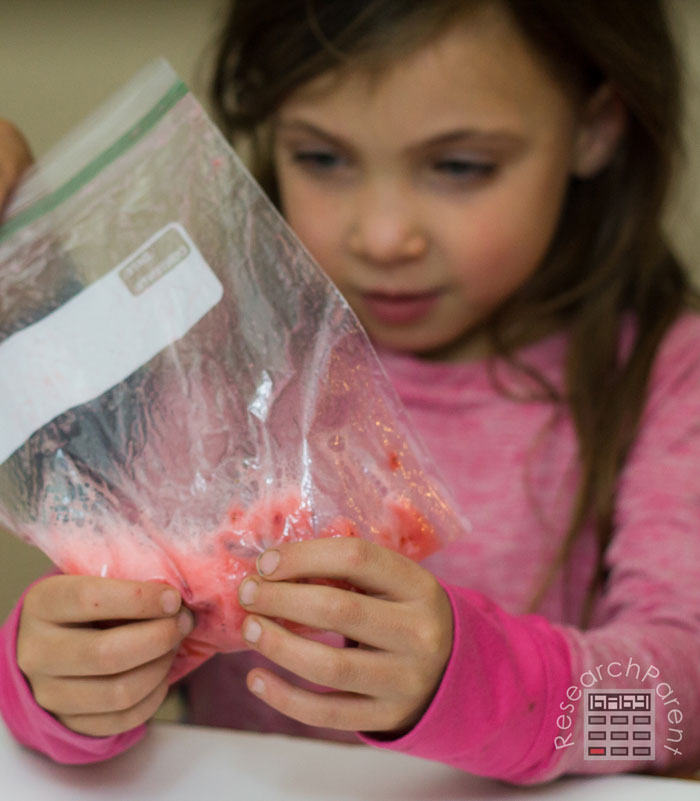
3. Mash it up. My kids got a little over-enthusiastic and made a big mess the first time, so maybe remind them to mash and squish it near the bottom of the bag.
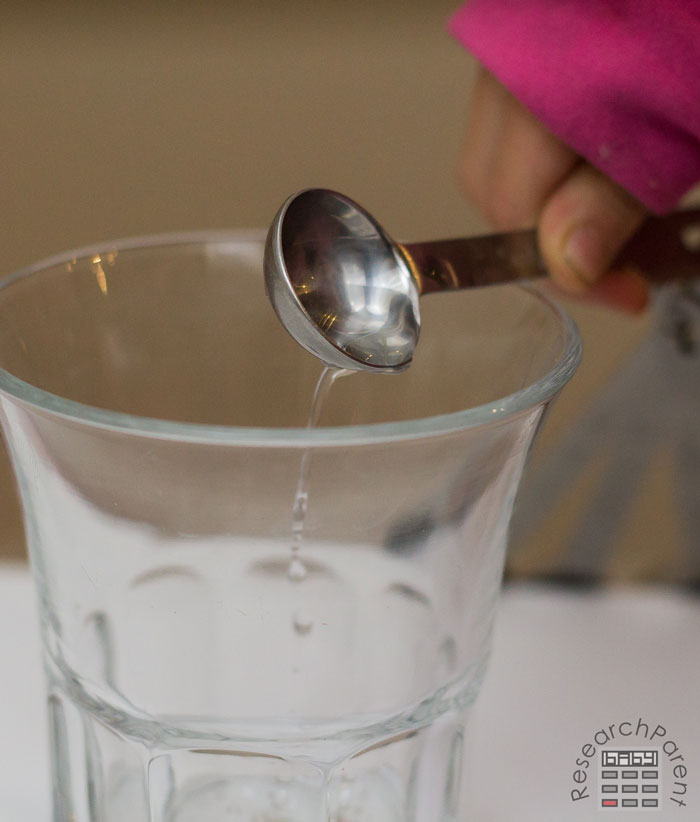
4. Add 2 teaspoons of water to the glass.
5. Add 1/4 teaspoon dish soap to the water in the glass. The dish soap helps to open up the strawberry cells releasing the DNA.
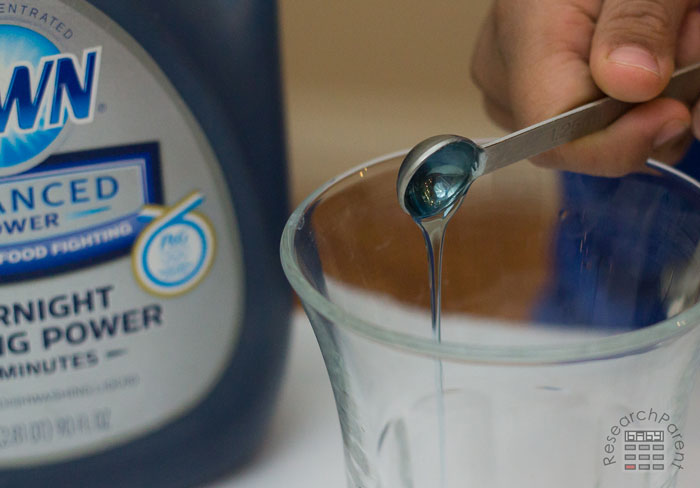
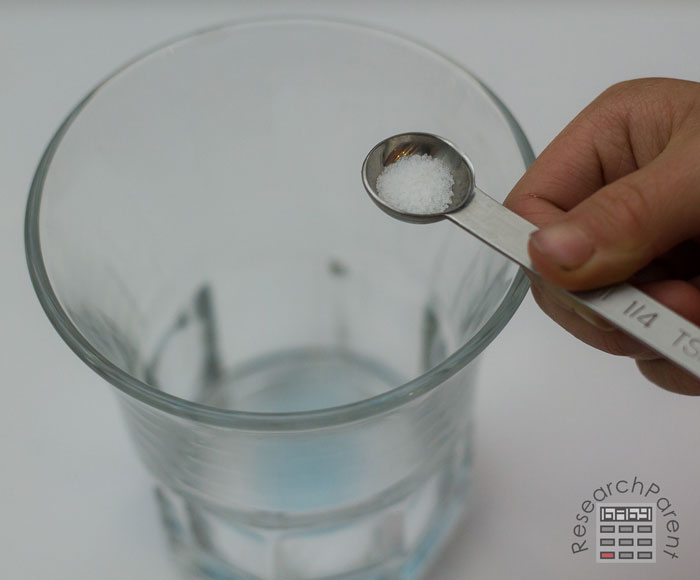
6. Add a pinch of salt. This helps the strands of DNA to clump together, making them visible to the naked eye. Note that I just put a little salt in our quarter teaspoon as shown.
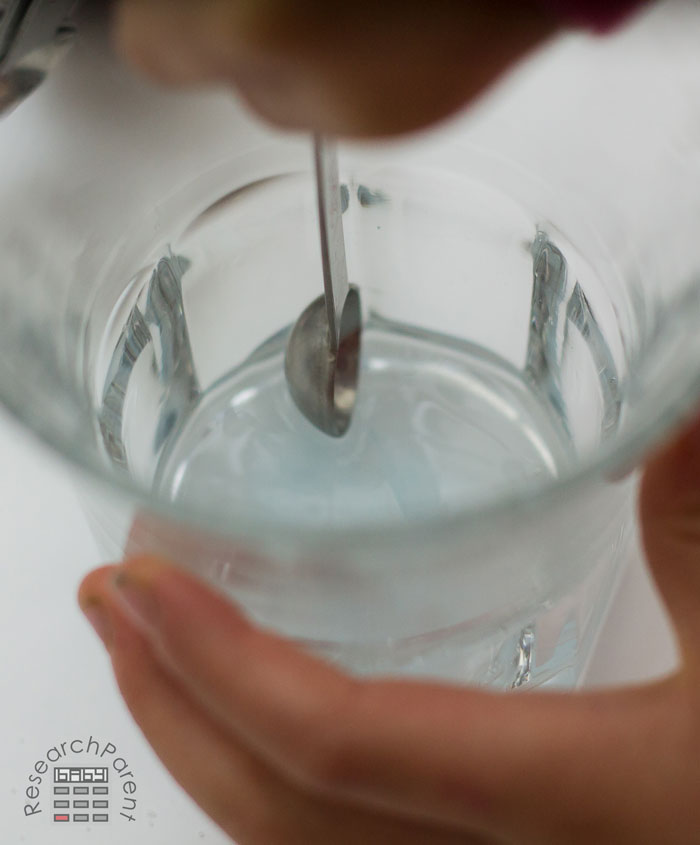
7. Stir the mixture. This is your extraction solution.
8. Add the extraction solution to the mashed strawberry.
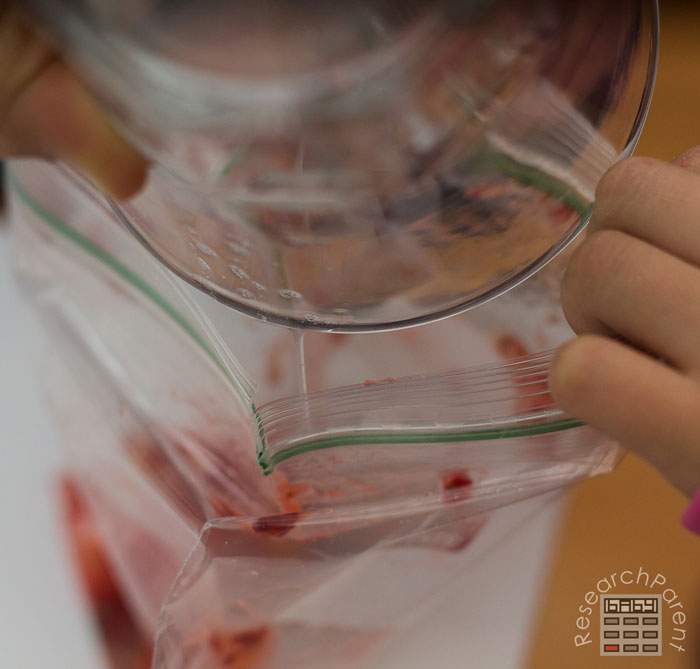
9. Squish the bag to mix the extraction solution into the strawberry. Again, remind kids to keep the mixture towards the bottom of the bag away from the seal. This should take a couple minutes.
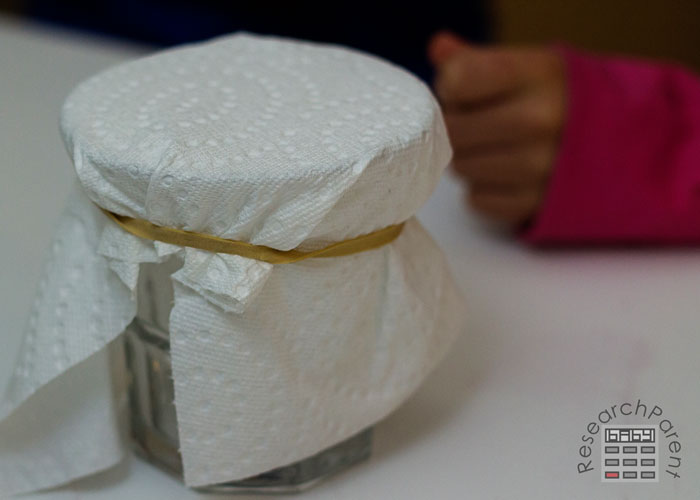
10. Use a rubberband to secure a paper towel to the top of the glass.
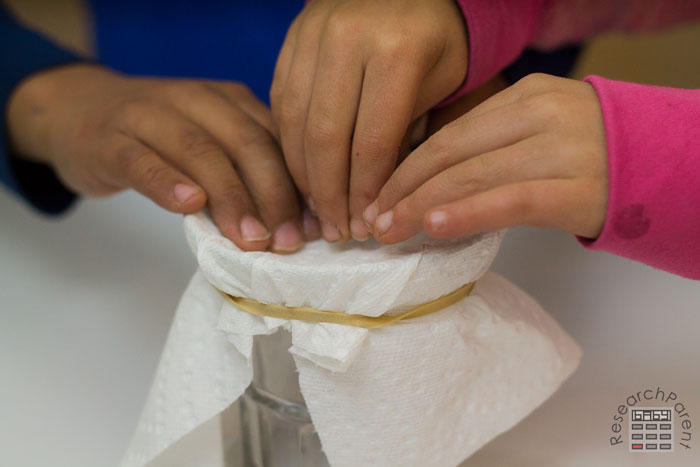
11. Push down in the middle of the paper towel gently to create a well to hold the strawberry mixture.
12. Pour the strawberry mixture onto the paper towel.
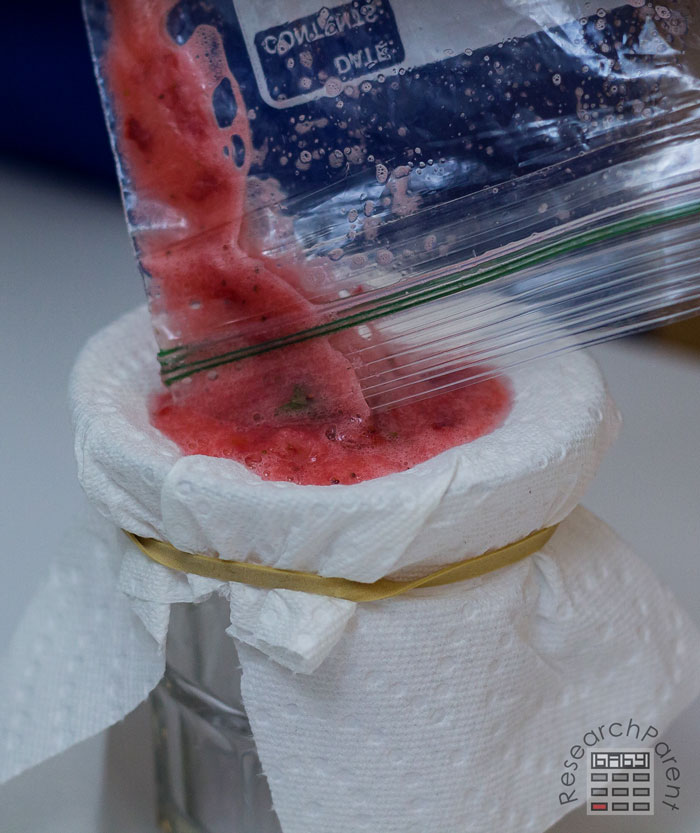
13. Now, wait patiently to collect some droplets of the mixture. We waited about 3 minutes.
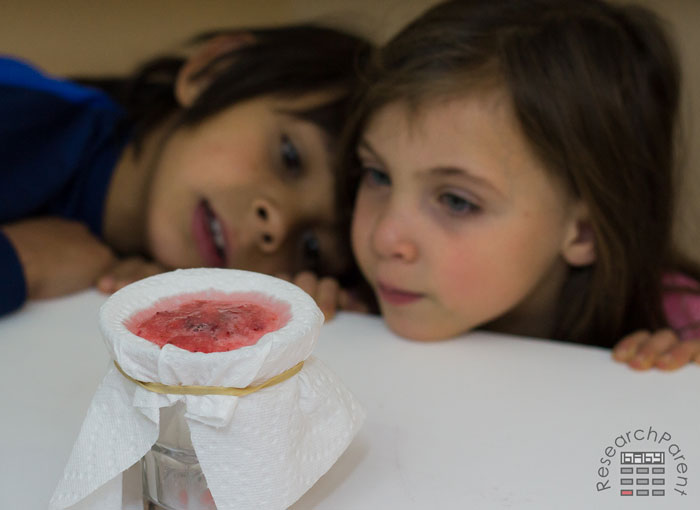
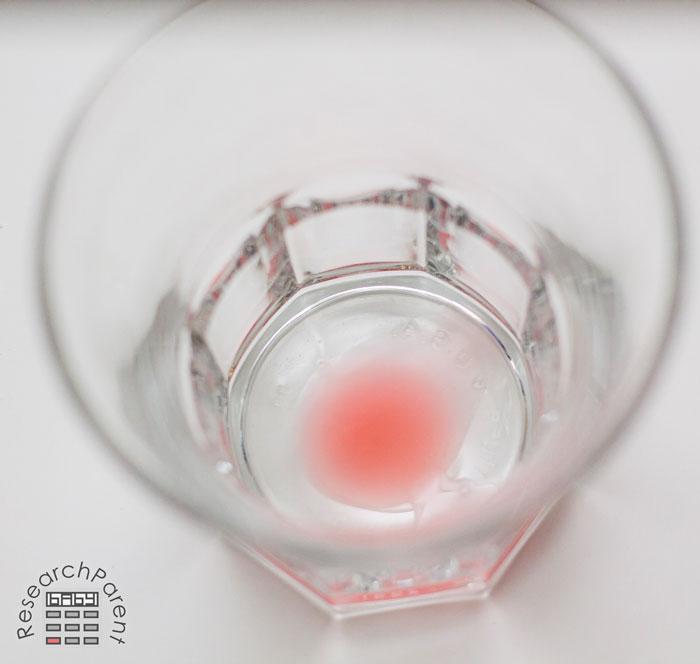
14. After a few minutes, take off the paper towel and strawberry mixture. You should have some drops in your glass. It’s okay to have only a few drops. There will still be DNA.
15. Remove the rubbing alcohol from the freezer and add it to your solution. You don’t need to add a lot, but I added about a cup.
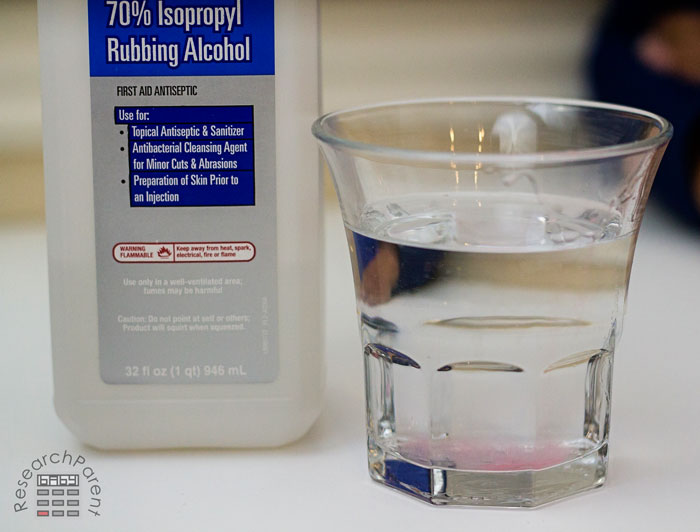
15. Observe if any DNA starts moving into the alcohol on its own. We saw a few strands start to rise up.
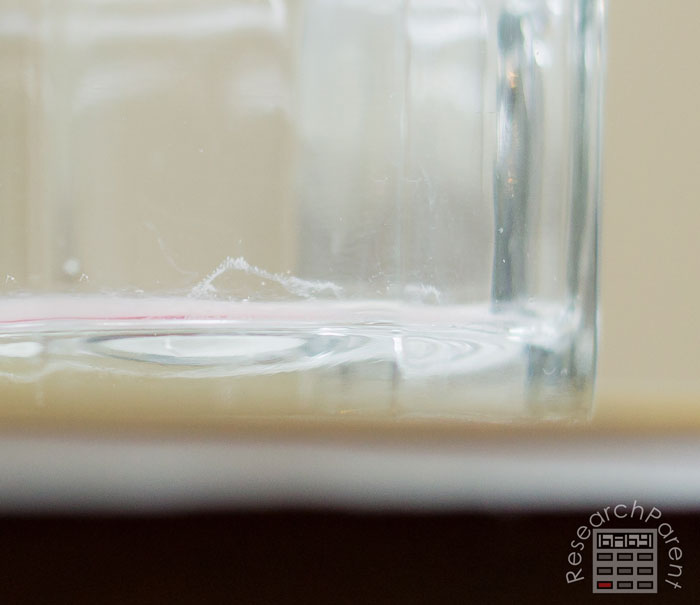
16. Take a skewer or other pointy tool like a toothpick or pencil and pick up your DNA!
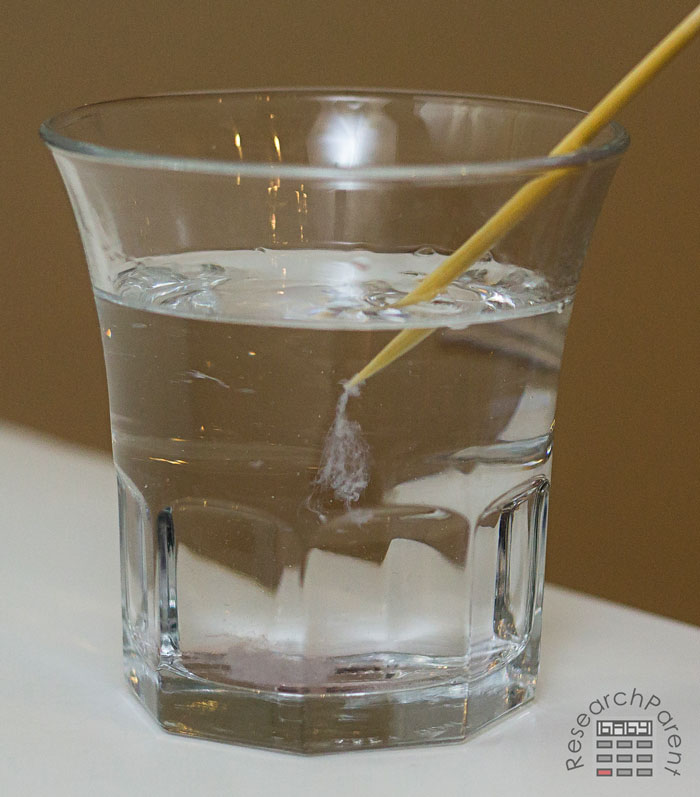
17. Have fun swirling your DNA and watching it move through the liquid.
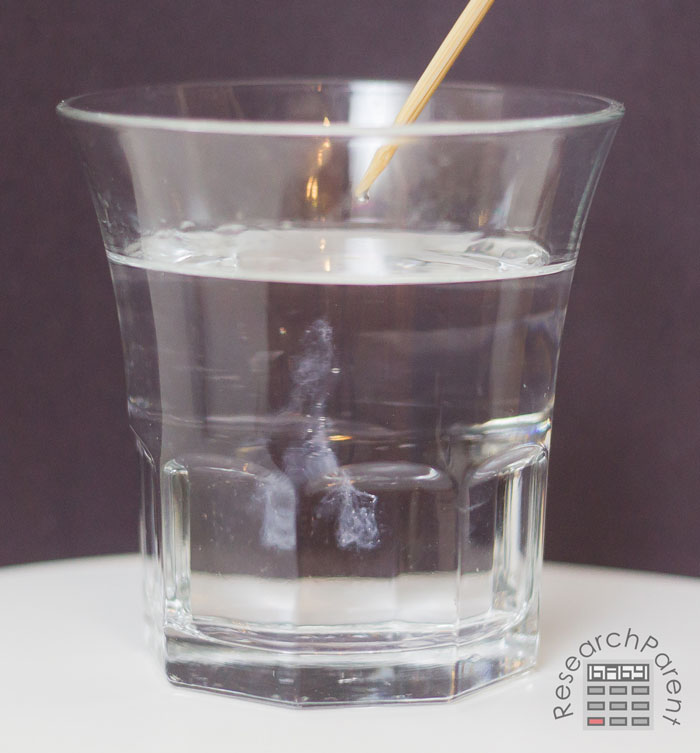
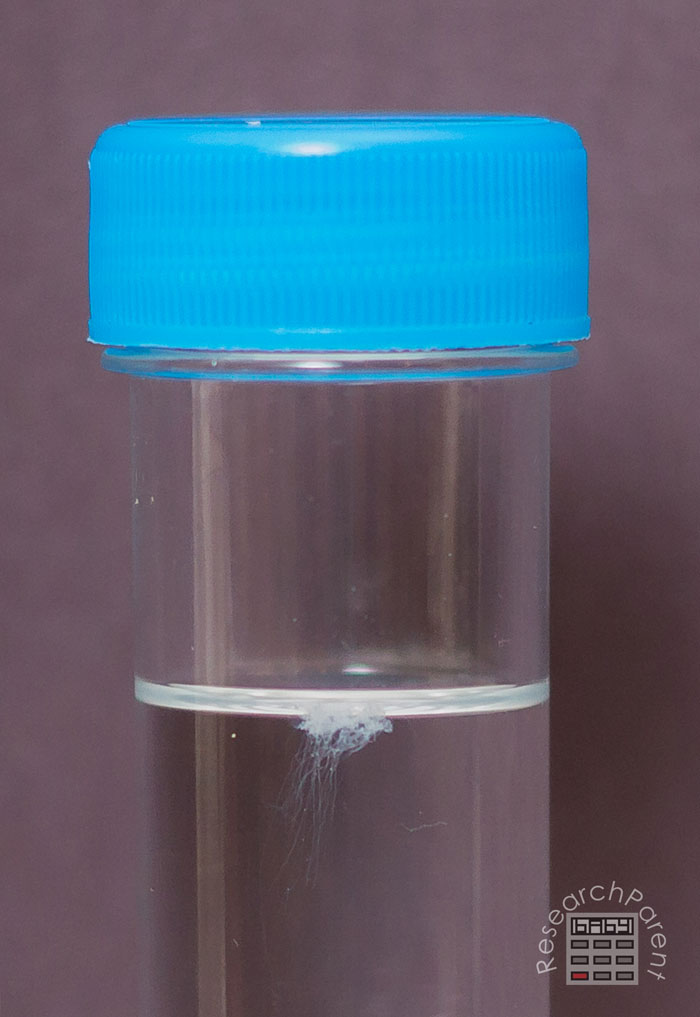
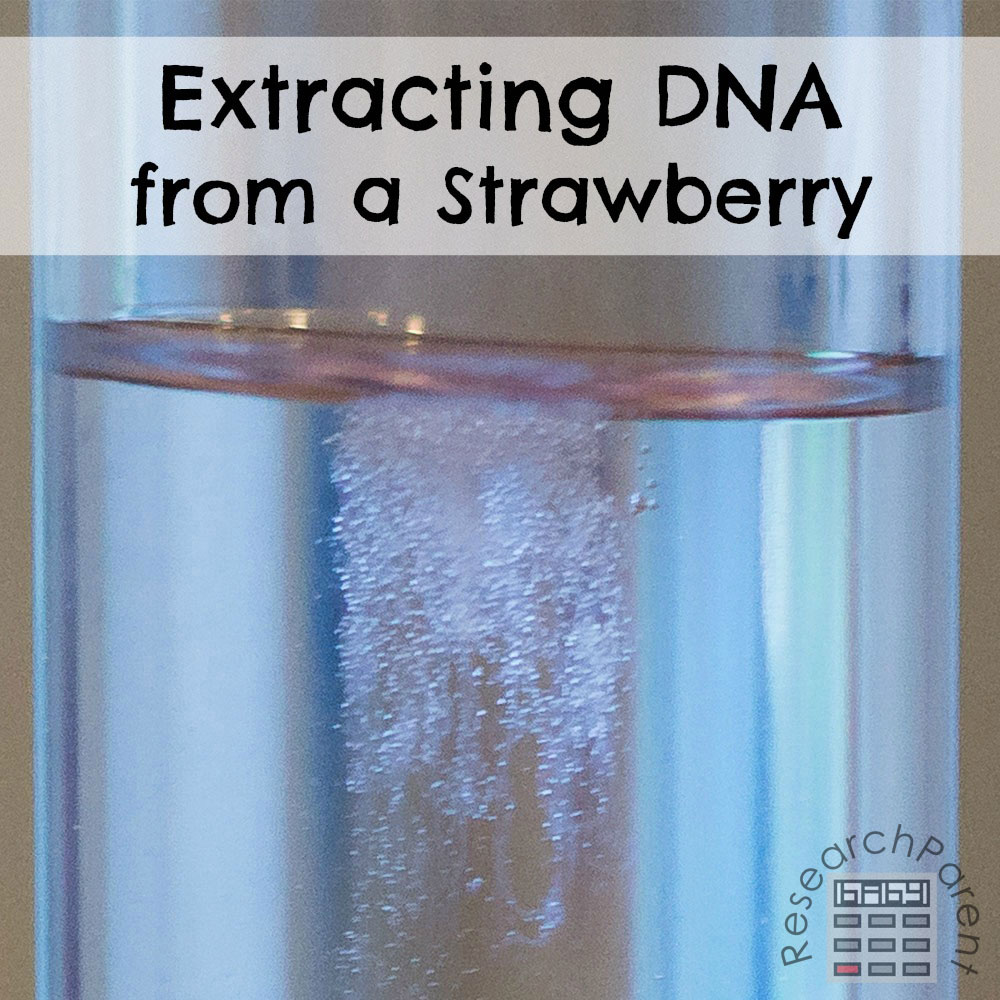
When we had done the experiment in the test tube, the DNA actually floated all the way to the surface. I think this has something to do with the round bottom allowing the DNA to clump together better and be carried to the surface by air bubbles.
However, what we observed in our drinking glass on the skewer was still definitely the same gooey strands.
Have fun exploring genetic material with your budding biologists!
Click here for more Biology activities and printables for kids.
Related Links
Easy Robotics Projects for Kids
Science Activities for Kids
Learning Activities for Kids


SO cool! My kids’ charter school teacher was just telling me about this last week. I extracted DNA from an onion in high school, but this is much simpler
I know! I’ve read the onion instructions a few times in different science books, but it always sounded so complicated. I couldn’t believe how simple this was! :)
This is fascinating 😻
Im a high schooler and I think this is amazing ❣️
I’m so glad you like it, Paola! Let me know if you have any questions! :)
I just finish the experiment and it turned out amazing, I love it ✨. The only problem was that I should’ve done it in a diffent cup to see it better ☹️. But thank you so much ❣️
I’m glad it worked and you enjoyed it! Sorry about the cup! That’s great advice for my readers to keep in mind. Thank you!
HI this is so cool! I work with a private hospital, West Metro Medical Center, here in Zamboanga city, Philippines. Every year we do an activity called KWestMania (KIds of West Metro) and its our 3rd year this August 2018. The program is an interactive hospital tour and we invite at least 15 students from each of the local school here in my city to tour them around certain locations in the hospital like the Radiology department, the emergency room and others. The guides of the locations teach the kids a little of what their department does and encourage them to try some participate in some related activities. We provide them with protective gear too. This year we want to tweak the program a little, in that we want to come up with activities in the locations leaning towards STEM. I would love to include this activity, with your permission. I just have a question, can this experiment make use of other fruit, like a banana? Thank you!
Of course you have my permission! I definitely didn’t invent the “extract DNA from a strawberry experiment.” I just did it with my kids and took some pictures. ;) I think it should still work with bananas, but you may have to start with more banana to get the same yield of DNA. According to Steve Spangler Science, “strawberries are the perfect choice for a DNA extraction lab for two very good reasons: (1) they yield way more DNA than other fruits, and (2) they are octoploid, meaning that they have eight copies of each type of DNA chromosome.” Here’s the link I just found, in case it’s helpful! https://www.stevespanglerscience.com/lab/experiments/strawberry-dna/
Thanks for your reply :)
No problem. Good luck! :)
The DNA rises to the top because it forms in between the strawberry liquid layer and the alcohol layer
Thanks for the info!
This is amazing i used this doer my middle school science bonus poroject and got full credit!! !
Awesome! I’m so glad my tutorial was helpful! 😊
Hi! I wanted to ask if there were a control variable in this experiment?
Hi! There is not a control variable in this activity, because it is more of a cool science demonstration than an actual experiment. There is no hypothesis that we are testing. Rather it is just showing kids a scientific procedure we can follow to get an expected result.