A couple months back, I was listening to this homeschooling podcast, when the interviewee said that her kids used traveler’s notebooks. I was intrigued by the idea of my kids journaling in notebooks which could be easily and inexpensively swapped out as they filled them up. I ended up making 4 traveler’s notebooks (one for me and each of my 3 oldest kids) using the recommended tutorial. 100% of the credit for this DIY Midori-style traveler’s notebook goes to this YouTube tutorial by Sea Lemon. I just followed the tutorial step-by-step and took pictures. I’m pretty pleased with the result and have several ideas for how to use these with my kids.
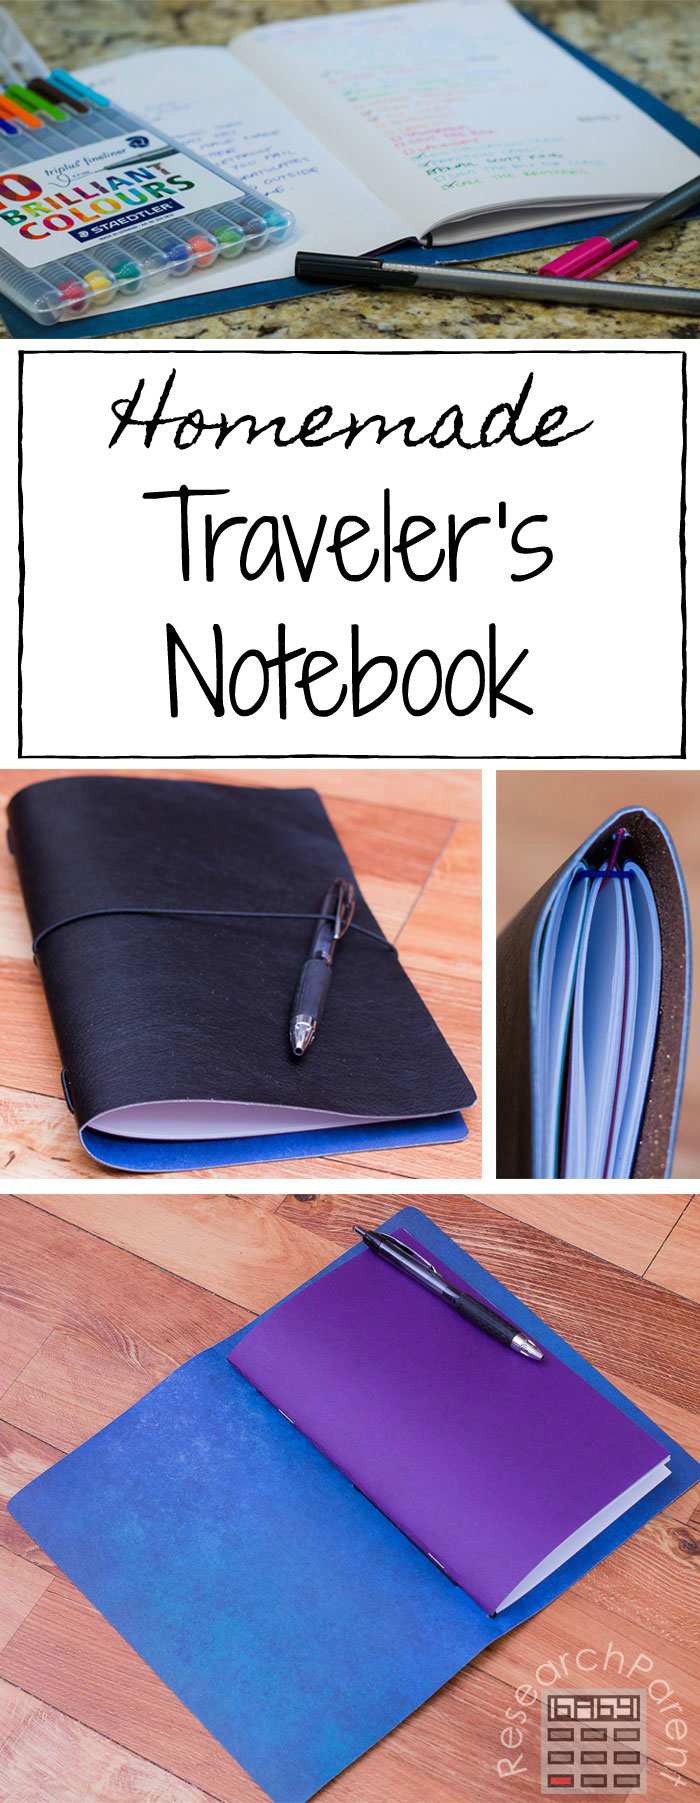
All together, it cost me about $20 in supplies from our local craft store to make the 4 Midori-style covers (mostly for the fabric). However, these covers should last a long time. Also, I still have some material left over and would have even more if I had planned a little better (see instruction notes). The booklets inside are simply 10 sheets of paper folded in half and stapled together with a piece of cardstock on the outside, so they are practically free.
I love that we can keep as many booklets inside our notebook as desired in order to organize our thoughts and ideas. Since we homeschool, I’m thinking about adding a booklet to each kid’s notebook to keep track of their daily assignments. Since I love the idea of Charlotte Mason style nature studies, we might also each use one booklet as a nature journal.
I’ve been using my traveler’s notebook daily for about 3 weeks now. So far, I only have one booklet in mine that I have been using a bit like a not super-fancy or decorated bullet journal. I have running to-do lists as well as pages dedicated to different topics like books I want to read and recipes I want to try. I can definitely see how in the future I might want to separate different topics into different booklets so that some will stay long term and others will get replaced every few weeks.
Overall, I’m pretty excited about our notebooks. I haven’t started encouraging my kids to use theirs yet, but I’ve already seen my oldest doodling and writing some story ideas into his which makes me happy.
Recommended Age Range: Kindergarten, Elementary, Middle School, High School, Adult
Time Required: ~20 minutes
Difficulty: Easy
Cost: About $4-$5 in used supplies per book
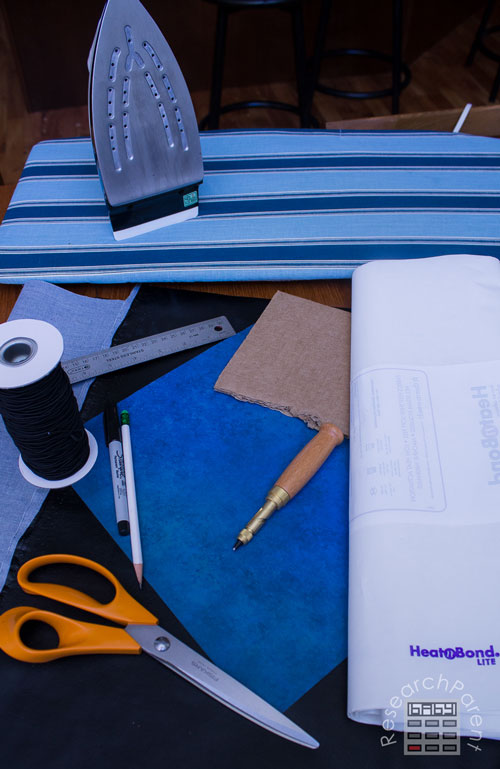
Materials:
- Vinyl (or leather) – According to the YouTube tutorial this should be at least 12″ x 12″. However, since it is eventually trimmed to 11.75″ by 9.5″, a more conservative estimate is at least 12″ x 10″. I got mine in-store at Joann Fabric’s with a 40% off coupon.
- Iron-on Adhesive – The YouTube tutorial recommends Heat’n Bond Ultra. I accidentally used Heat’n Bond Lite which is a little cheaper, but it seems to have worked well. If you only need a small piece, it’s a lot cheaper to buy it in store, since you can buy it by the yard.
- Scrapbook paper – The tutorial recommends 12″ x 12″ (which is the standard size), but really any paper that is at least 12″ x 10″ will do. My daughter wanted a glittery gold piece of scrapbook paper that was more like cardstock and that also worked well.
- Elastic cord – I used 2 mm cord for my notebook and 1 mm cord for my kids’ books. Both seem to work well. You need at least 1 yard per traveler’s notebook. (More if you want to add more booklets.)
- 1 sheet of cardstock or colored paper (for a cover) and 10-12 pieces of 8.5″ x 11″ paper for each booklet
Supplies & Tools:
- pencil
- ruler
- scissors
- iron and ironing board
- round cap (like a small Sharpie – to trace for making rounded corners)
- X-acto knife (to cut round corners and trim booklets so they have a clean edge)
- Japanese screw punch or awl
- piece of cardboard or scrap wood to put underneath screw punch or awl so you don’t damage any surfaces
- long armed stapler – Tutorial recommends threading booklets, but I prefer the stapler as it’s much faster. If you don’t mind half of your pages being a little bent, you can also use a regular stapler and just fold the pages a bit so that the stapler will reach to the middle of the book.
Instructions:
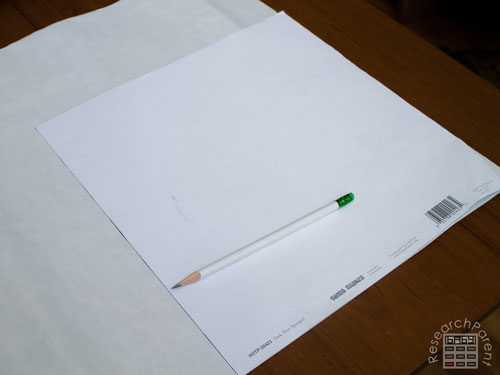
- First, trace the scrapbook paper onto the iron-on adhesive. (If you want to make sure not to waste any material, you might want to think about trimming your 12″ x 12″ sheet of scrapbook paper down to 12″ x 10″ before this step. I did not do this, but if I had, I would have been able to make 1 or 2 more traveler’s notebooks out of the supplies I bought.)
- Cut out the piece of iron-on adhesive.
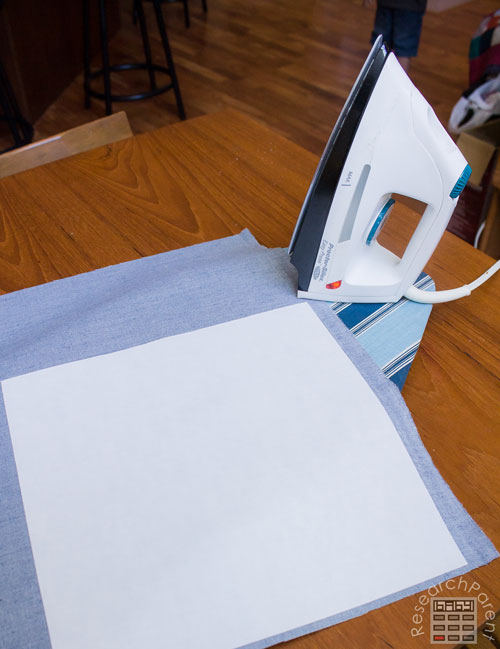
- Place the vinyl onto an ironing board with the vinyl side down and the fabric side up.
- Place the textured side of the iron-on adhesive down onto the fabric. Iron each section for at least 8 seconds.
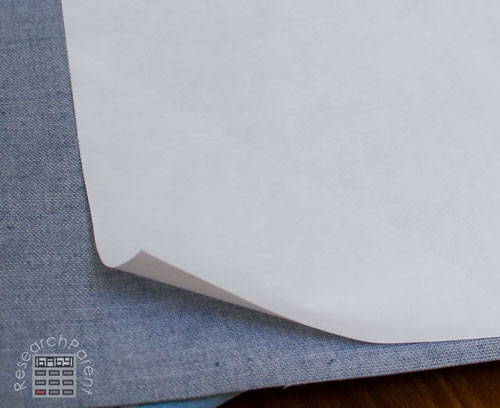
- Peel off the backing from the iron-on adhesive.
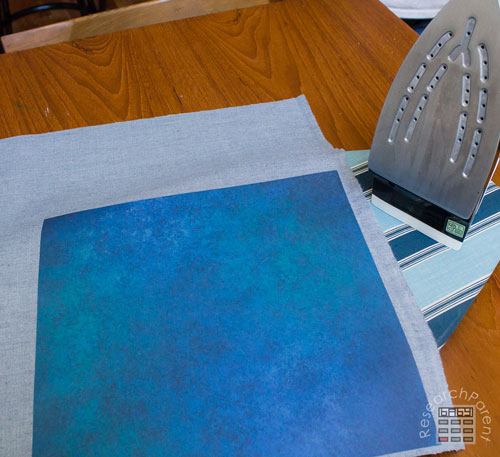
- Carefully line up the scrapbook paper with the iron-on adhesive and go over it with an iron.
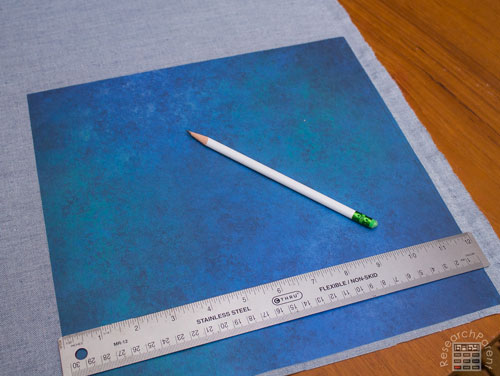
- Use a ruler to mark a rectangle 11.75″ X 9.5″ onto your scrapbook paper.
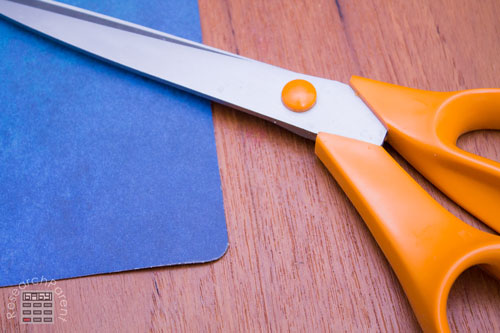
- Cut out the 11.75″ x 9.5″ rectangle.
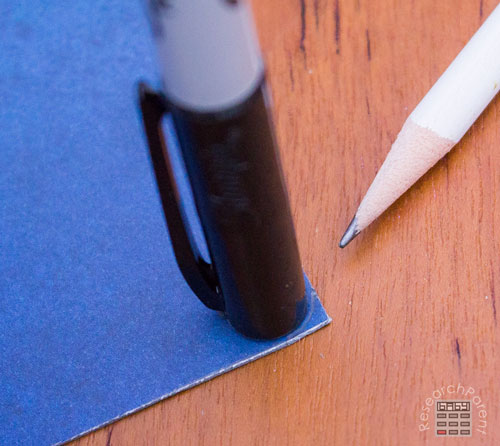
- Use a pen cap to trace rounded corners onto the edges.
- Cut out the rounded corners.
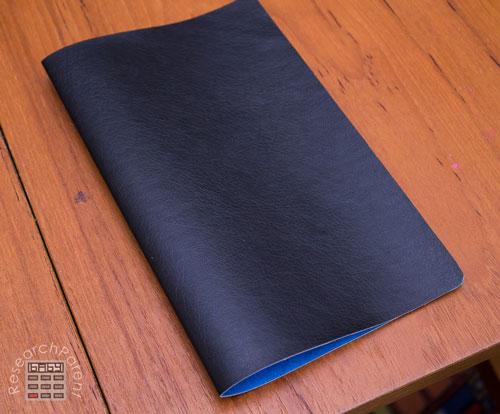
- Fold the cover in half.
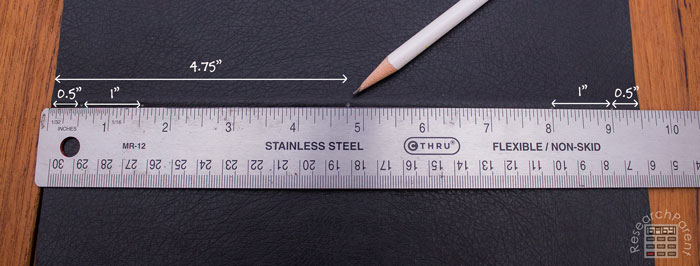
- Use a pencil and ruler to mark 1/2″ from each edge, 1.5″ from each edge, and in the middle (at 4.75″ from either edge).
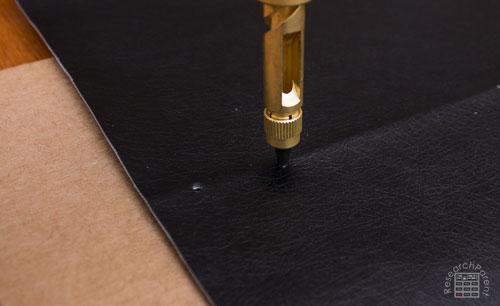
- Use a Japanese hole punch or awl to make holes at the marked locations. Make sure your holes are big enough for your elastic cord to go through.
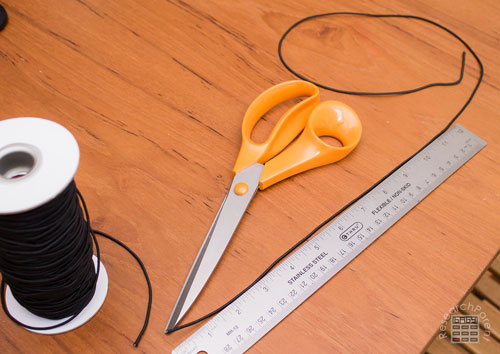
- Cut a piece of elastic cord about 3 feet (1 yard) long.
- Fold in half and stick it through the center hole from the inside.
- Pull the loop so that it is big enough to fit over the width of the cover.
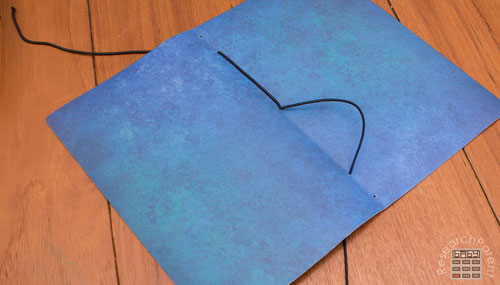
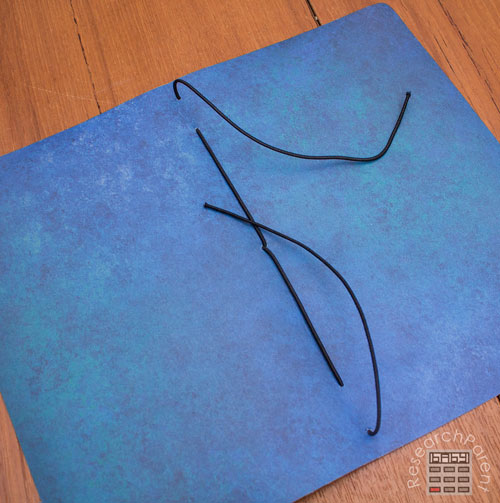
- Pull the loop off the book. Open it up and thread the elastic cord through the 2 holes closest to the center as shown.
- Next thread the cord back through the holes closest to the edge to bring them back inside the traveler’s notebook.
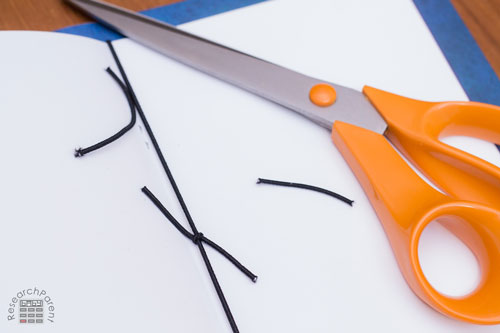
- Insert your booklet into the middle of the traveler’s notebook opening it up to the center. Tie the elastic cord snug enough to hold in the book, then cut the excess cord.
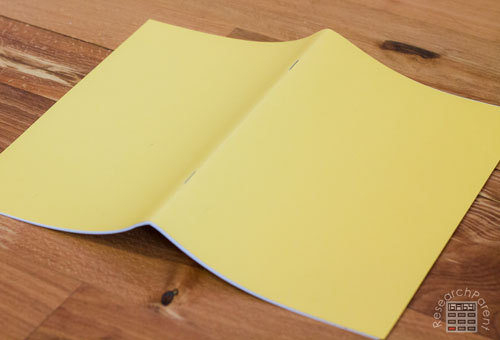
- If you do not have booklets, you can make some by placing a piece of cardstock on top of 10 to 12 sheets of regular 8.5″ x 11″ paper. I used a long-arm stapler to staple my booklets together, but you could also saddle stitch them together with thread as recommended in the YouTube video.
- If you want them to have nice, neat edges, use an X-acto knife and a ruler to trim the booklets to a width of 5.25″.
- To add more booklets to your traveler’s notebook, tie another piece of elastic cord around the center booklet.
- Next slide a booklet onto the cord you just added.
- If you would like a third booklet, slide booklets into the front and back of the added cord.
- If you wanted to add even more booklets, you can continue to tie extra pieces of elastic cord around your bundle of booklets and sliding on extra booklets at the front and the back.
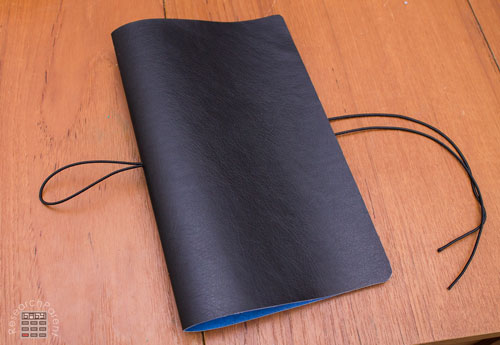
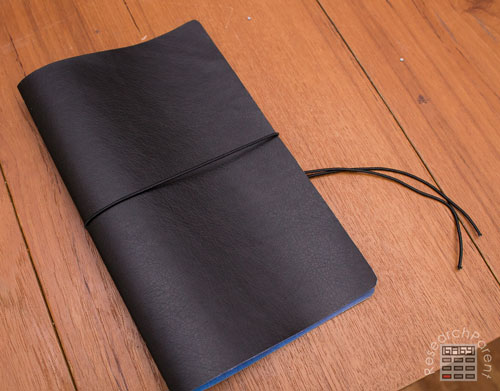
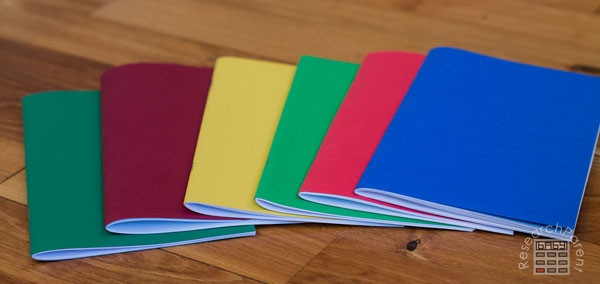
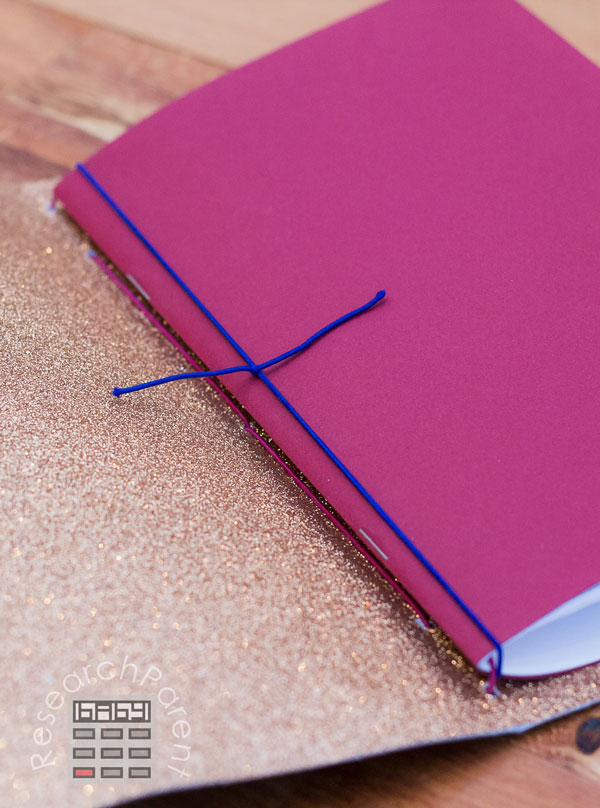
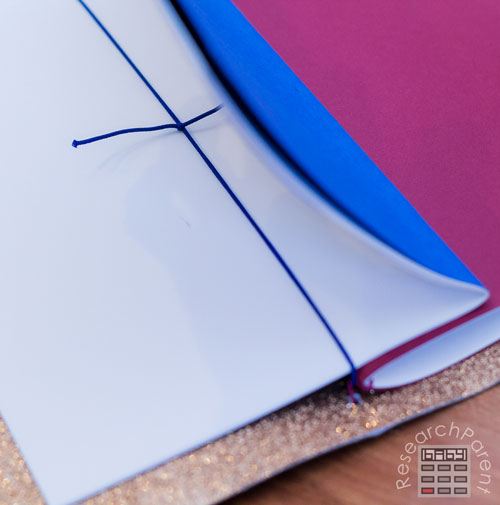
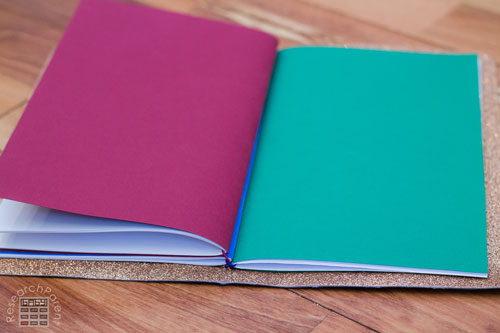
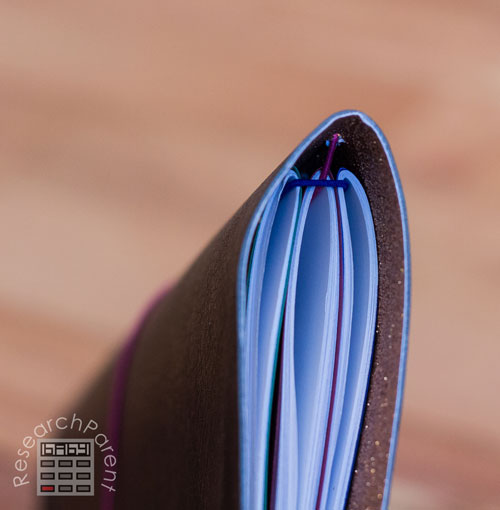
By adding booklets, you can completely customize this homemade traveler’s notebook to fit your needs. When a book fills up, simply slide it out and add in another one. Since they are so easy to swap out, you could also carry different booklets with you on different days depending on what you are doing that day.
Enjoy!
Click here for more Language Arts activities for kids.
Related Links
Social Science Activities for Kids
Learning Activities for Kids
Robotics Activities for Kids


Leave a Reply