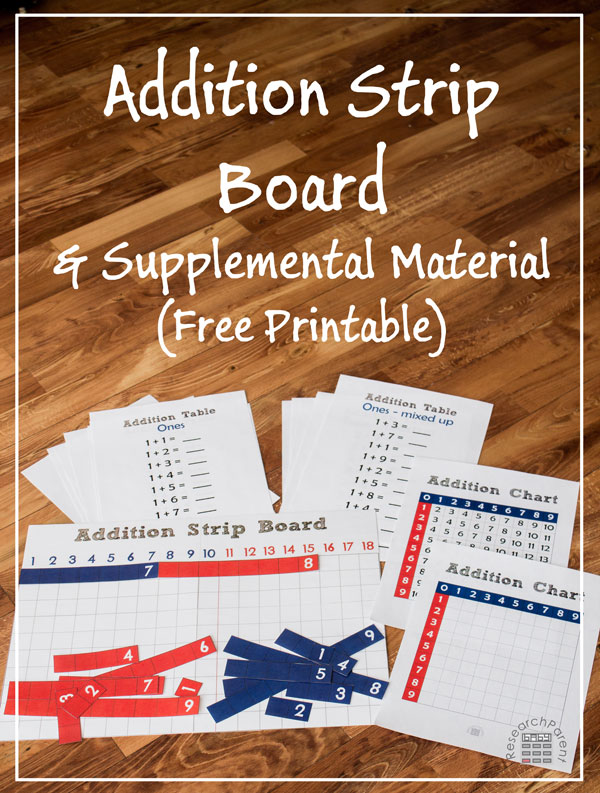
Who doesn’t love the Montessori, hands-on, self-correcting style of learning? It seems like most kids learn best when they get to move pieces around with their hands to understand how things work rather than have someone verbally explain a concept to them. I created this addition strip board and the associated addition table worksheets and addition chart using the book, Teaching Montessori in the Home: The School Years by Elizabeth Hainstock (affiliate link). In the future, I plan to make subtraction, multiplication, and division printables as well. If you’d like to be notified when they’re available, please consider signing up for my newsletter.
I recently decided to try homeschooling my oldest child for kindergarten rather than continuing to send him to the Montessori school he’s been attending for the past couple years. However, I still want him to have exposure to all the wonderful Montessori tools. Granted, we just started homeschooling a week ago, so he still has a lot of enthusiasm in general, but he loves using this board and the associated strips to add single digit numbers together. We haven’t attempted the full addition chart yet, but he’s done many of the tables, and I’m confident that he understands the concept of addition. He’s even getting better at adding numbers together in his head.
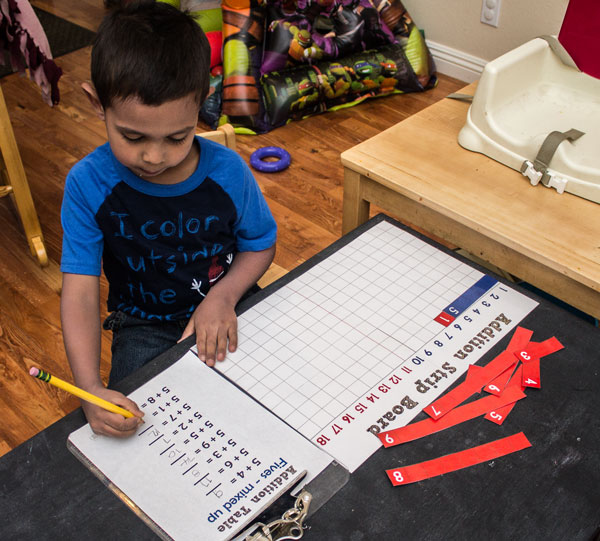
Full instructions for creating and using the board and associated worksheets are below.
Recommended Age Range: Preschool, Kindergarten
Time Required: Less than 1 hour
Difficultly: Easy
Cost: Free printable, less than $2 in used supplies
Materials:
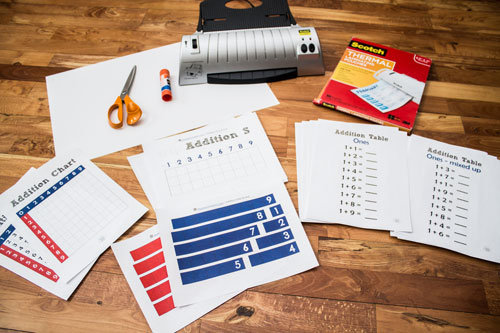
- Printed Addition Strip Board document
- Optional: Printed Addition Tables and Addition Tables – Mixed Up
- Optional: Printed Addition Chart document
- 6 laminating pouches
- 1 sheet of poster board (I used a 14″x22″ sheet, though it will be trimmed to roughly 13″x18″)
Supplies & Tools:
- laminator
- scissors
- glue stick
Instructions:
- Print out the Addition Strip Board document.
- Laminate all 6 sheets.
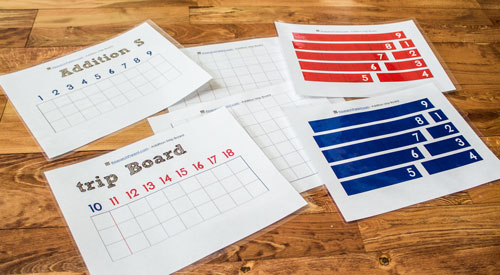
- Cut out the 18 addition strips (9 red and 9 blue) and set aside in an envelope or Ziploc bag.
- Cut out the 4 sections of the addition strip board.
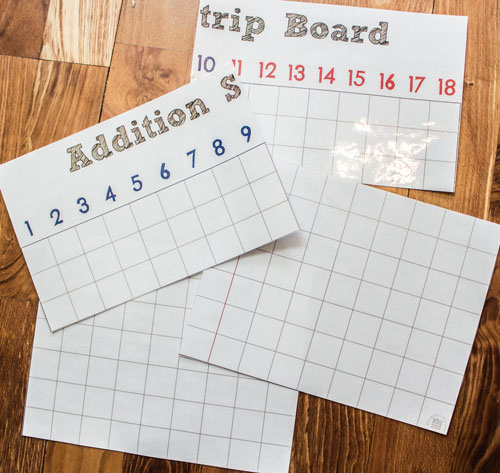
- Glue the 4 sections onto the poster board
- Trim the extra poster board.
- Print out the supplemental worksheets to be used with the board: Addition Tables, Addition Tables-Mixed Up, Addition Chart

To use the board, start with Addition Table: Ones. Have your child find the blue “1” square and place it in the upper left corner. Next have them find the red “1” square and place it next to the blue one square. Looking at the top row of numbers, they will see that their 1 blue square and 1 red square has brought them to the number “2”. They then can write the number 2 on the 1+1 line.
Next they leave their red square where it is, but move the blue “1” square down to the next row. Since the next problem on their worksheet is 1+2, they find the red “2” square and place it next to the blue “1” square to see that 1+2=3. They can keep moving down the board until their worksheet is complete.
After doing a few of these tables, they might realize that there is a pattern and that they can “cheat” by just adding 1 to their previous answer. For example, the answer on the Addition Table: Ones worksheet are 2, 3, 4, 5, 6, 7, 8, 9, and 10. Since my son realized this right away, I also made an optional Addition Tables: Mixed-Up version that requires them to actually prove that they understand how to add. This is not an actual Montessori tool, so your child won’t be missing the full experience if they skip it.
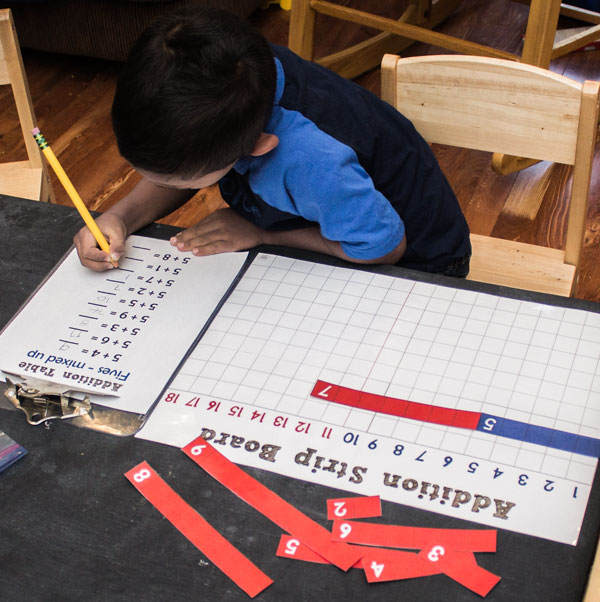
My son also does not like using all the rows on his Addition Strip Board, so I let him use whatever row he wants when completing his worksheets. He frequently just uses the top row for every problem.
After a child is good at doing their addition tables, they might want to attempt the full Addition Chart. To use the addition chart, you write the number in each box for the sum of the corresponding row and column. So, for example, when filling out row 4, the first box is 4+1 since it is in row 4, column 1, the second box is 4+2 since it is in row 4, column 2 and so on. A completed chart is included so that the child can compare their answers. A child may or may not need to use the addition strip board to fill out the chart depending on their abilities.
Click here for more Addition and Subtraction activities for kids.
Related Links
Mathematics Activities
All Learning Activities
Best Books for Kindergarten


Very nice! You know I love your printables :)
I love this printable! What a wonderful resource.
Thank you so much, Christina! I’m glad you like it. :)
DIG IT!!! Many thanks for linking up at Mom’s Library!!
I’m glad. :) You’re welcome!
Oh my goodness, my oldest is going to love this! He loves charts, and he’s been adding everything (everything!) lately. Can’t wait to print this out for him :-)
I hope he likes it! There’s always more I want to do than time in the day, but I’m planning to make the Montessori subtraction, multiplication, and division boards from the same book before too long (hopefully).
wow… thank you so much… you just saved my time and money
You are so welcome, Kartika! I am glad you are able to use my resource!