I LOVE Montessori teaching tools, especially for math. They’re so hands-on and they make learning so intuitive. My 6-year-old uses our homemade “golden” beads all the time. I feel like those beads combined with our number symbol cards are going to get us pretty far. However, constructing that set of beads was undeniably a time commitment and it’s nice to have variety in our math lessons once in awhile. Therefore, a few months back, we made this free, Montessori-style addition strip board. Now, here’s a subtraction strip board to go along with it.
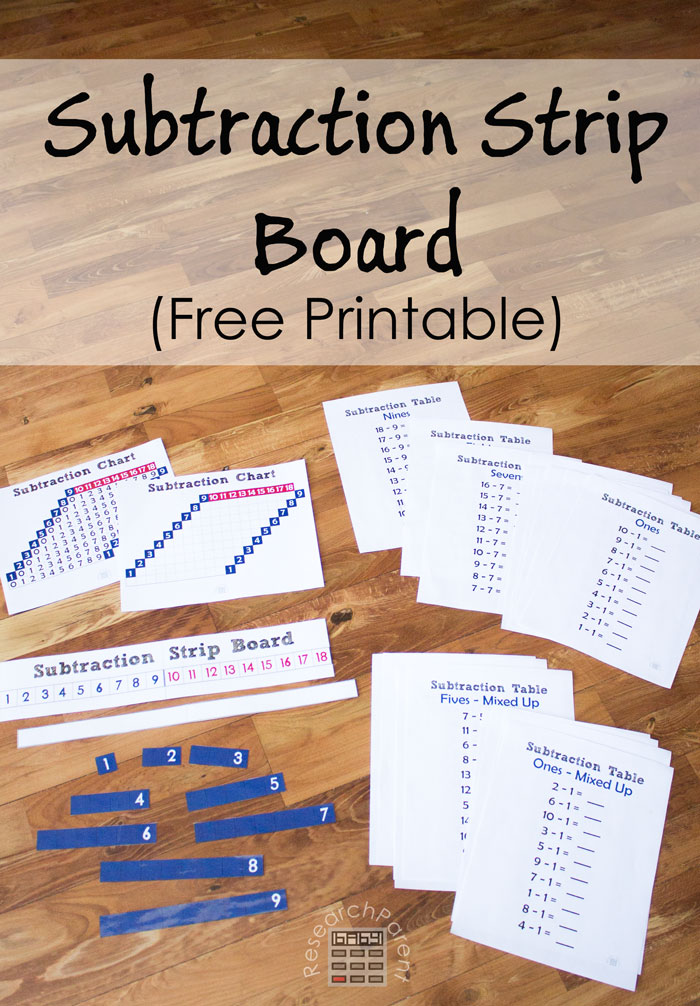
If you like this style of learning tools as well and are interested in free, printable versions of the multiplication and division Montessori learning tools, sign up for my newsletter to stay up-to-date (and receive some free educational printables). The more advanced math learning tools are on my near term to-do list.
Recommended Age Range: Preschool, Kindergarten, Early Elementary
Time Required: Less than 1 hour
Difficultly: Easy
Cost: Free printable, less than $2 in used supplies
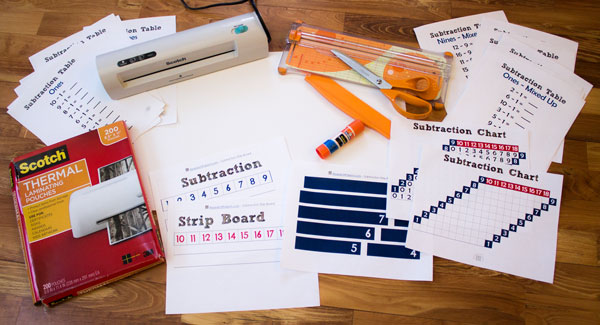
Materials:
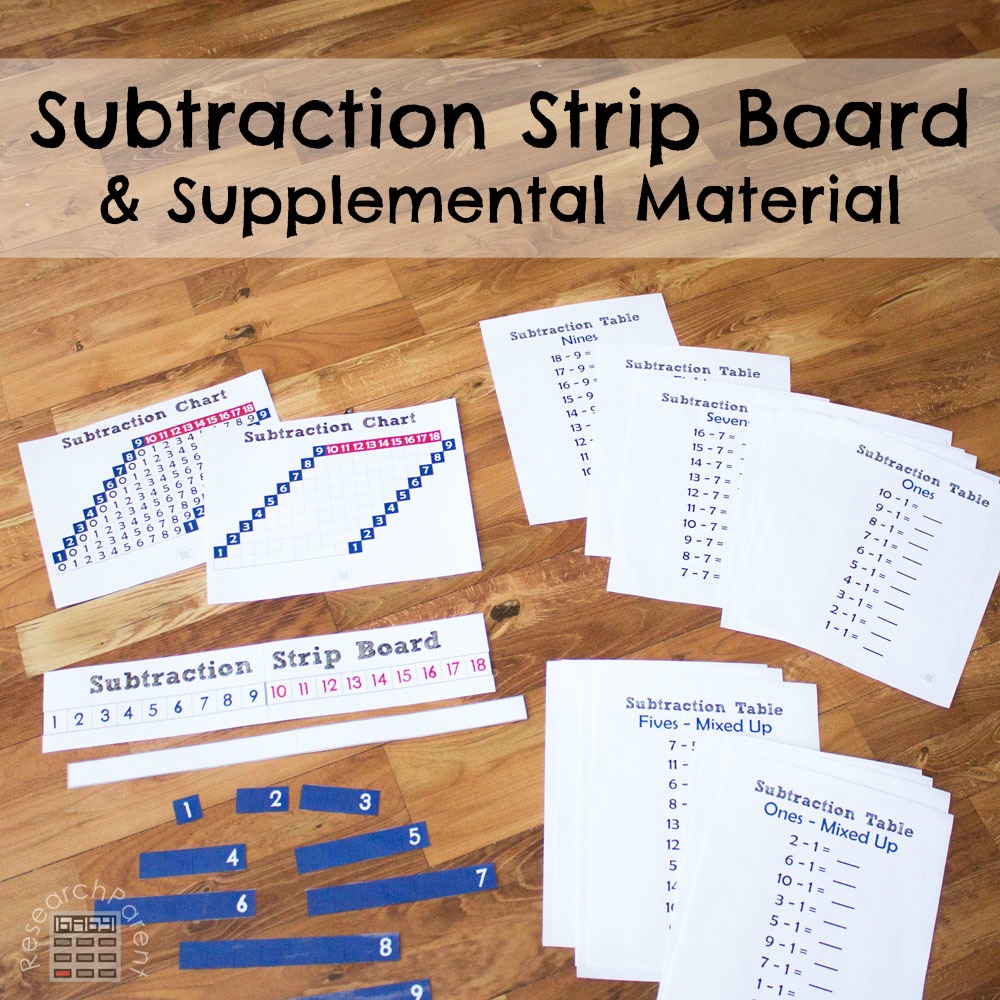
- Printed Subtraction Strip Board document
- Optional: Printed Subtraction Tables and Subtraction Tables – Mixed Up
- Optional: Printed Subtraction Chart document
- 3 laminating pouches
- 1 sheet of poster board (I used a 14″x22″ sheet, though it will be trimmed to roughly 5″x18″)
Supplies & Tools:
- laminator
- scissors
- paper trimmer (optional)
- glue stick
Instructions:
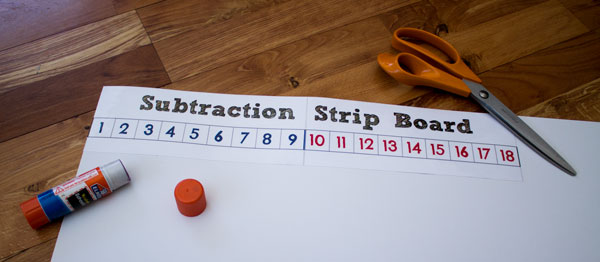
- Print out the Subtraction Strip Board document.
- Laminate all 3 sheets.
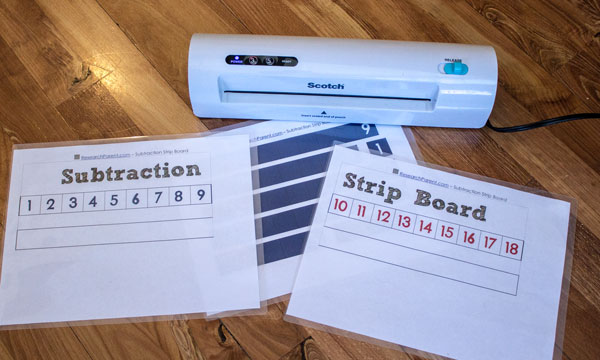
- Cut out both halves of the subtraction strip board and the long white strip as well as the 9 numbered pieces.
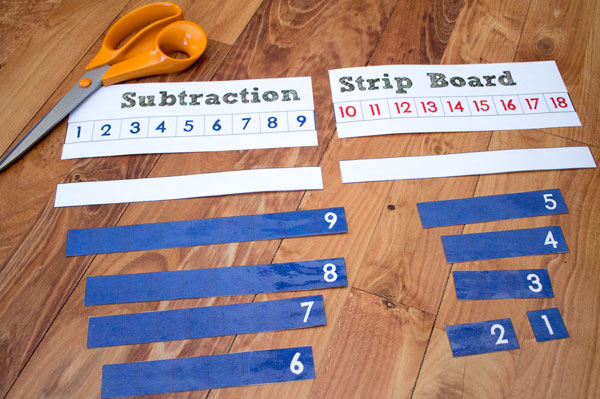
- Glue both halves of the Subtraction Strip Board onto the poster board and cut out. Repeat process with the long white strip.
- Print out the supplemental worksheets to be used with the board: Subtraction Tables, Subtraction Tables-Mixed Up, & Subtraction Chart
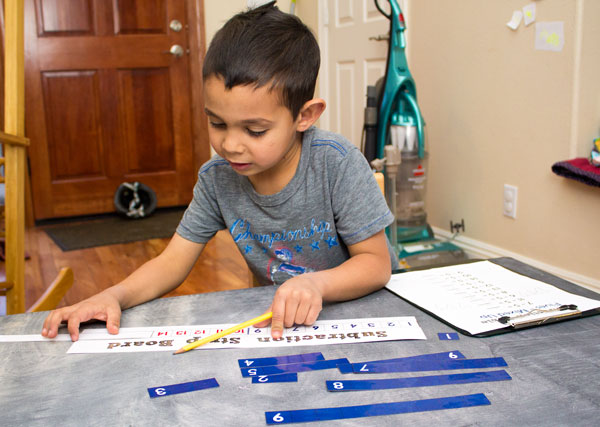
To use the subtraction board, use the long, white strip to cover up all the numbers past the first number in the problem (the big number). For example, if the problem is 14 minus something, the child would use the white strip to cover up the number 15 and beyond as shown.
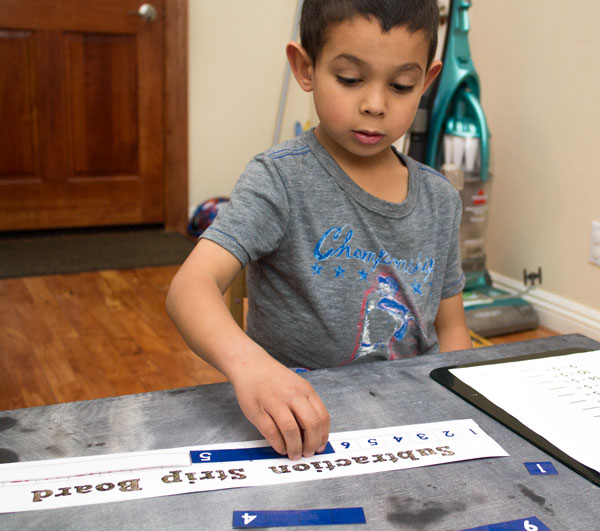
Next the child would find the blue strip corresponding to the number that is being subtracted and place that next to the white strip. For example, if the problem is 11 minus 5, first the child would use the long, white strip to cover up the numbers 12 through 18. Then he would find the blue strip consisting of 5 squares and place this 5-strip next to the white strip which would cover up numbers 7, 8, 9, 10, and 11. The numbers remaining would be 1 through 6. Therefore, the answer to the problem would be 6, as shown.
To use the supplemental worksheets, I recommend starting with Subtraction Table: Ones and progressing through Subtraction Table: Nines if this seems to be at your child’s level. If your child quickly realizes that there is a pattern to the answers and stops thinking about what the problems actually mean, you might want to skip to the Mixed Up Subtraction Tables to give them more practice using the board. Lastly, you can have your child fill out the Subtraction Chart. To use the chart the child picks an empty box and subtracts the number to the right of that box from the number straight above. An answer key is provided. In this case it is completely okay, even desirable, for your child to realize that there is a pattern to the table.
Related Links
Mathematics Activities
All Learning Activities
Best Books for Kindergarten


Thank you for the materials, It makes me very happy to see father’s interacting with their children. I’m a Montessori teacher and I love the materials too. Keep it up , you are doing an awesome job.