I did not enjoy history as a child. (Or teenager. Or young adult.) I thought all the dates and facts and figures were incredibly boring. However, now that I’m an adult learning history again, this time with my kids, I think it is fascinating. I want my children to love history. I want them to feel connected to the past. Through hands-on activities, like this ancient Mesopotamian cuneiform activity, the key phrases I want my kids to remember, like “Ancient Mesopotamia” and “cuneiform” become more firmly cemented in my children’s minds. Those words then become hooks that they can hang later learning on. I don’t test them on what they learn, but through experiences my kids are growing to at least appreciate history.
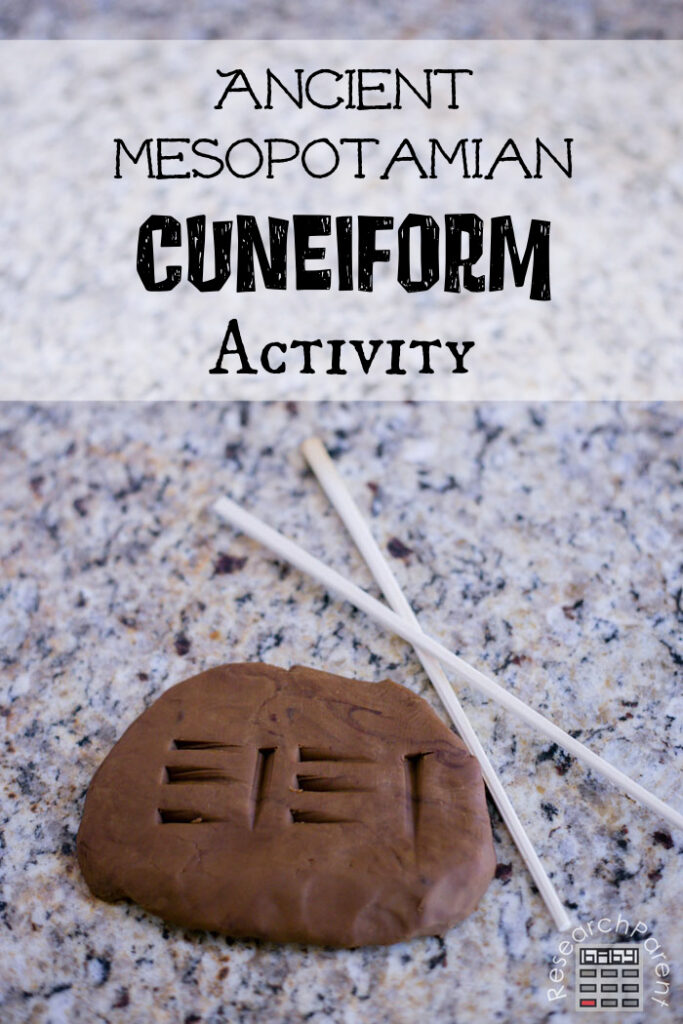
If you are low on time, a simpler way to do the activity described below would just be to grab some play-doh or clay and a couple chopsticks or even pencils. Do an image search for “Cuneiform alphabet chart” then have your kids use the chart to write a short message. Know that any chart you find will be an oversimplification, but it wills till get the point across to your kids.
My kids all tried to write their names. In the image above, I wrote “mama” using the chart found in the Story of the World Ancient Times Activity Book. There is another chart in our History Quest: Early Times Study Guide which I suspect is slightly more accurate, but I thought it might be a little two complicated for my younger kids.
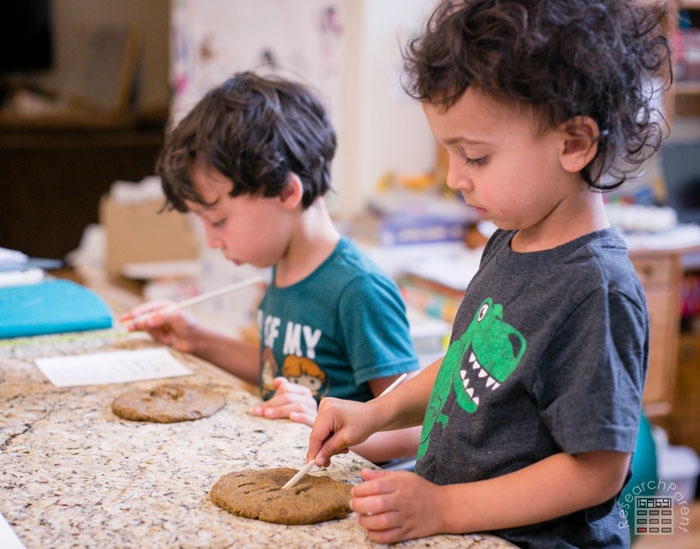
I wanted to make the activity a little more realistic for my kids so we made some homemade air dry clay and colored it brown with coffee. I’m hoping I can get a tutorial up just for the clay before too long, but for now, I’m including that step-by-step process below.
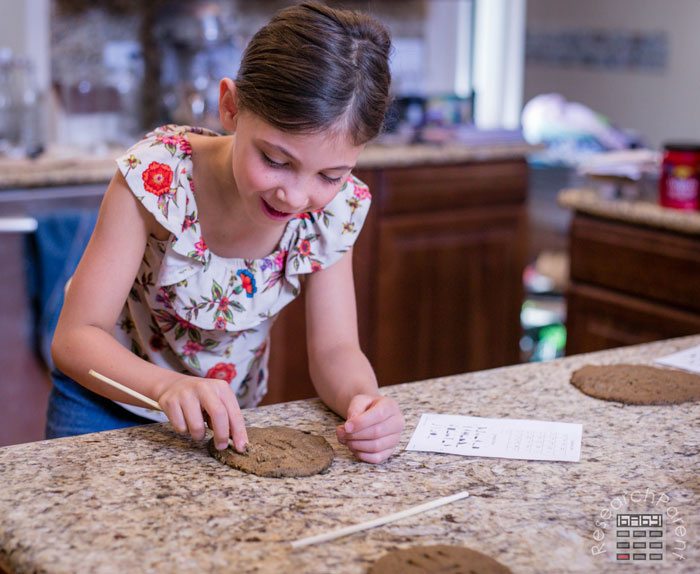
Also, we could have just used chopsticks as is, but I decided to carve the ends a bit with a knife so that the shapes made would be a little more triangular. Neither of these added steps are necessary, but I felt like they would help my kids remember:
- Ancient Mesopotamians wrote their cuneiform in clay tablets.
- They used reeds which left triangular markings.
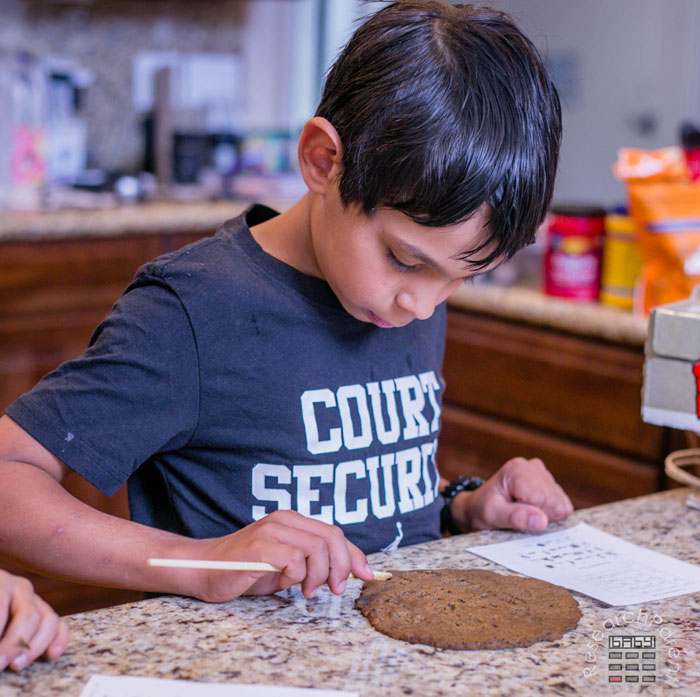
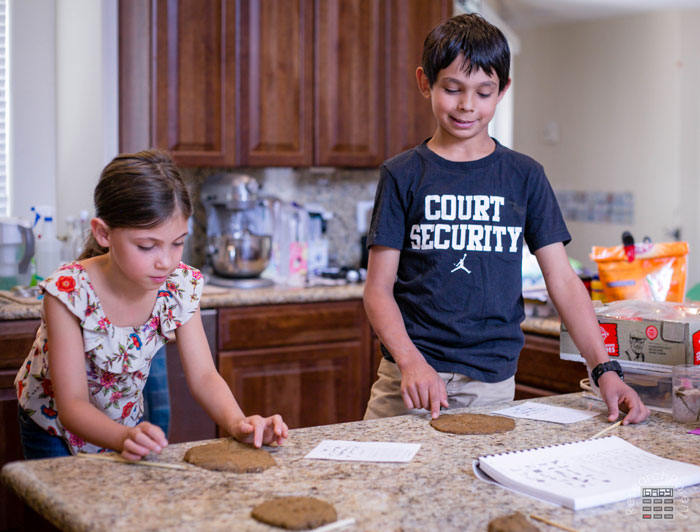
Overall my kids had a great time. My 10 year old even went above an beyond and basically wrote an entire paragraph for me to decipher.
Ancient Mesopotamian Cuneiform Activity Details
Recommended Age Range: Kindergarten, Elementary
Time Required: about 30 minutes to make the clay and shape chopsticks, 15 minutes for kids to write name in clay
Difficulty: Easy
Cost: Less than $3 in used supplies
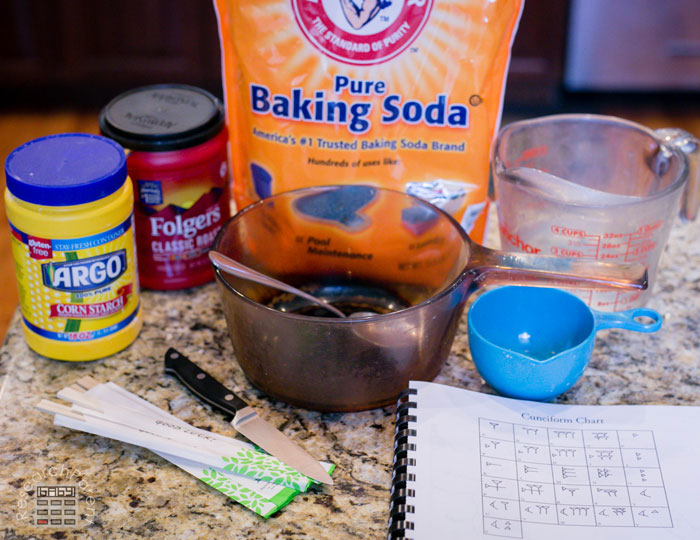
Materials
- 1 cup baking soda
- 1 cup corn starch
- 1/2 cup coffee grounds or instant coffee crystals (the pin at the top is made with instant coffee, this tutorial shows grounds – note that the instant crystals give a more uniform color, but are more likely to stain hands, clothes, and surfaces)
- 1.5 cups water
- chopsticks
Supplies
- knife
- 1 cup measuring cup
- 1/2 cup measuring cup (not pictured)
- pot for heating on stove
- spoon for stirring
- measuring glass
- stove
Instructions
- Measure 1 cup of cornstarch and place it in the pot.
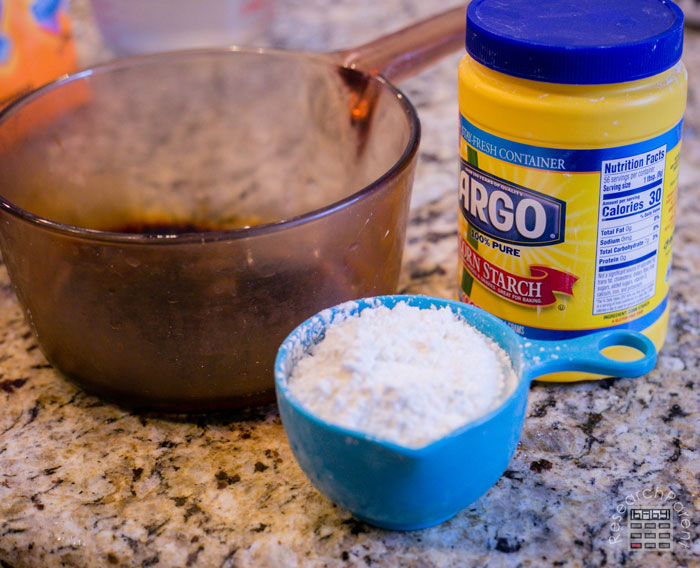
- Measure 1 cup baking soda and add it to the pot.
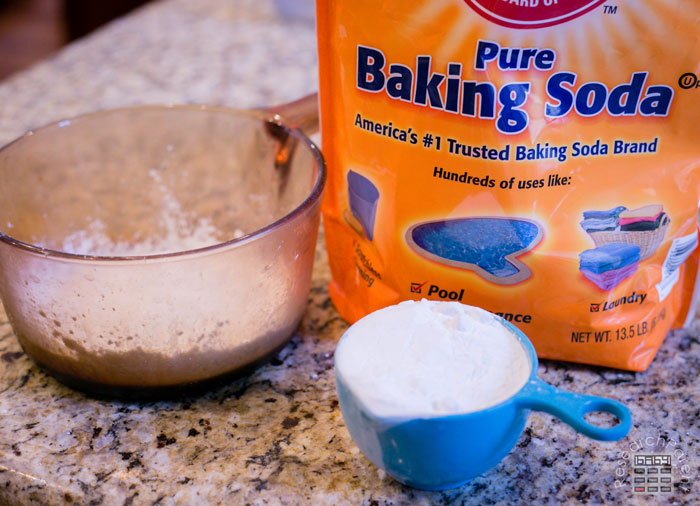
- Stir the baking soda and cornstarch together.
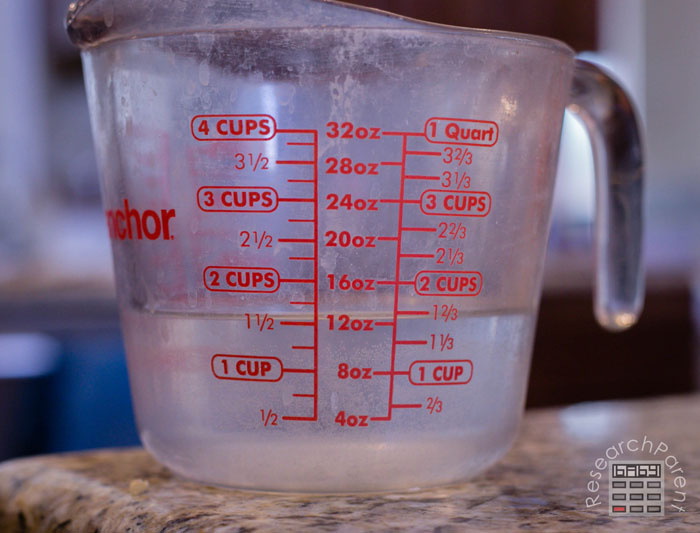
- Measure 1.5 cups of warm water.
- Measure a half cup of coffee grounds or instant coffee crystals. You can use more less depending on the color clay you want. The instant coffee gives a more uniform color while the coffee grounds do not fully dissolve leaving a more spotted, grainy look. However, note that even if you use ground coffee, when it dries, the “clay” has a more uniform color.
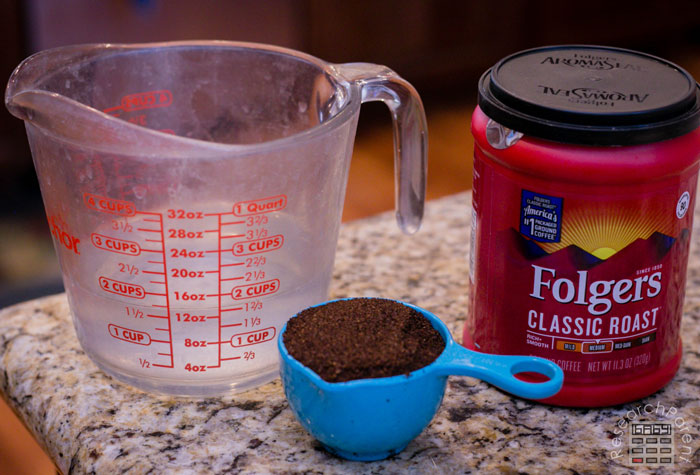
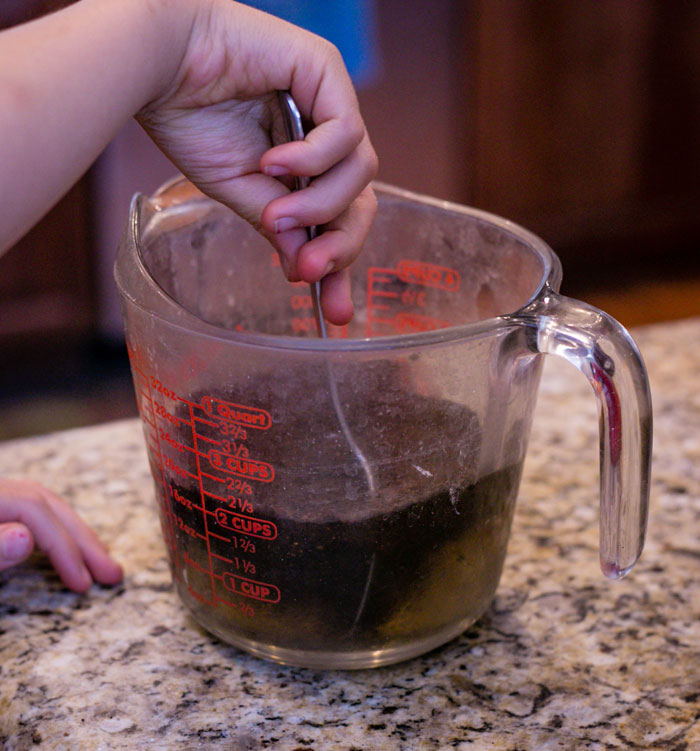
- Stir the coffee grounds or instant coffee crystals into the water.
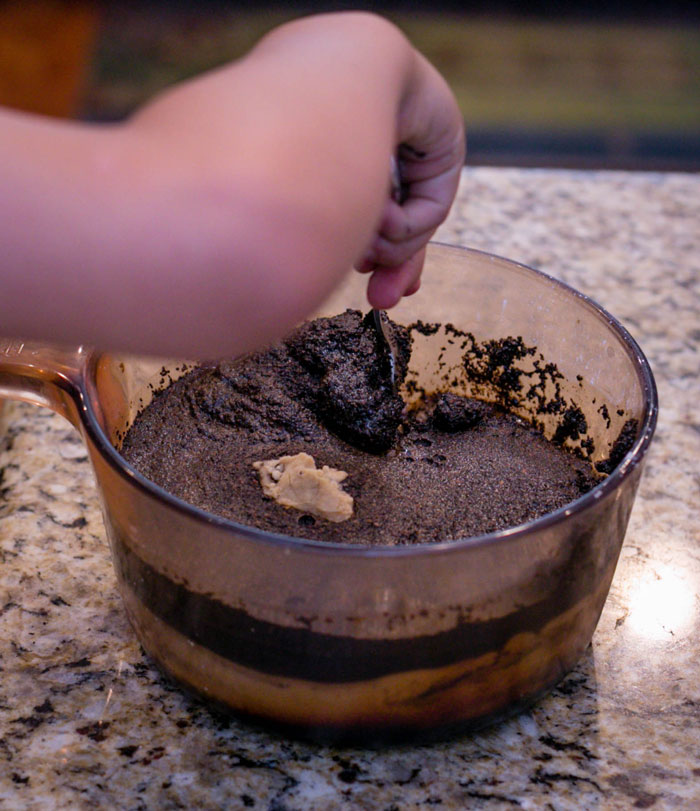
- Stir the dark liquid into the cornstarch and baking soda mixture.
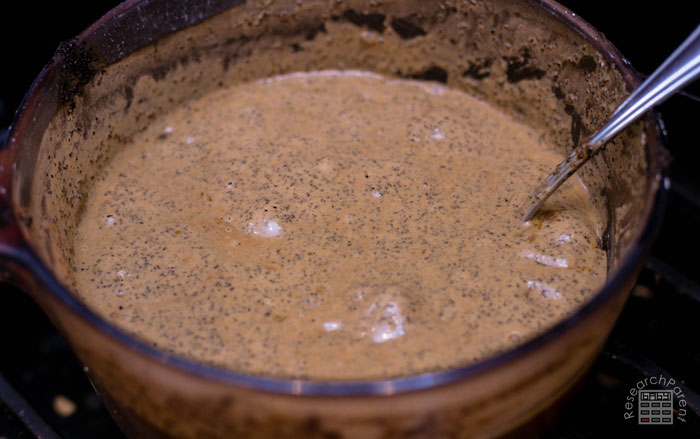
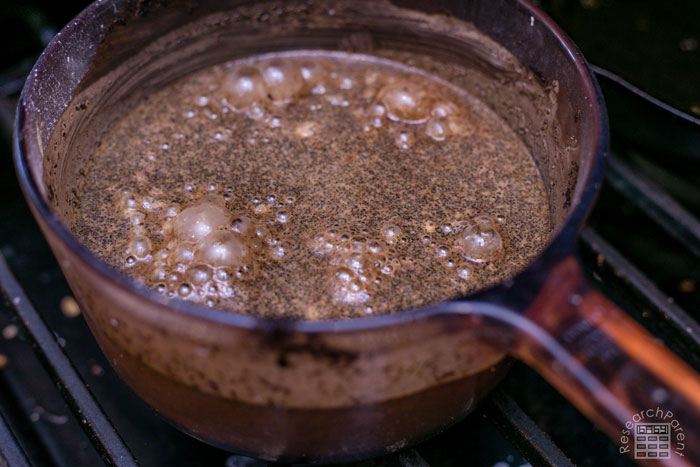
- Heat the mixture on the stove over low heat stirring frequently.
- While the mud clay mixture is heating, start working on your writing instruments. First, break the chopsticks apart.
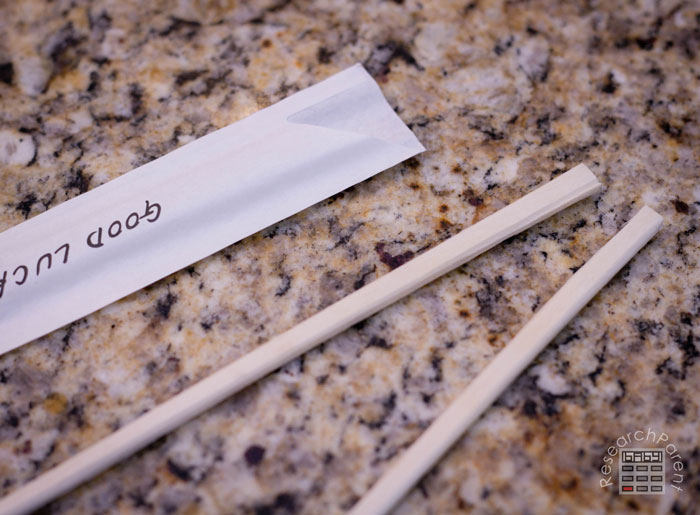
- Use a knife to sharpen the edges of the fatter end of the chopsticks.
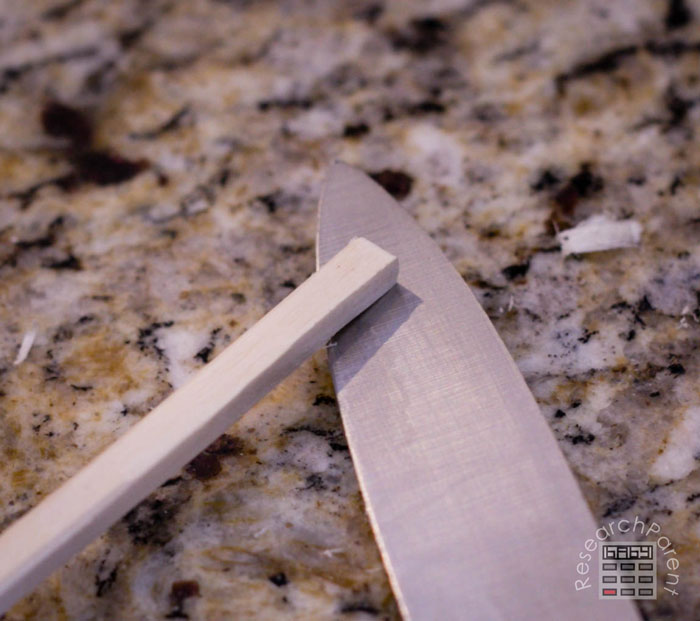
- Don’t forget to stir your clay!
- Next, cut off the tip of one of the edges to form a small triangle.
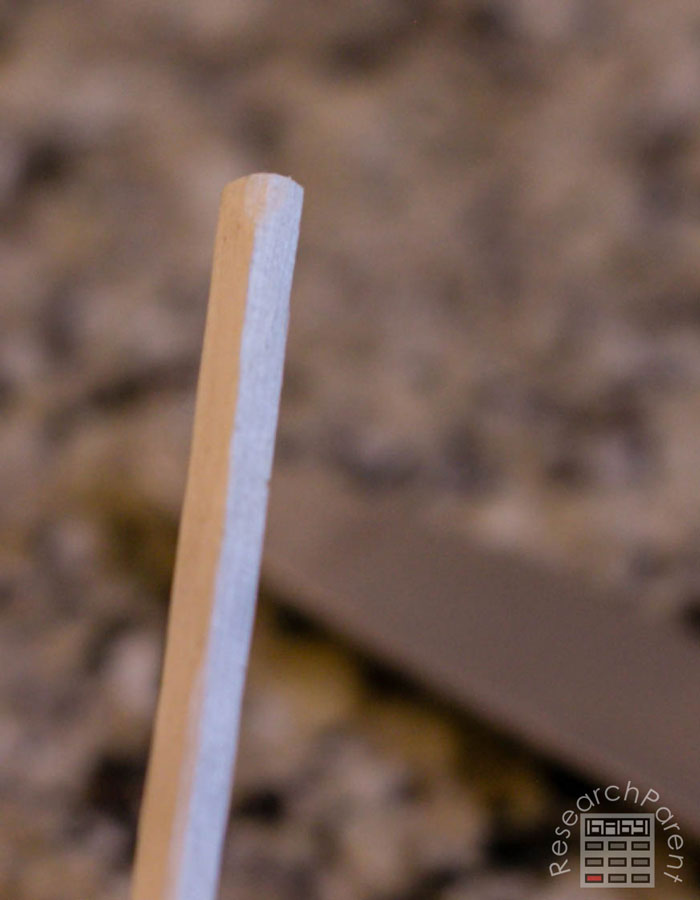
This images has lines drawn to make the carved shape more clearly visible.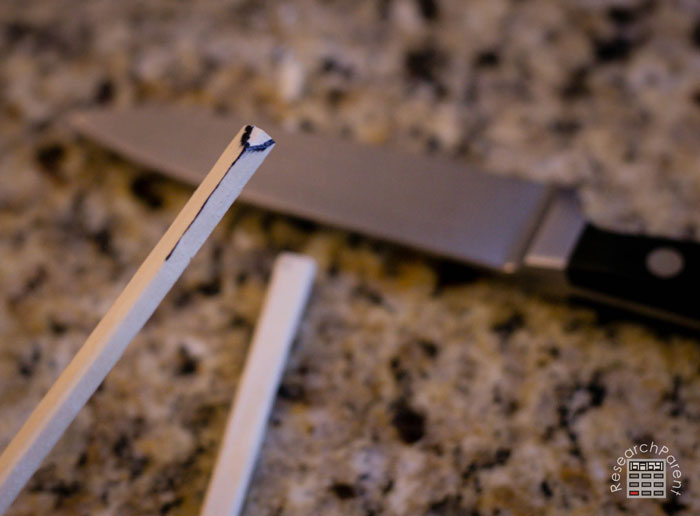
- Repeat the above steps until you have desired number of writing instruments (ideally one for each child).
- Continue stirring your clay. You will know it is done when it has the consistency of mashed potatoes. This should take about 10 or 15 minutes. Note that it will thicken a little as it cools.
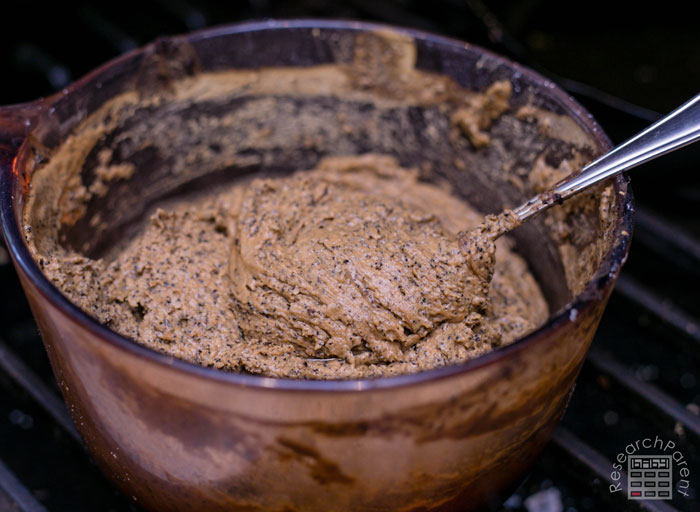
- Pour the clay onto a plate to allow it to cool.
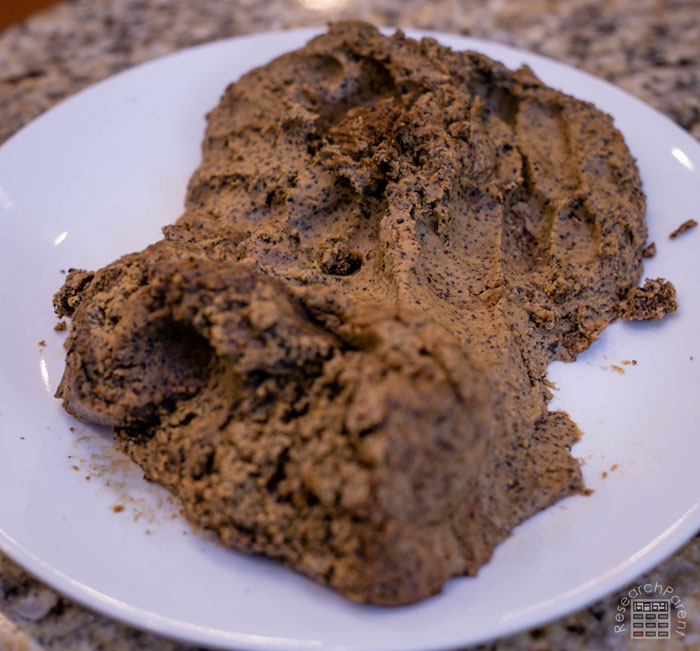
- After it cools, shape it into a block and cut it into the desired number of slabs (one for each child).
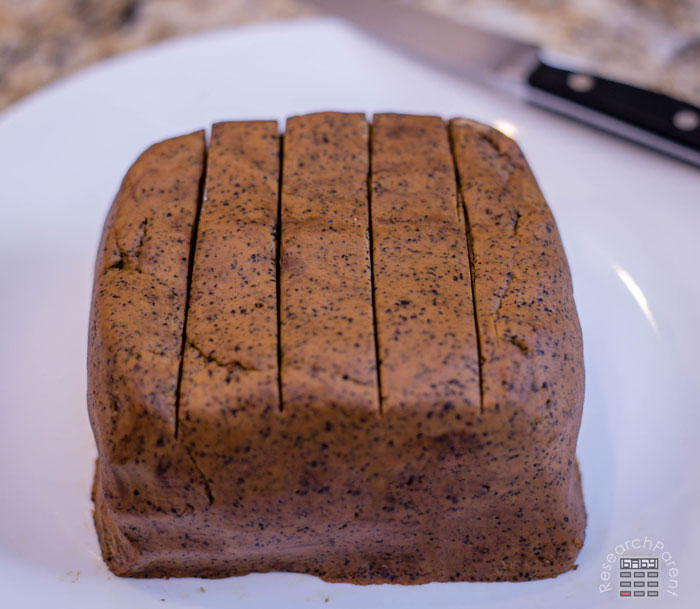
- Have each child take their portion and mold it into one or several clay tablets. Then they can use their writing “reeds” to make some triangular marks in the clay. They can either make their own designs or use an alphabet chart to write a secret message for you to decode.
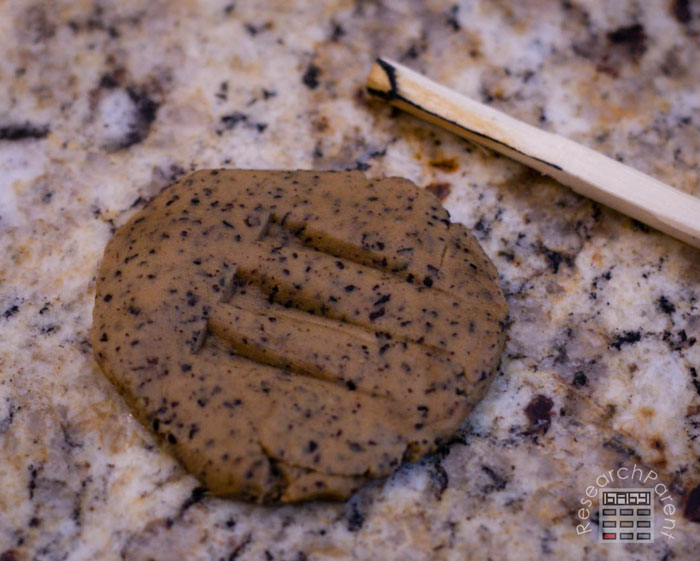
Note that even if you use the ground coffee instead of the instant coffee, when it dries it has a more uniform color. I’m really not sure why that is!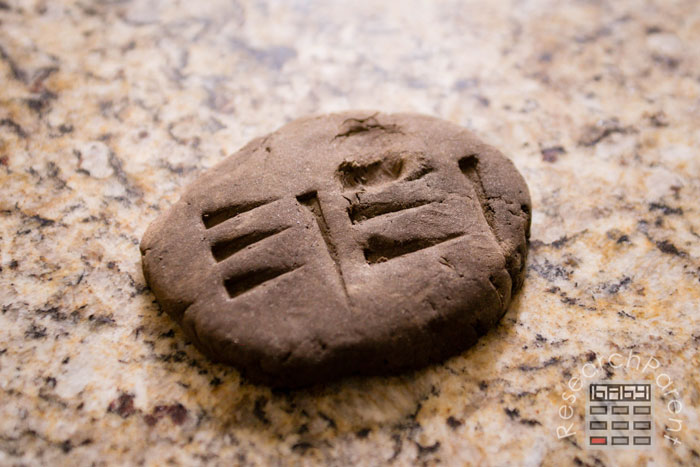
I hope your kids have fun being scribes with this fun, hands-on ancient Mesopotamian cuneiform activity!
Related Links
History Activities for Kids
Social Science Activities for Kids
Robotics Activities for Kids


This is such a fun activity! I’m curious if the “clay” dries so the students can keep their cuneiform tablet.
Yes, it does! Depending on the thickness, it will air dry in a day or two and you might need to flip it over to expose both sides to air. Also depending on the thickness, it might be a little fragile!
How many tablets will your recipe make? The picture shows 5. If I have 8 students would I be better off doubling it?
Thank you.
Hi Ann! I cut my block into 5 slabs. With 8 kids, I would probably double the recipe, but if you don’t mind them having smaller slabs, that could work too! Ours were pretty sturdy when they dried, so you could probably also go a little thinner, but if you go too thin, they will be fragile. Good luck!
If I wanted to do this at home and bring it into school, would placing it in an airtight container the night before keep it usable until mid-morning? Thanks!
Absolutely! That should definitely work. :)
Loved this history craft.
We used cinnamon to color the clay.
What a great idea! I bet that smells amazing too!