It is the end of an era. My youngest child finally knows his alphabet well enough that these homemade wall letter posters no longer make sense to display in my home as if we were a full-time preschool. Before I take them down, I thought I would share some of the ways these wall posters have worked for us over the last 10 years.
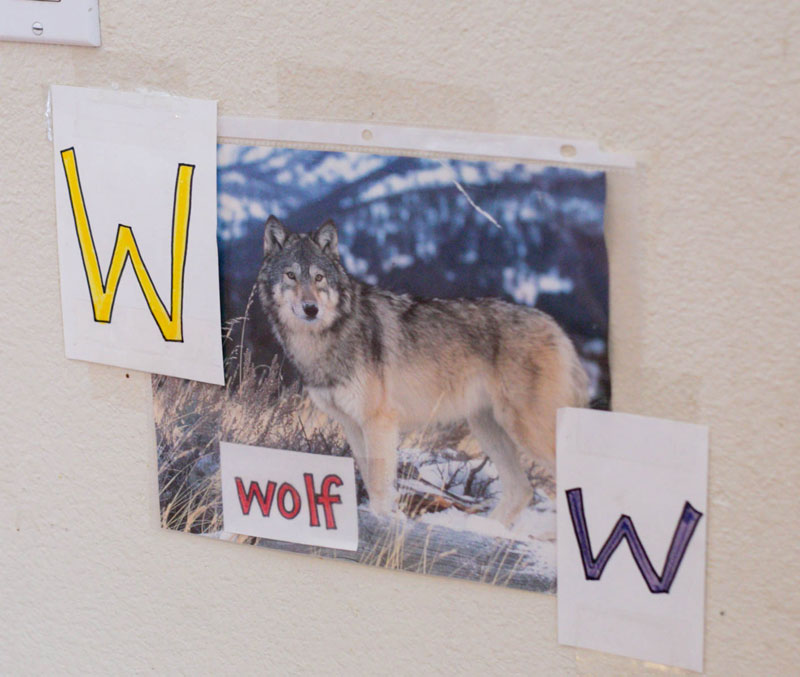
Originally, I didn’t start off by making them into alphabet displays. When my oldest was maybe 6 months old and we were practicing signing, I hung a few animals around the house….a frog, a deer, a panda, a wolf. When he would get a little fussy, we would walk around the house looking at all our animal friends and making the signs. It worked so well that if an unfamiliar visitor came over and wanted to hold him, I could pass him off and say, “Go show him the wolf.” Usually, he would be distracted from wanting me because he was so excited to see the animals.
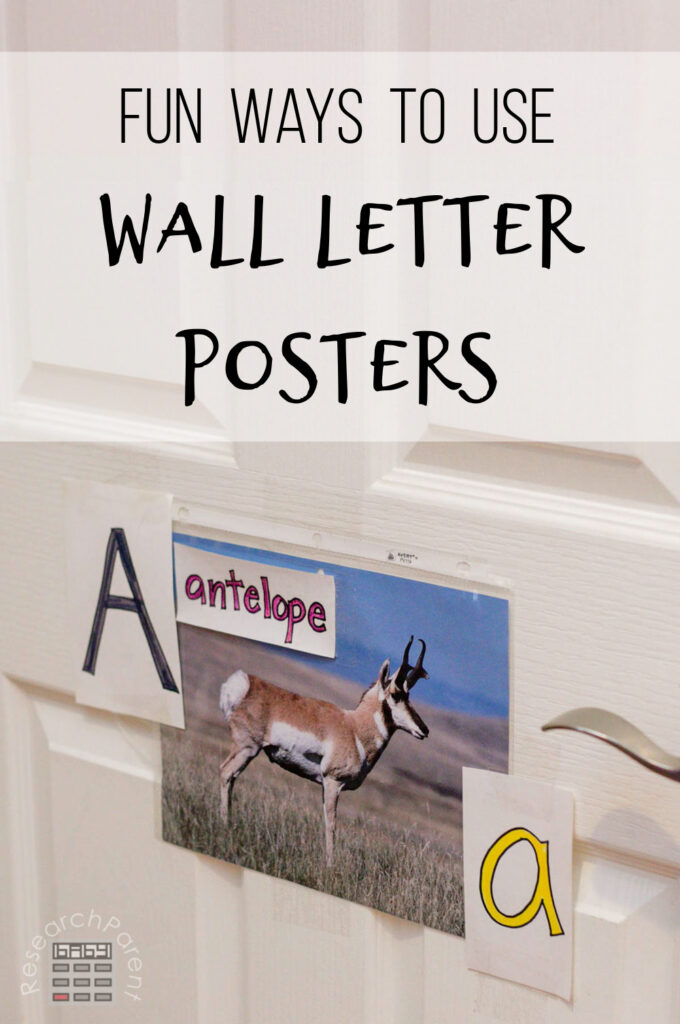
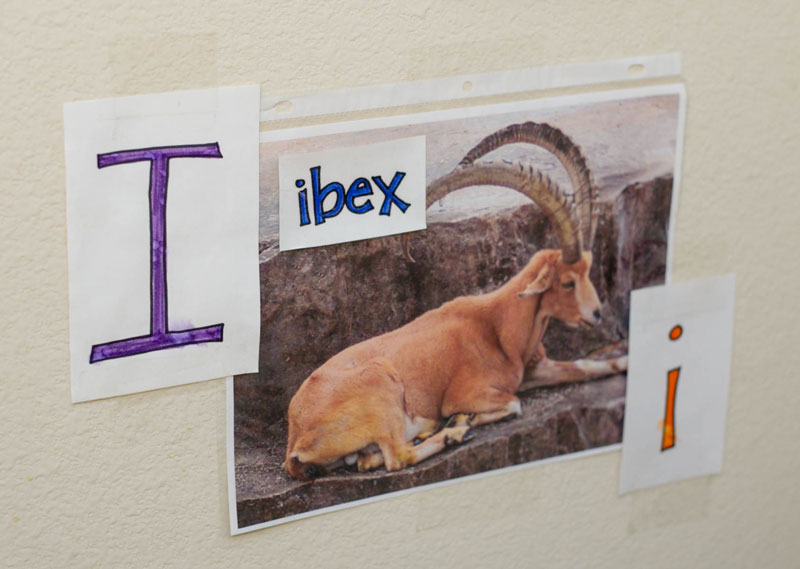
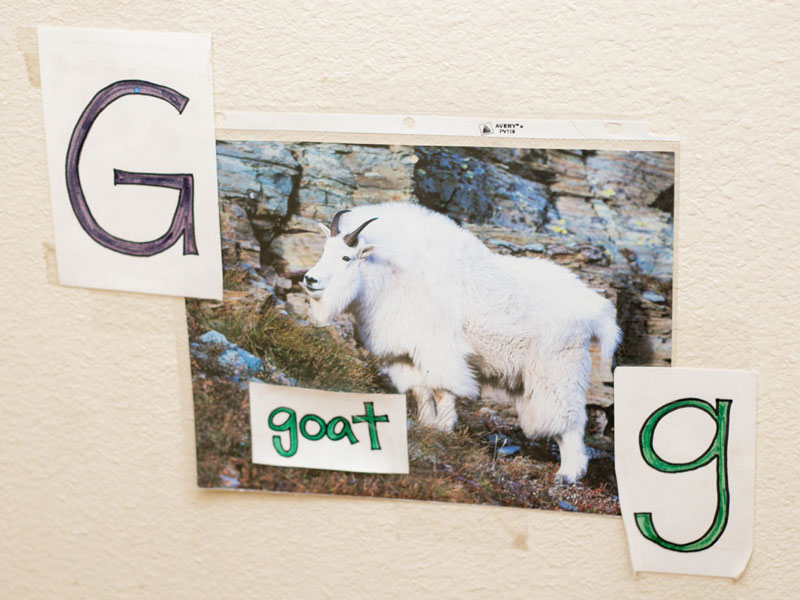
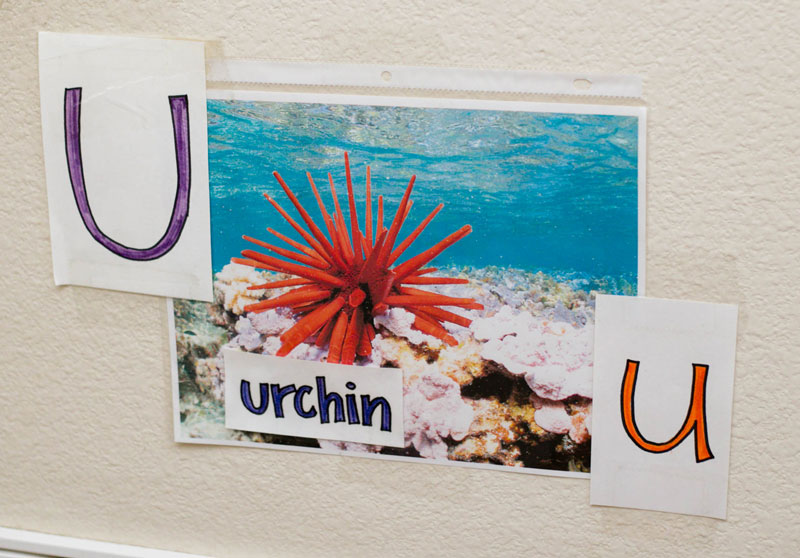
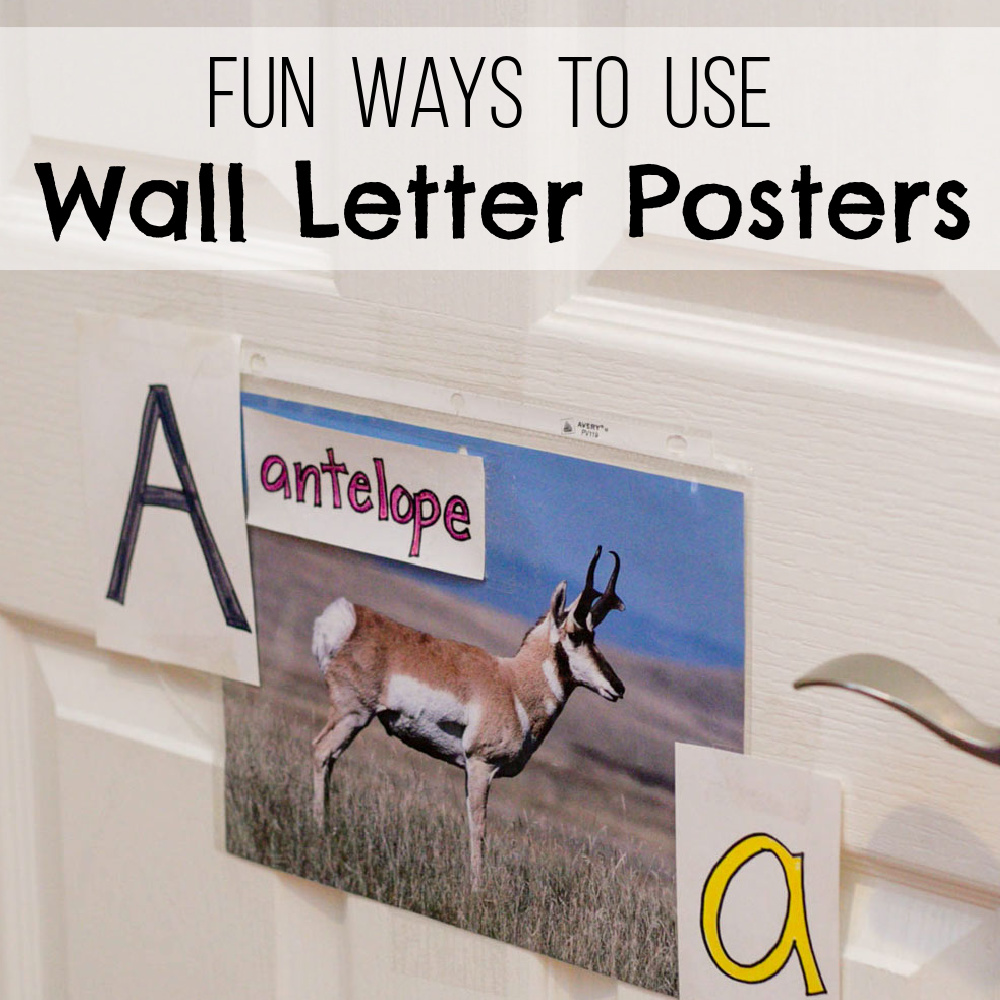
Around his second birthday, I decided I wanted to put up an animal for every letter of the alphabet. I trimmed the calendar pictures to fit inside page protectors and used index cards and markers to make an uppercase letter to go with each picture. The original animal posters were taken from a couple of animal calendars my mother-in-law had given us. Obviously, there weren’t animals for every single letter, so I had to get creative and print a few pictures from Google Images to fill in the gaps. Ibex, anyone?
Here are the animals we ended up using based on the calendars we had.
A – Antelope
B – Bison
C – Condor
D – Deer
E – Elk
F – Frog
G – Goat
H – Hedgehog
I – Ibex (printed)
J – Jellyfish (printed)
K – Kangaroo
L – Leopard
M – Moose
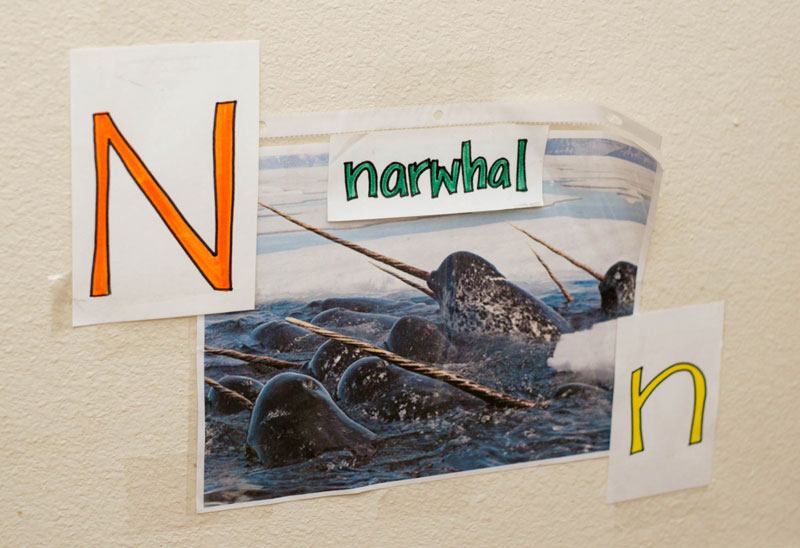
N – Narwhal (printed)
O – Octopus (printed)
P – Panda
U – Urchin (printed)
V – Viper (printed)
W – Wolf
X – X-ray Fish (printed)
Y – Yak
Z – Zebra
Over the years, once my oldest became good at the uppercase letters, I went back and added the lowercase letters. These wall letter posters then stayed up for at least 7 years straight for my next 2 kids. I took them down for about a year when I got tired of looking at them after my third child mastered his letters, but then I put them up again for my youngest who has just recently mastered all his letters. Now is it is time they came down for good! Here are some of the ways we have used them over the years.
How to Use Wall Letter Posters
Visit the Animals
When my youngest was a toddler, I would carry him as we would walk around the house visiting the animals, especially when he was in a bad mood. Once I added the letters to the pictures, we just talked about that too. “What animals is this? Yes, it’s a frog! Ribbit, ribbit. Do you know what letter frog starts with? It starts with an F. Can you touch the F?” Simple, easy, effective. I didn’t do this with my youngest since I had taken the letters down and he was the oldest to finally master his letters at 5 and a half. My oldest knew them all by 3. My middle two kids were somewhere in the middle.
Hide and Seek
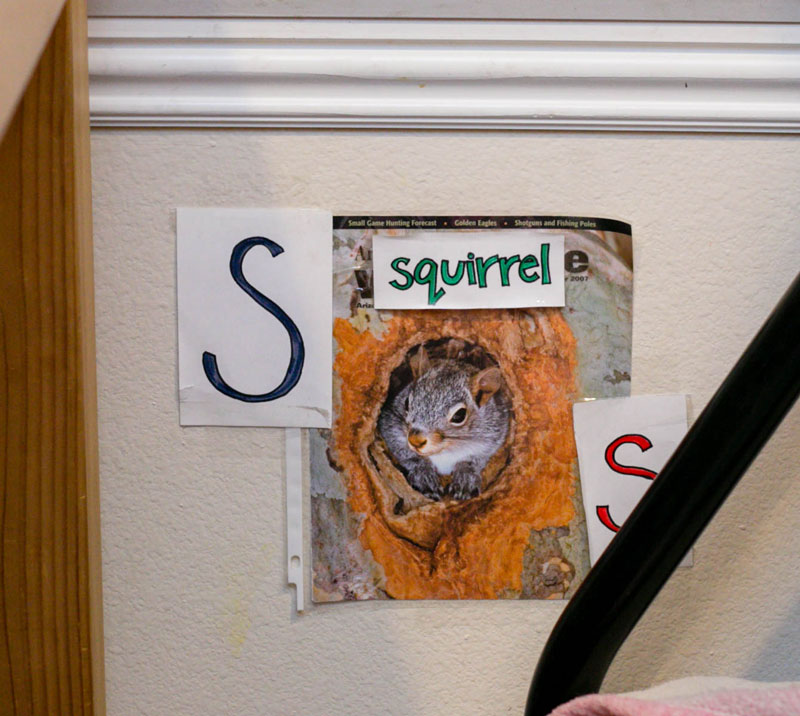
One of the easiest ways to use the wall letters is to just have your child go find a letter. You can say, “Where is the F?” If they need help, you can use warmer/colder style clues to direct them to the right vicinity. Once they are close, you can help them narrow down which one is right by giving hints like, “F says ffff. Which animal starts with ffff? Is it the fffff-frog or the guh-guh-goat?”
Another way to play hide and seek with the letters is to write the letter they are trying to find on a post-it note. Then they can move around the house carefully comparing the shapes of the letters until they find a match.
Treasure Hunt
This activity involves a bit of prep work, but the kids think it is so fun. Write each letter of the alphabet on its own index card or scrap of paper. Rearrange the letters so you have a stack of letters out of order. (Note: You do not have to use the entire alphabet…you can just write down a list of a few that you would like to practice that day.) The letter on the top of the stack is the start of your treasure hunt. Leave that one on your counter or taped to your mirror or somewhere to hand to your child at the start of the game. This is your “starter” letter.
Next go to your starter letter and tape the next letter in your stack near it, but facing the wall so the child can’t read the letter without taking it off the wall. This is the second letter in your treasure hunt. Go to this second letter and tape the third letter until you get to the end of the stack. When you reach the bottom of the stack you will have directed your child to the final letter. At this final letter, tape an index card with a direction to the “treasure.” I typically just hide a little plastic dinosaur then at the end tell the child where they can find the dinosaur. The last letter will have a message that says something like, “Look in the piano bench.”
This involves some prepwork, but it is worth it, because the kids love playing this game and don’t even realize that they are practicing letter recognition.
Mixed Up Letters
Once your child knows their letters fairly well, it can be fun to mix up some of the letters and see if your child notices. Put the N on the Moose and the M on the Narwhal and tell your child that a crazy alphabet goblin broke into the house and messed up some of the letters. This is a little bit advanced and honestly, my 5 year old still probably couldn’t do this, but if your child has mastered their alphabet and is familiar with their sounds, they will enjoy finding the mistakes!
These homemade wall letter posters might not be the most attractive part of your home decor, but I think they make it clear to your child that these squiggly things we call letters are actually pretty important. If you decide to put up some letters in your home, I hope you and your child find these activities helpful and enjoyable!
Related Links
Best Books for Kindergarten
Reading and Writing Activities
Pre-K Learning Activities


Leave a Reply