This past weekend marked the opening of the ski resort in our little mountain town. That meant that as Dad and the big kids went off to hit the slopes, the littlest one and I had some quality time by ourselves. As the youngest of four, he doesn’t normally get the same kind of planned sensory experiences as the other kids did as toddlers. That’s why I’m so glad we took the time to make this homemade floam.
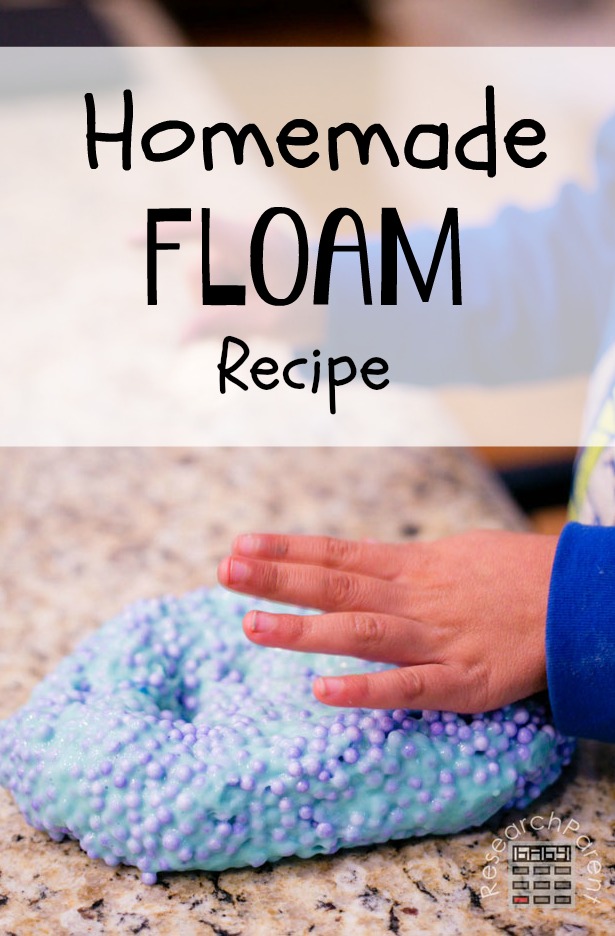
It took a little experimenting to find the ratio of water to glue to borax that provided maximum enjoyment. Commercial Floam is a lot more styrofoam than slime, but we had trouble getting it to hold together when we tried this consistency. Ultimately, we used a lot of thick, moldable slime in our mixture. However, my family definitely considered what we ended up with a success. A few of the styrofoam balls popped out as they were playing, but overall it held together well. It might be different than commercial Floam, but it was still addicting.
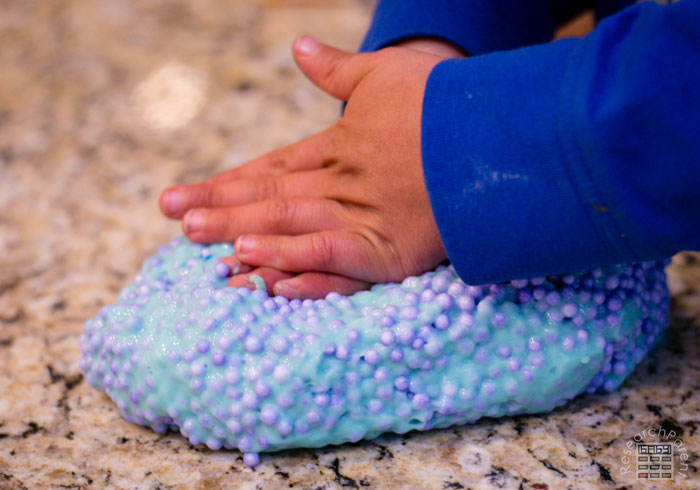
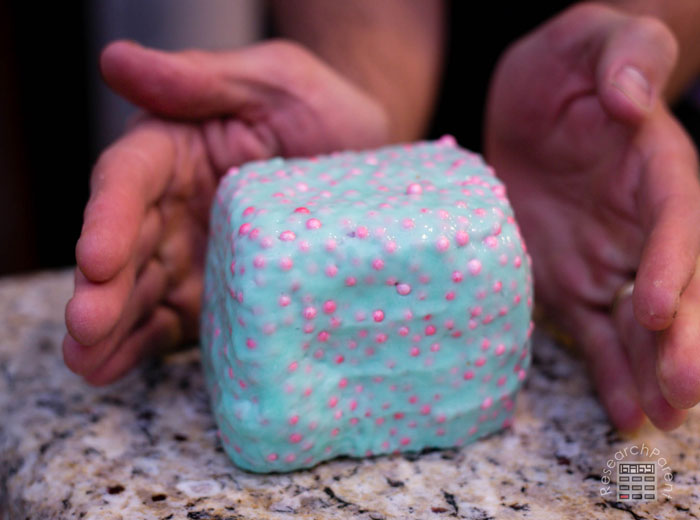
When the rest of my family got home from skiing, they couldn’t keep their hands off of it. Even my hubby had fun making geometric shapes. (Note, they slowly melted into a puddle over several minutes.)
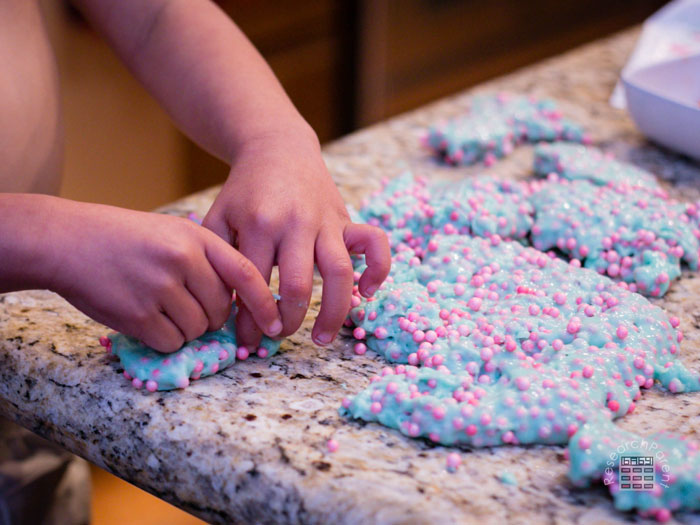
What made me the most happy was that many hours later, at bedtime, my hubby pointed out that our youngest had slipped back over to the counter to play with it some more. He eventually buried all his action figures in it, but it was so NOT sticky that it was easy to get them clean.
We ended up throwing our homemade floam away after a few days, because after it got left out overnight, the slime consistency became too unmoldable due to evaporation. I imagine if you stored it in a sealed container, it would last a lot longer.
Homemade Floam
Recommended Age Range: Preschool, Kindergarten, Elementary
Time Required: ~10 minutes (plus about 15 minutes to wait for it to set)
Difficulty: Easy
Cost: About $2 if you buy a large container of glue.
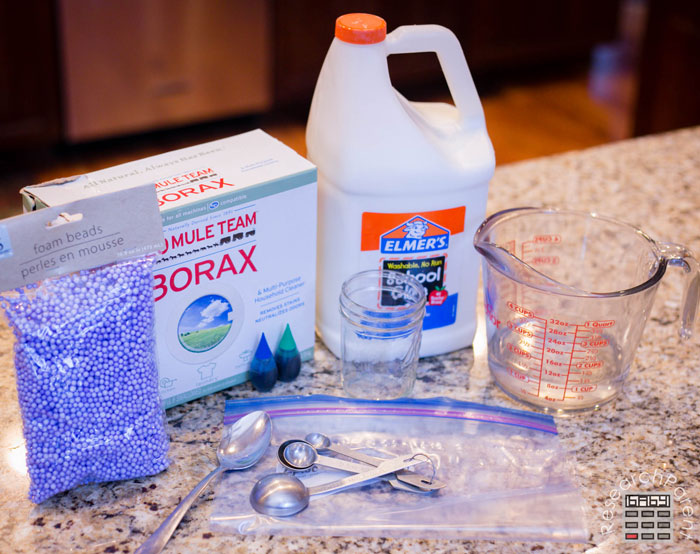
Materials
- 1/2 cup of Elmer’s Glue-All Multipurpose Glue (Washable won’t work right)
- 2 teaspoons borax (Note: as with soap, baking soda, salt, etc., this could be dangerous if ingested in large quantities)
- water — you will ultimately add 3/4 cup (6 ounces) to the glue and 1/2 cup (4 ounces) to the borax
- food coloring
- foam beads (we found ours at the dollar store, but you could also grate styrofoam).
Supplies
- measuring glass
- tablespoon
- teaspoon
- spoon for stirring
- cup for holding borax solution
- ziploc bag
Instructions
- Measure 1/2 cup (4 ounces) of water in the measuring glass. The water should either be as hot as possible from the tap or you can heat it. I heated ours in the microwave for 30 seconds.
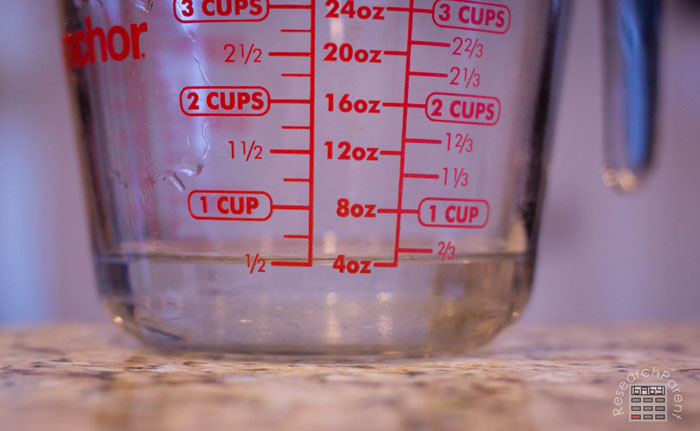
- Add 2 teaspoons of borax to the hot water.
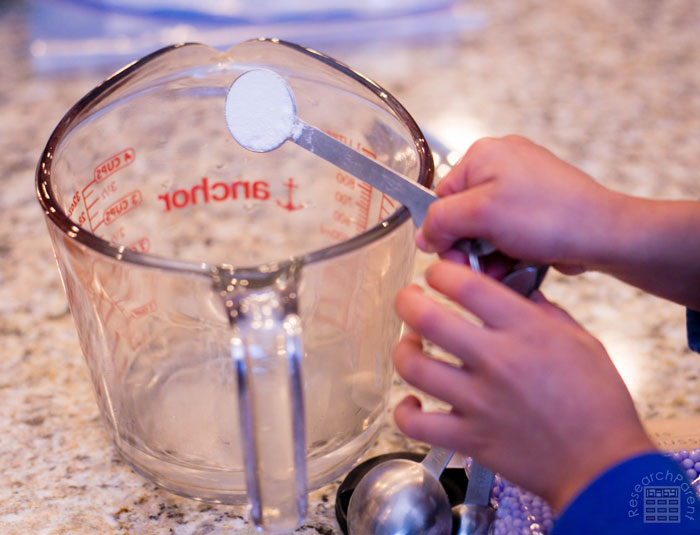
- Stir the mixture.
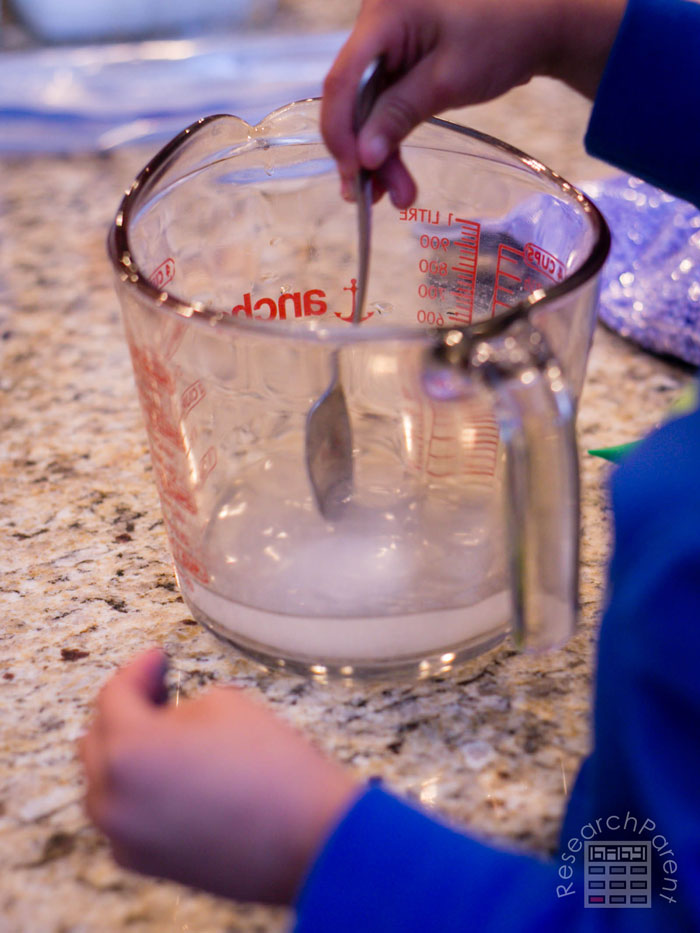
- Pour the mixture into another container so you can reuse the measuring glass.
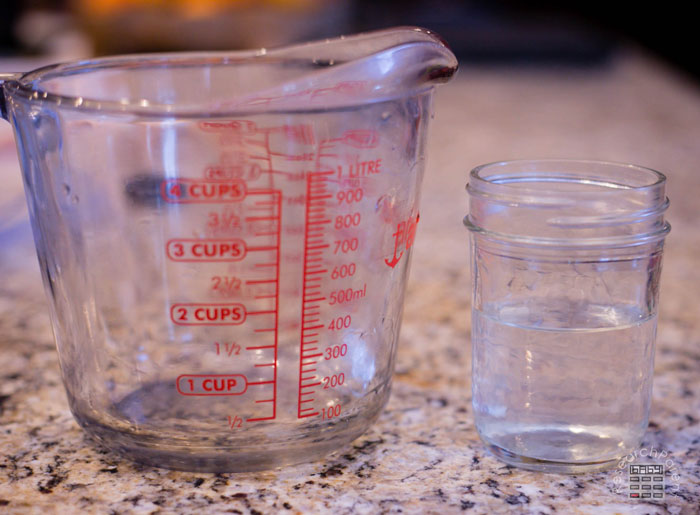
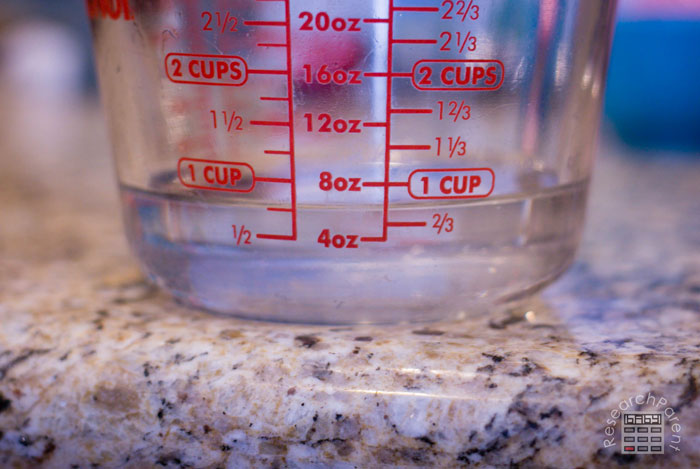
- Measure 3/4 cup (6 ounces) of warm water.
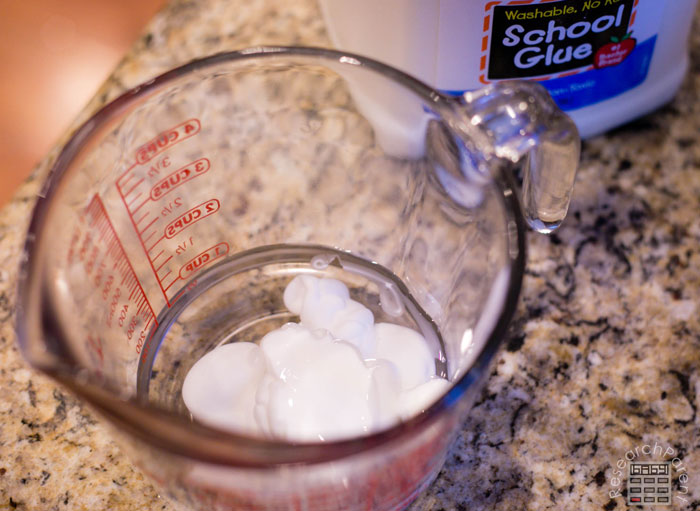
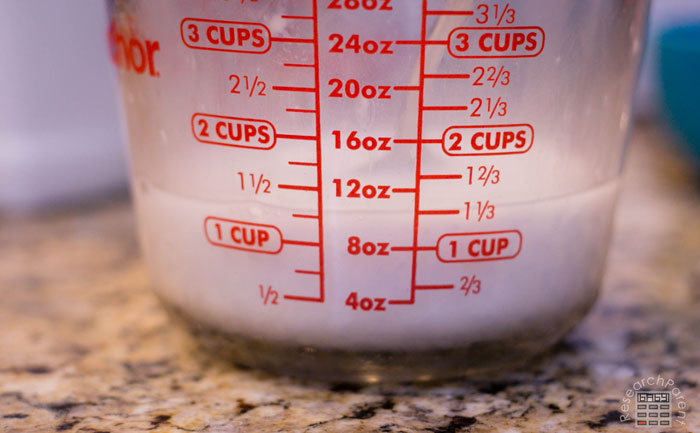
- Add 1/2 cup (4 ounces) of Elmer’s glue to the water. I added the glue until the line of the combined mixture was 1 and 1/4 cup.
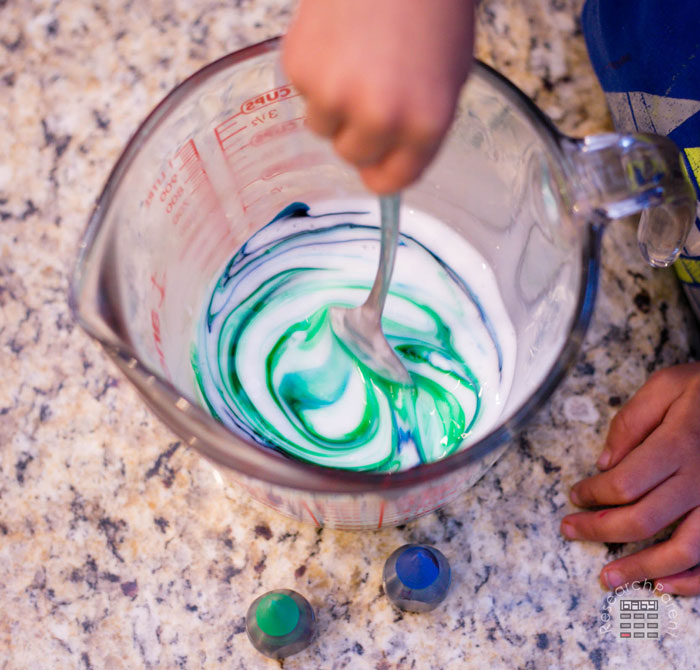
- Stir the water and glue mixture until smooth.
- Add food coloring to the water and glue mixture. I added 6 drops.
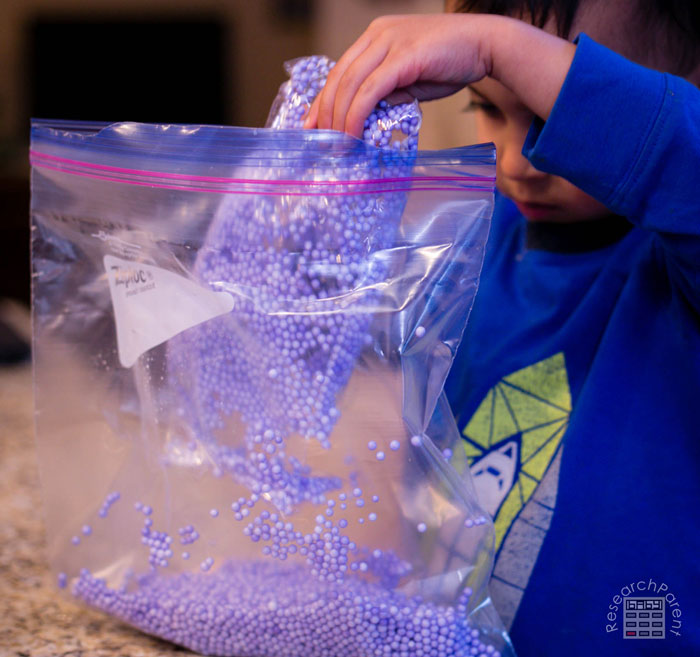
- Pour the foam beads into the gallon size ziploc bag. Our bag from the dollar store contained 2 cups of foam beads.
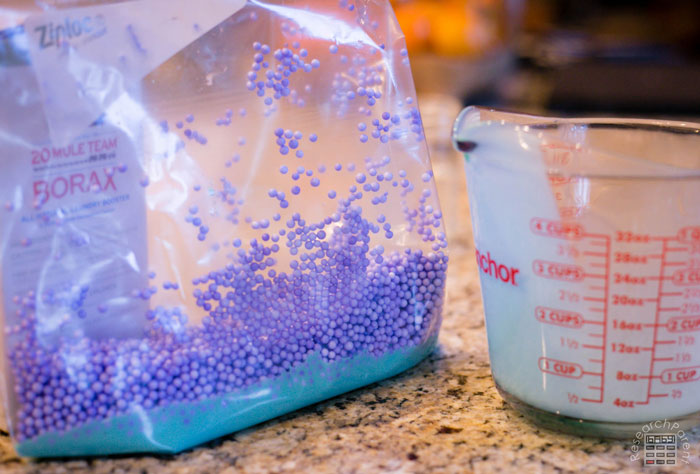
- Add the water and glue mixture to the ziploc bag.
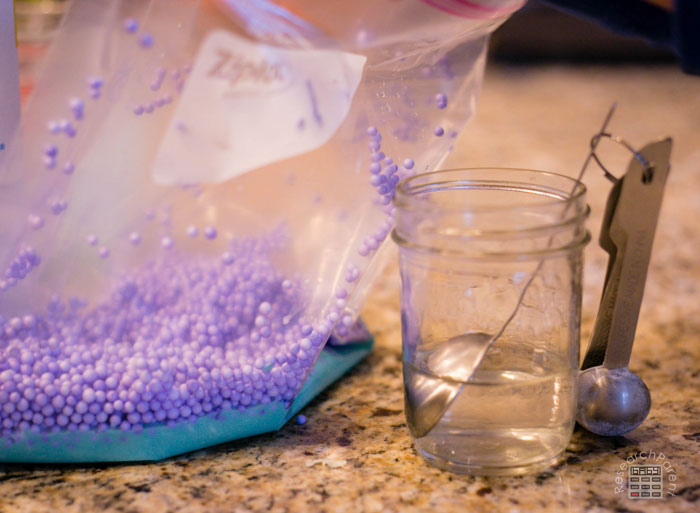
- Add 5 Tbsp of the borax and water mixture to the ziploc bag.
- Seal the ziploc bag.
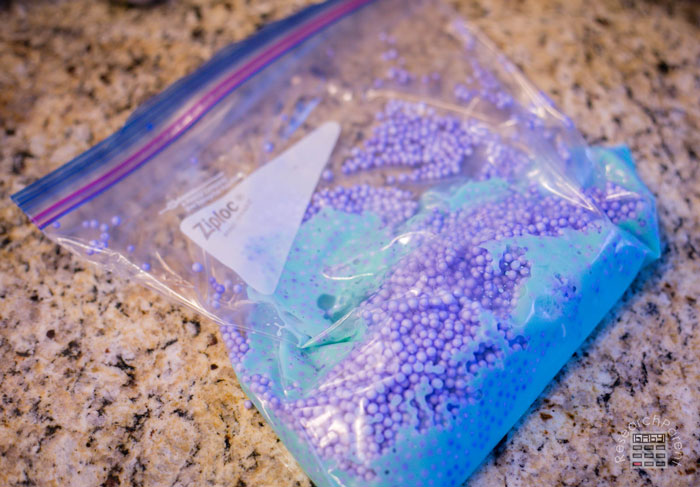
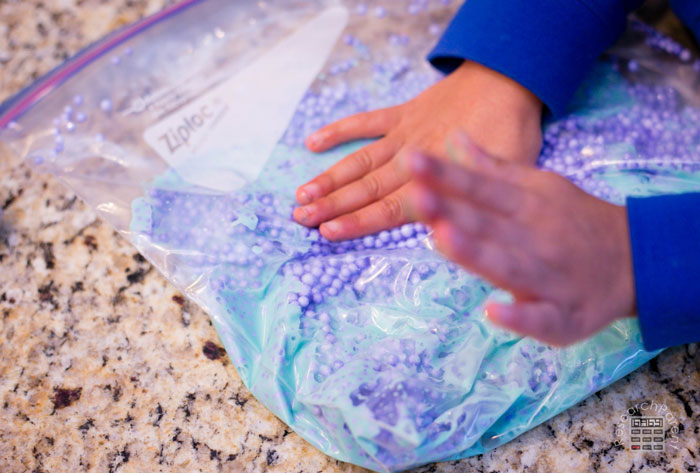
- Mix thoroughly with your hands.
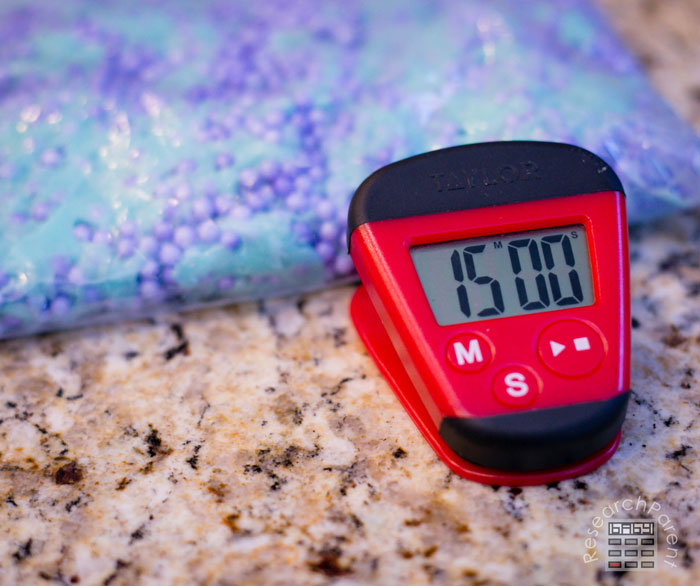
- Wait 15 minutes for the slime to set.
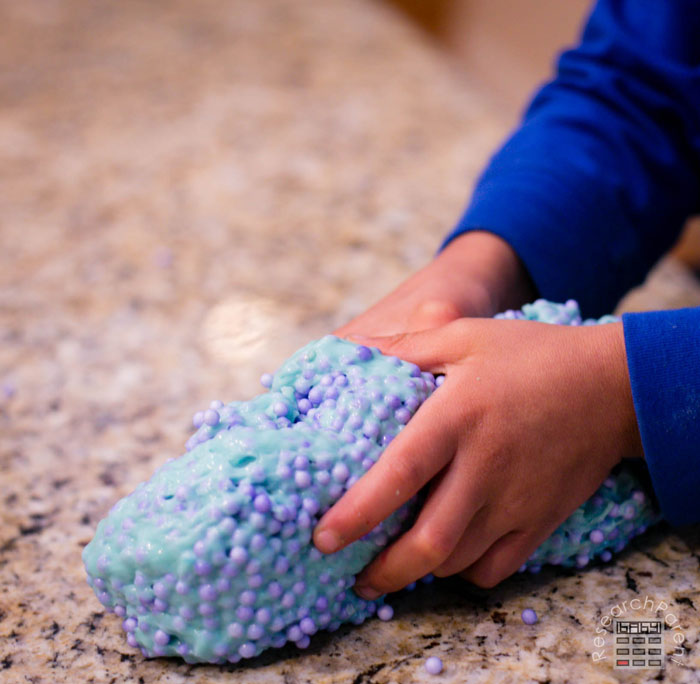
Have fun playing with your homemade floam!
Click here for more craft and play recipes for kids!
Related Links
Craft and Play Recipes
Best Travel Toys for Kids
Board Games for Kids


Leave a Reply