I can’t promise this illustrated chore chart will make your kids do their chores. If the idea of picking up their belongings and depositing them in an appropriate receptacle leads to full-blown resistance, then, well, you’re not alone. I honestly don’t know where I went off the rails when it comes to having my kids help out around the house. My oldest used to be my constant cleaning helper. When he was a toddler, he would clean my baseboards all day without being asked. Now I’m viewed as the Wicked Witch for merely suggesting he help carry groceries in from the car. All I know is, something has to change. Hence, this chore chart.
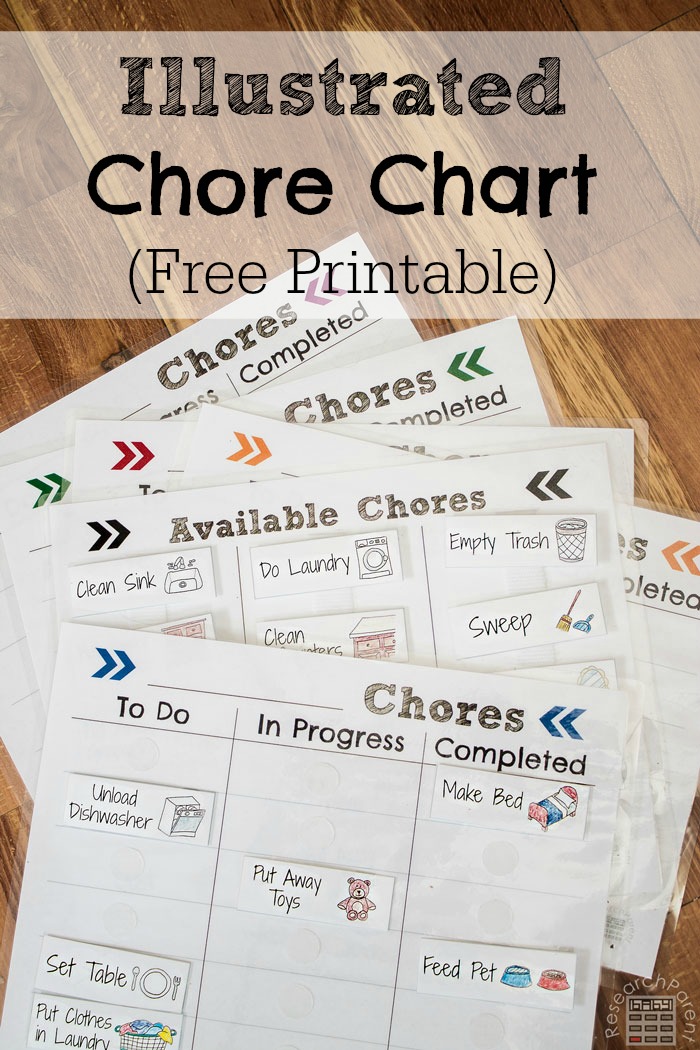
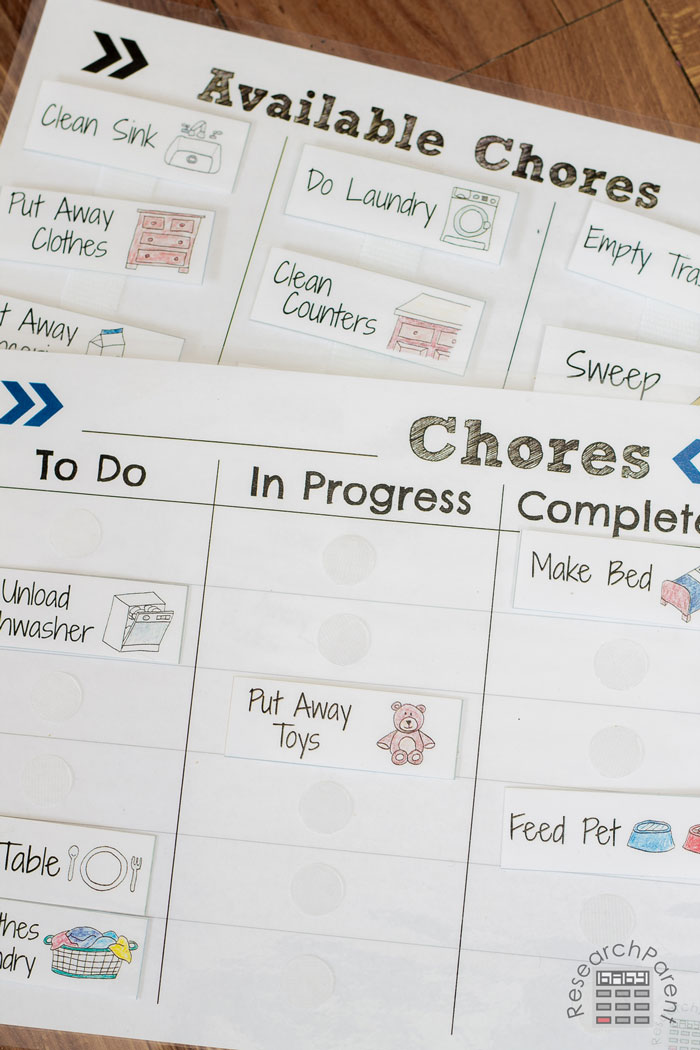
I actually use a to-do list very similar to this for myself (ever since I read the The Secrets of Happy Families chapter on agile development). Mine is made out of butcher paper and post-it notes. The motivating thing about this style chart is that you get to move your label twice: once when you start the task and once when you complete it. There’s something very satisfying about giving yourself credit for STARTING something you don’t want to do. I figured it couldn’t hurt to try implementing something similar with my kids. Since my 2 year old can’t read at all and my almost-5-year-old is working on it, I drew pictures to help them know what they were supposed to do.
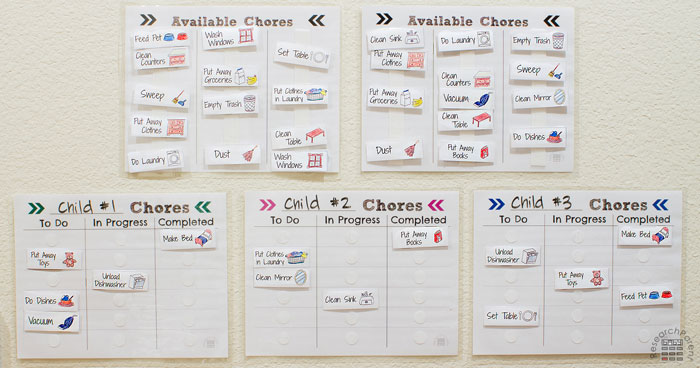
To use this chart, I let my kids choose different chores every day. Depending on how busy our day is and how much time we spend at home, I’ve been having my first grader do 4 or 5 chores, my preschooler do 3 or 4 chores, and my toddler do 2 or 3 chores. My only requirement is that each kid “Put Away Toys” each day since they are all phenomenally bad at that skill. Other than that, they can decide what they want to do and I modify the tasks to their level of ability. For example, when my preschooler chooses “sweep”, she might have to sweep a bathroom or a hallway. My first grader has to sweep a bigger room like the kitchen. My toddler really just plays with a broom for a couple minutes.
It’s only been about a week, but so far my results have been mixed. The first day, everyone was excited by the novelty. By Day 2, my first grader was complaining loudly about the unfairness of his life. However, now everyone is becoming accustomed to the new routine. Throughout the day, I tell the kids which chores need to be done in the moment (like emptying the dishwasher, taking out the trash, or setting the table). Whoever jumps in first gets to do it and put it on their chart. After dinner, they have to meet their number requirement with miscellaneous chores (like sweeping, washing a window, or cleaning a sink).
All-in-all, I’d say things are working out pretty well. Today I even asked my first grader to tidy up the living room before guests came over and he did it quickly, efficiently, and without complaint. (Seriously, who WAS that kid?!) As long as I can stay consistent, which I know will be hard, I really think this is going to improve all of our lives. At the very least, I know it will improve mine. :)
Recommended Age Range: Preschool, Kindergarten, Elementary
Time Required: ~20 minutes
Difficulty: Easy
Cost: Free printable, about $2 in used supplies if laminating and using Velcro dots
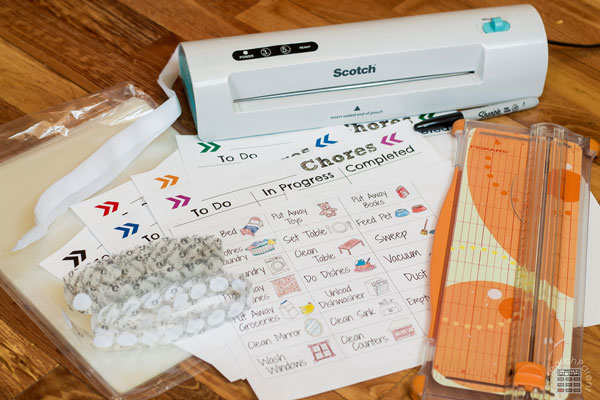
Materials:
- Paper for printing illustrated chore chart (Note: you will likely not want to print the entire document as there are different color options and you may or may not want the “available chores” page.)
- Velcro dots (18 pairs for one child)
- laminating pouches (at least 2 for “chore chart” and “task labels”, but maybe more if you have more kids or want to use the “available chores” sheet)
- about 2 feet of sticky-backed Velcro (if using the “available chores” sheet…could also use more dots, but I had this on hand)
Supplies & Tools:
- Laminator
- Paper trimmer or scissors
- marker to write name
Instructions:
- Print the desired pages of illustrated chore chart and laminate them. (If you don’t own a laminator, you can alternatively use contact paper.)
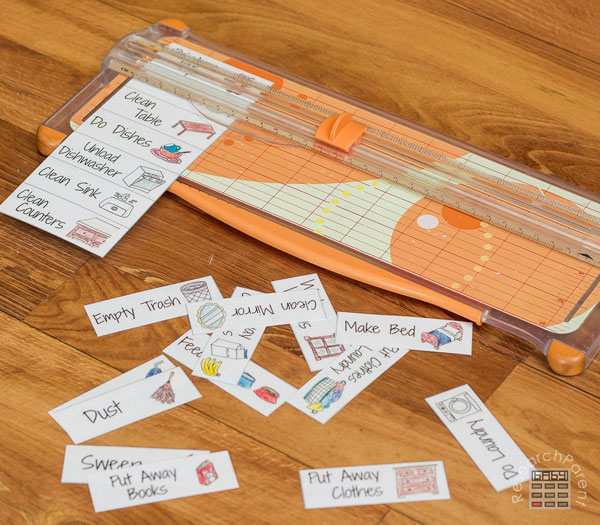
- Cut out the laminated task labels.
- Put Velcro dots on the back of the task labels and in the middle of the 18 rectangular spots on the chore chart. I chose to put the furry side on the task labels and the prickly side on the chore chart, but it doesn’t really matter.
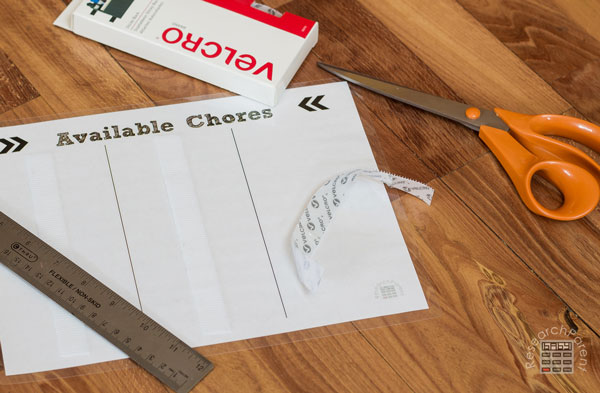
- If you want to use the “Available Chores” chart to hold the chores not in use, apply Velcro strips down each column.
- Write your child’s name on the chore chart and hang it somewhere the child can reach.
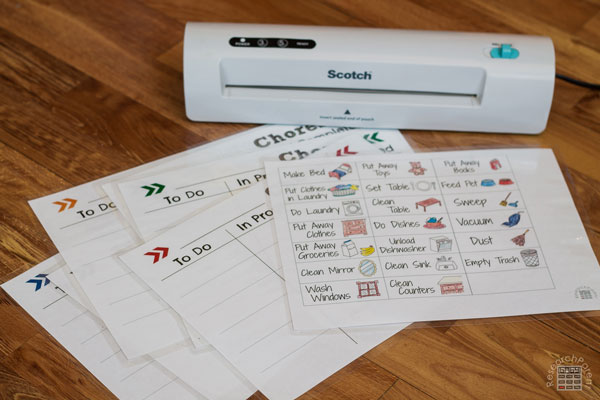
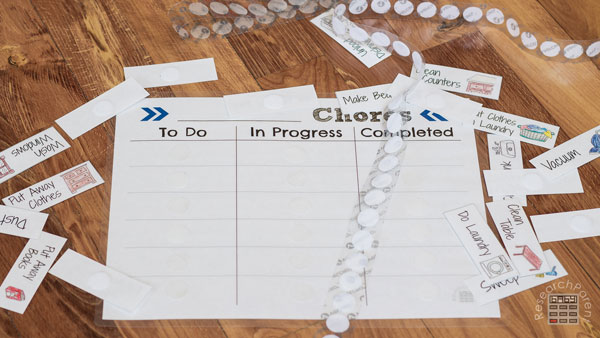
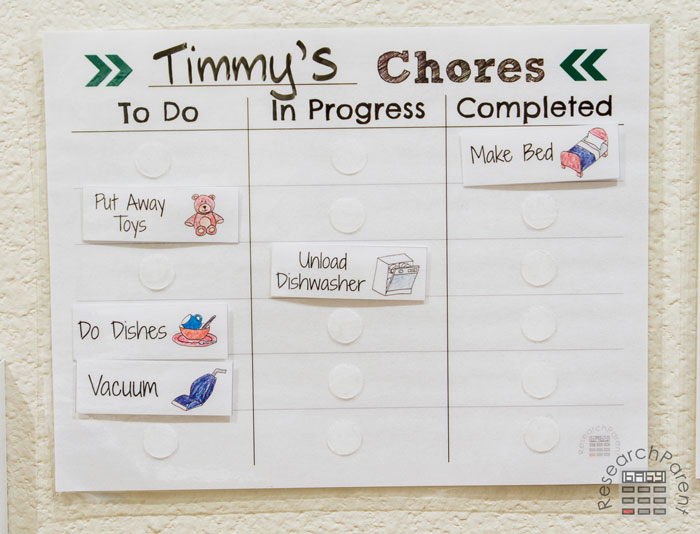
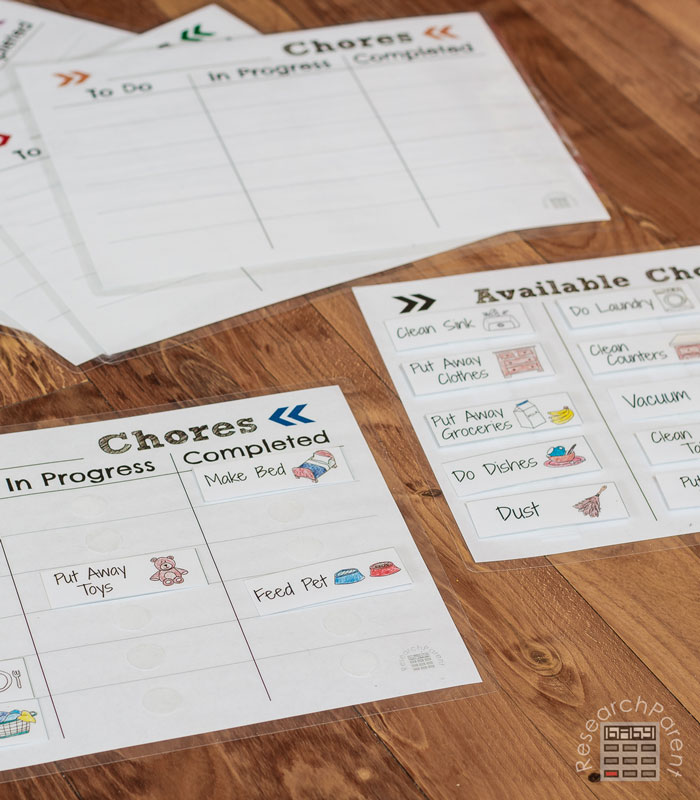
Once everything is ready, explain to your child how the chore chart works. The chores that need to be done will start off in the “To Do” column. (You can decide whether you will pick what goes in this column or if your kids will decide.) When kids are working on a chore, they get to move the task label to the “In Progress” column. Once the chore is all done, they get to move it again over to the “Completed” box. By the end of the day, all their chores should in the right column.
Related Links
Learning Activities for Kids
Best Gifts for Kids
Best Books for Kids


[…] Download Image More @ researchparent.com […]