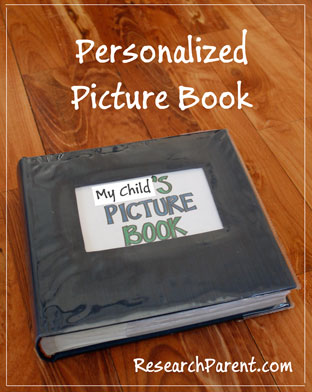
When I had my first child, this personalized picture book was seriously the most useful “toy” I owned when he was around 16 months to 2 years old. He LOVED this book. Sitting down and looking at this book with him could honestly stop any meltdown dead in its tracks. He loved pointing out and saying all the words he knew, but he especially liked the pictures of family. This had the added bonus of him not being as shy around family members he rarely saw AND making them extra flattered that he knew who they were.
This book was so useful, I made a couple mini-albums to stick in the diaper bag and in my purse so that I’d have something to distract him no matter where we were (restaurants, doctor’s offices, etc.). When we took a 6 hour plane ride across country though when he was 17 months, even though it took up more space in our carry-on bag, I went with the original thick book shown and was glad I did.
Recommended Age Range: Baby/Toddler
Time Required: ~2 hours
Difficulty: Easy
Cost: Less than $10 to buy the album and have all the pictures printed at Costco (for ~13 cents/picture). You could save money by printing the pictures at home on regular paper (which would actually have made the book less thick and more transportable) and not using as nice an album as I did.
Materials:
- pictures or a camera
- photo album
- plain white paper
Supplies & Tools:
- scissors
- glue
- pen or markers
Instructions:
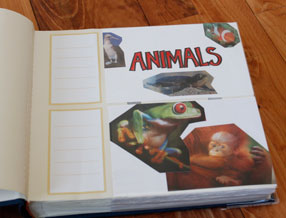
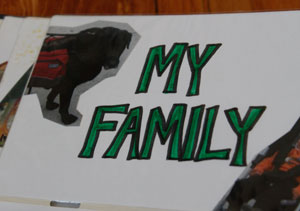
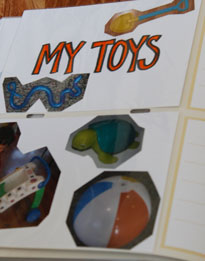
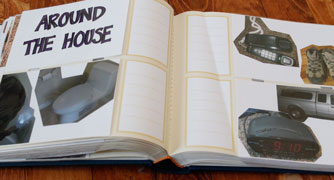
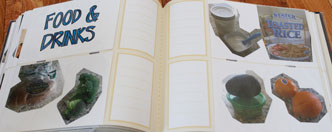
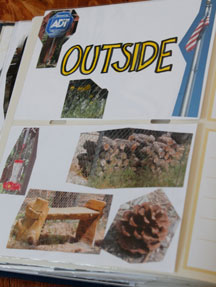
- Gather a bunch of digital pictures. I choose to collect pictures of family I had already taken, but also to take pictures of various types of objects (“Animals” – I took photos of pictures in calendars and books, “Around the House” – things your child will recognize and be able to name (i.e. stove, table, shoes, clock, etc.), “Food” – various things your child eats, “My Toys” – pictures of your child’s favorite toys, and “Outside” – things that you child might see outside (i.e. wind chimes, satellite dishes, flowers, etc.)). Tip: When you’re taking your pictures, don’t hesitate to put multiple items in the same pictures (like 4 toys in one picture), that way when they’re printed as 4″x6″ photos, the item will be fairly small. It doesn’t need to be big for the child to recognize it.
- Print the pictures at home or have them printed.
- Cut several blank sheets of white paper to be 4″x6″.
- Cut around each object you would like your child to be able to name (so that the background is not distracting) and glue the cut-out pictures to 4″x6″ pieces of paper keeping like categories together.
- Slip the picture covered paper into the photo album, using one slip of paper to label each section as shown below.
Related Links:
Homemade Fun for Babies and Toddlers
Homemade Fun for Preschoolers
Best Books for Babies and Toddlers


Leave a Reply