A lemon battery is one of those widely known experiments that every child should probably do once as they learn about electricity. Honestly, though, it was not one that I was planning to do with my kids. However, my 12-year-old is currently taking the class Batteries are Weird online from the company, Science is Weird (not affiliated, just a fan). After attending class over Zoom last week, he was motivated to try this experiment on his own. We had just gotten a bag of lemons from Costco, so I said go for it!
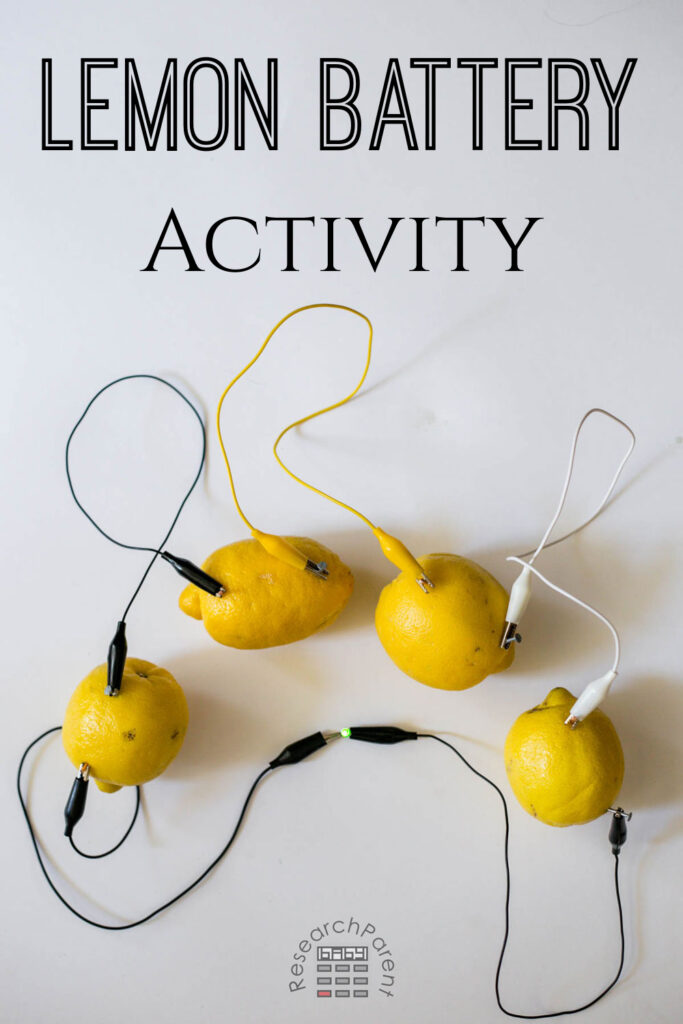
He spent about 30 minutes working on it by himself using copper pennies and nails, but was still having some trouble. Seeing him working so hard, I got involved and decided to document the process. Hopefully, you can use what we learned to ensure success when you attempt this experiment with your own kids!
How Does It Work
I was actually surprised by how hard it was to figure out exactly how a lemon battery worked! There is a lot of conflicting and inaccurate information on the internet, but I found this document from the American Chemical Society to be the most helpful. It is easy to understand, detailed, and backed up by several other reputable sources.
The main information that I would want my child to know is that there are two sides to a battery. One side is called the cathode and that is the side that pulls electrons from the wire. The other side is the anode and that is the side that gives electrons to the wire. In my son’s Science is Weird class, the teacher used the metaphor of two women, Annie and Cathy, who were a giver and a taker. Annie would give you a kidney if you needed one. Cathy would take your kidney even if she already had two good ones. It would be really handy to remember if the cathode (the mean taker) was the negative side of the battery and the anode (the happy giver) was the positive side, but alas the opposite is true. For older children, if they remember Annie and Cathy, they can just remember that electrons, which are negatively charged, flow toward the positive side, so the cathode is positive.
Next, I would want them to know how these two sides of the battery can be used to power a device. First, they need to understand that electrons, which are negatively charged particles, will flow from the negative side to the positive side. This makes sense because the anode is giving electrons and the cathode is taking them. Because the electrons are flowing through the wire, electricity, which is essentially just moving electrons, is being produced. This electricity can be used to power a low-power device such as a small LED, a hand calculator, or a kitchen timer.
If you wanted to explain this even a step further, you could ask the question WHY is the anode the giver and the cathode the taker? This is due to the chemistry that happens inside the electrolyte, the electrically conductive substance that transports ions near the anode and the cathode. In our case, the electrolyte is lemon juice. The chemistry that is happening at the anode is that the lemon juice is dissolving the zinc off of the nail, which releases positively charged zinc ions into the juice and frees up electrons to travel through the wire. The chemistry that is happening at the cathode is that the electrons being collected from the wire are combined with positively charged hydrogen ions that the copper is pulling from the lemon juice. We didn’t see it, but this reaction produces hydrogen gas causing bubbles within the lemon juice. The anode is giving zinc ions to the electrolyte and giving electrons to the wire. The cathode is taking hydrogen ions from the electrolyte and taking electrons from the wire.

Troubleshooting Tips
My son read online that each lemon battery should produce about 0.7 Volts, so he calculated that he would need 3 lemons to produce the 2 V required for his LED. However, we found that when he was using pennies, the voltage they produced was inconsistent. I theorized that maybe since modern pennies are only coated in copper and not copper all the way through, imperfections in the surface such as nicks and scratches might be interfering with his results. To fix this we went to the hardware store and got 1 foot of copper wire. I believe it was gauge 8 AWG, but the thickness is not super important. The store was kind enough to strip off the plastic insulation for us and cut it into 4 pieces, though we could have done that at home using an exact-o knife and wire cutters. They also ended up giving it to us for free. These 4 pieces of copper were used as our cathodes, the positive end of our batteries that collects the electrons.
If I were to go back and do this experiment again, I probably would have cut a couple more pieces of copper wire giving us 5 or 6 cathodes instead of just 4. This would have allowed us to add more lemons to our battery circuit, which would have produced more voltage and would have caused our LED to light up even brighter than it did. As it was, with 4 batteries, it lit up, but it did not achieve full brightness.
Another suggestion if your battery is not working is to make sure that you roll the lemons to break up the little pouches of lemon juice inside it. The more juice is freed, the better able the lemon will be to dissolve the zinc off of the nail, freeing up more electrons. We used the galvanized nails we happened to have on hand, but bigger nails might produce a bigger voltage because they would have a larger surface area to dissolve zinc. This would allow our anode, the negative end of our battery, to provide even more electrons to the cathode.

Simple Lemon Battery Details
Recommended Age Range: Elementary
Time Required: about 15 minutes
Difficulty: Easy
Cost: Less than $7 in used supplies
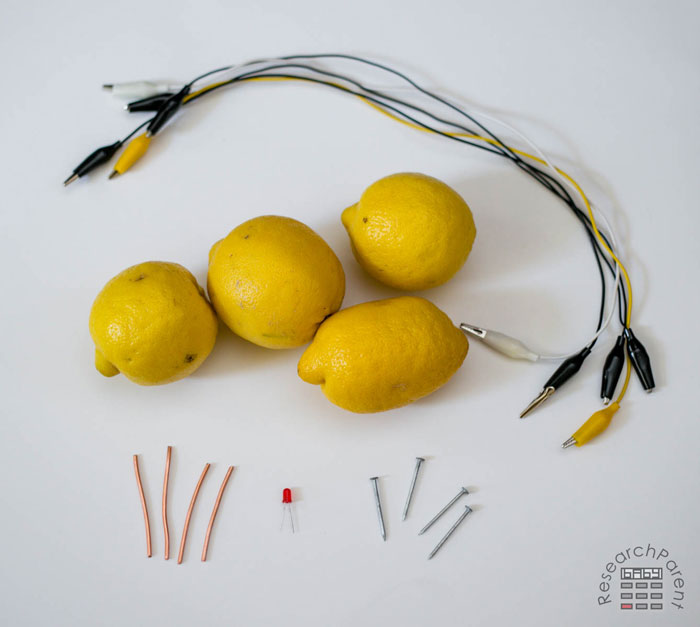
Materials
- lemons (We used 4, but I recommend having 5 or 6 on hand.)
- galvanized nails (You need as many nails as you have lemons. We used 1.5″ nails we had on hand, but any outdoor nails will work. Bigger nails might actually work better.)
- copper wire (You need as many pieces as you have lemons, we used about 2.5″ pieces, but the length is not important. Again, I recommend having at least 5 or 6.)
Supplies
- alligator clips (you need one more alligator clip than the number of lemons)
- an led (or something to power…any device you have, such as a simple calculator or timer, that uses one AA or AAA battery will work)
- a voltmeter (optional, but it will let you measure how much voltage each lemon battery and the entire circuit is producing.)
Instructions
- First, roll all of your lemons on the counter underneath your palm to free up the juice inside. The juice acts as the electrolyte that conducts electricity through the lemon.
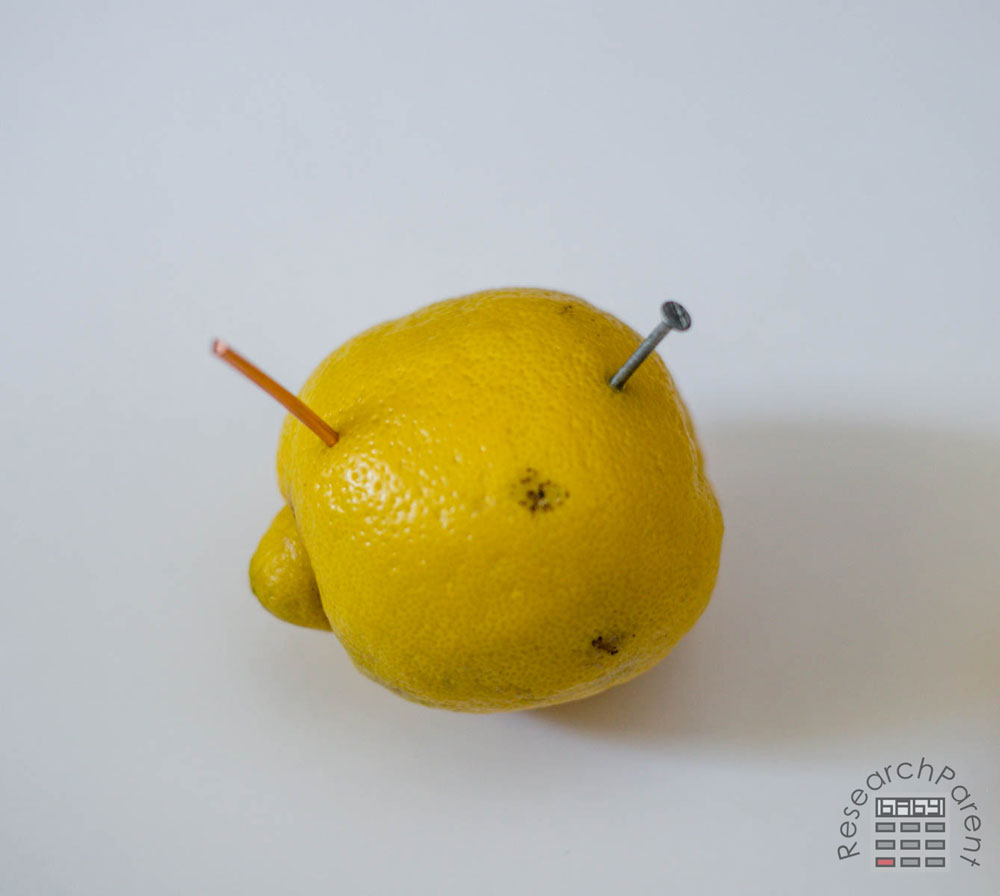
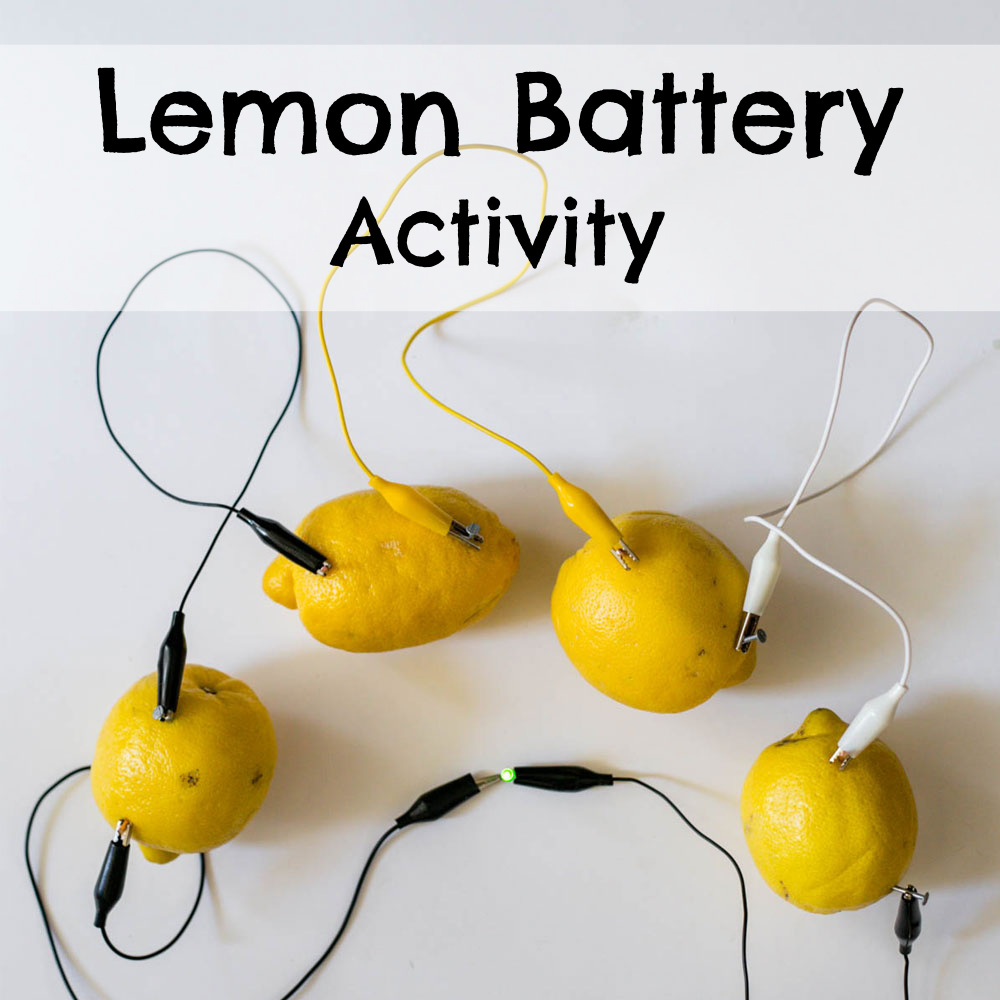
- Stick your copper piece (your cathode) and your galvanized nail (your anode) into a lemon on opposite sides. They should not be touching each other inside the lemon. To light up an LED, repeat this for 4 lemons.
- Line up your lemons and connect the nail of one lemon to the copper piece of the next lemon using alligator clips.
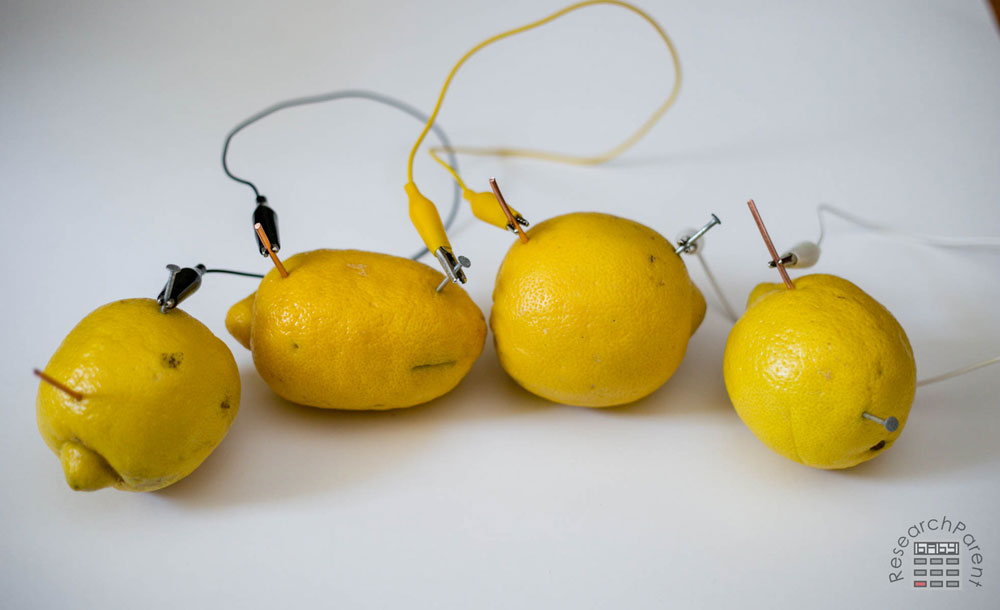
- Attach leads to the two end terminals. One lead should come off of the last piece of copper wire and one piece should come off of the nail on the other end. This open circuit is equivalent to a battery. It is ready to be hooked up to a device to power it.
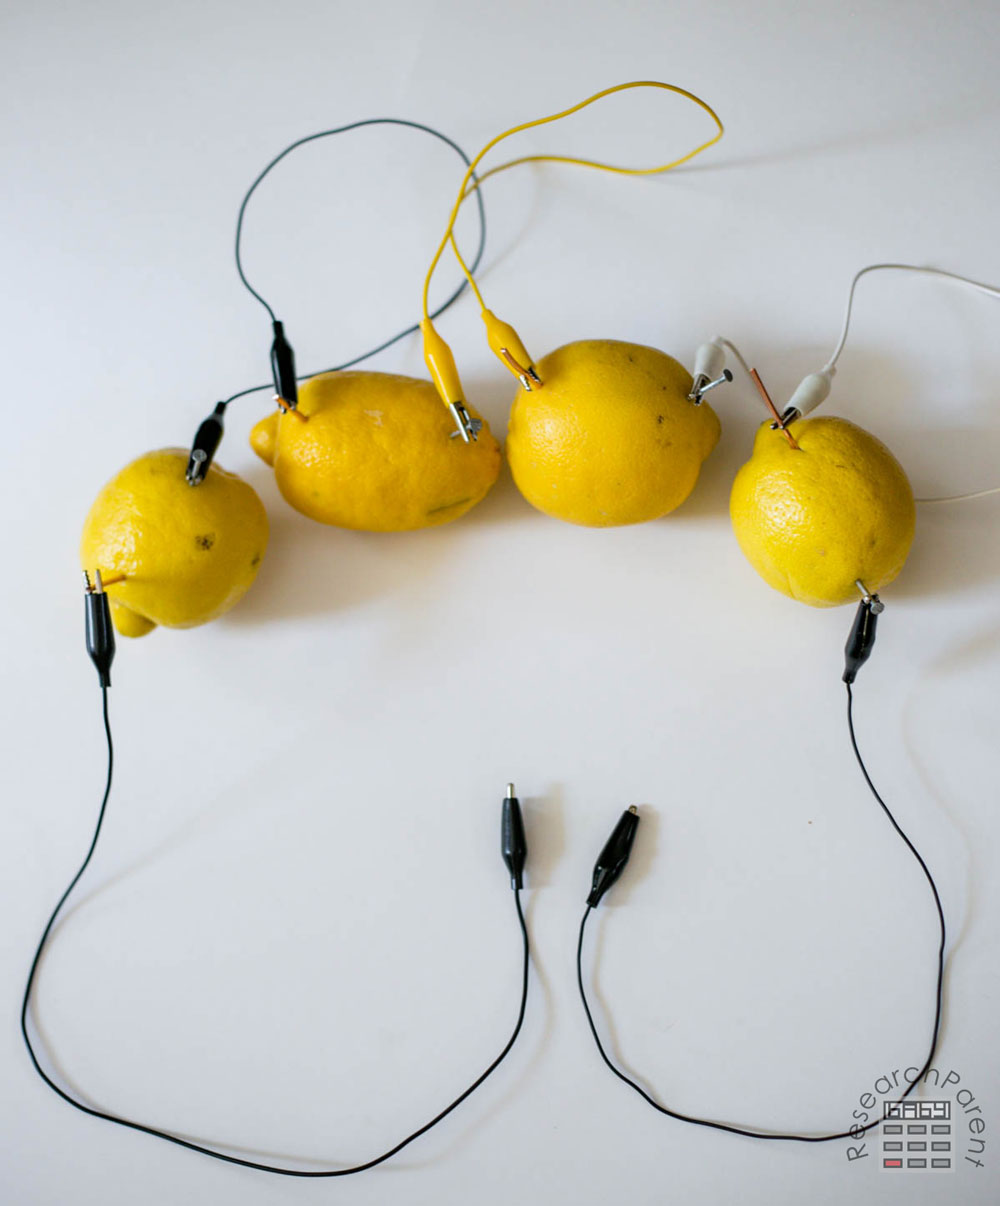
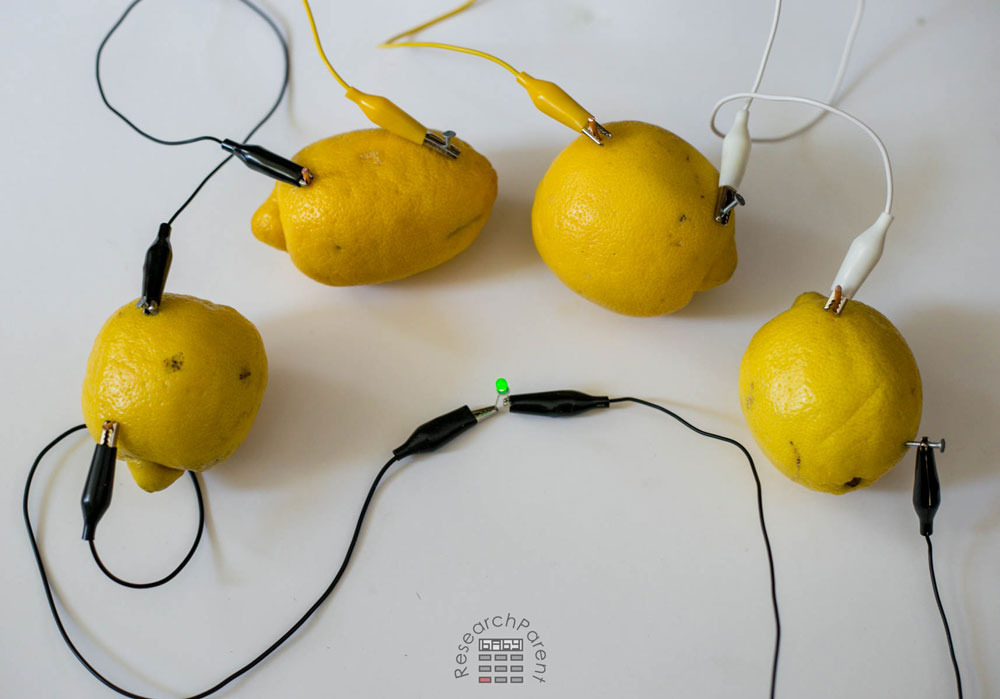
- Connect your LED! Of your mini calculator or kitchen timer or other device that requires just a little power. If it doesn’t work, try flipping the LED since they are designed to only work when the current flows in one direction. The shorter end should end up needing to be connected to the nail.
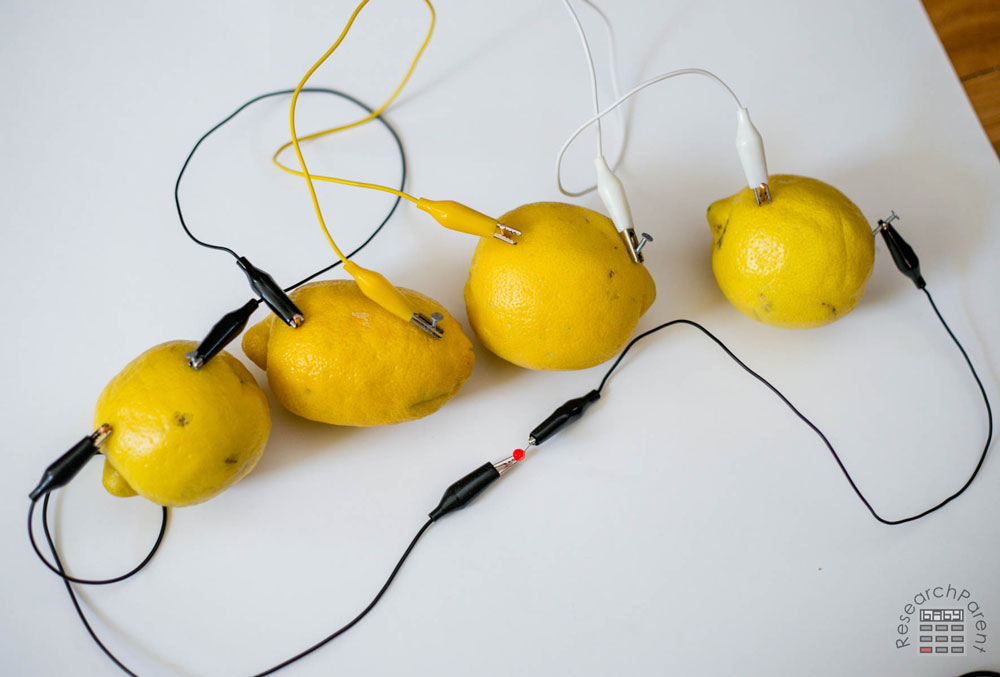
- We did not do this step, but try adding an extra lemon into your circuit! Your light should shine even brighter! Also, if you got a kit of LEDs, try using different colors. Oddly, even though green LEDs were supposed to require more voltage, they lit up the brightest for us.
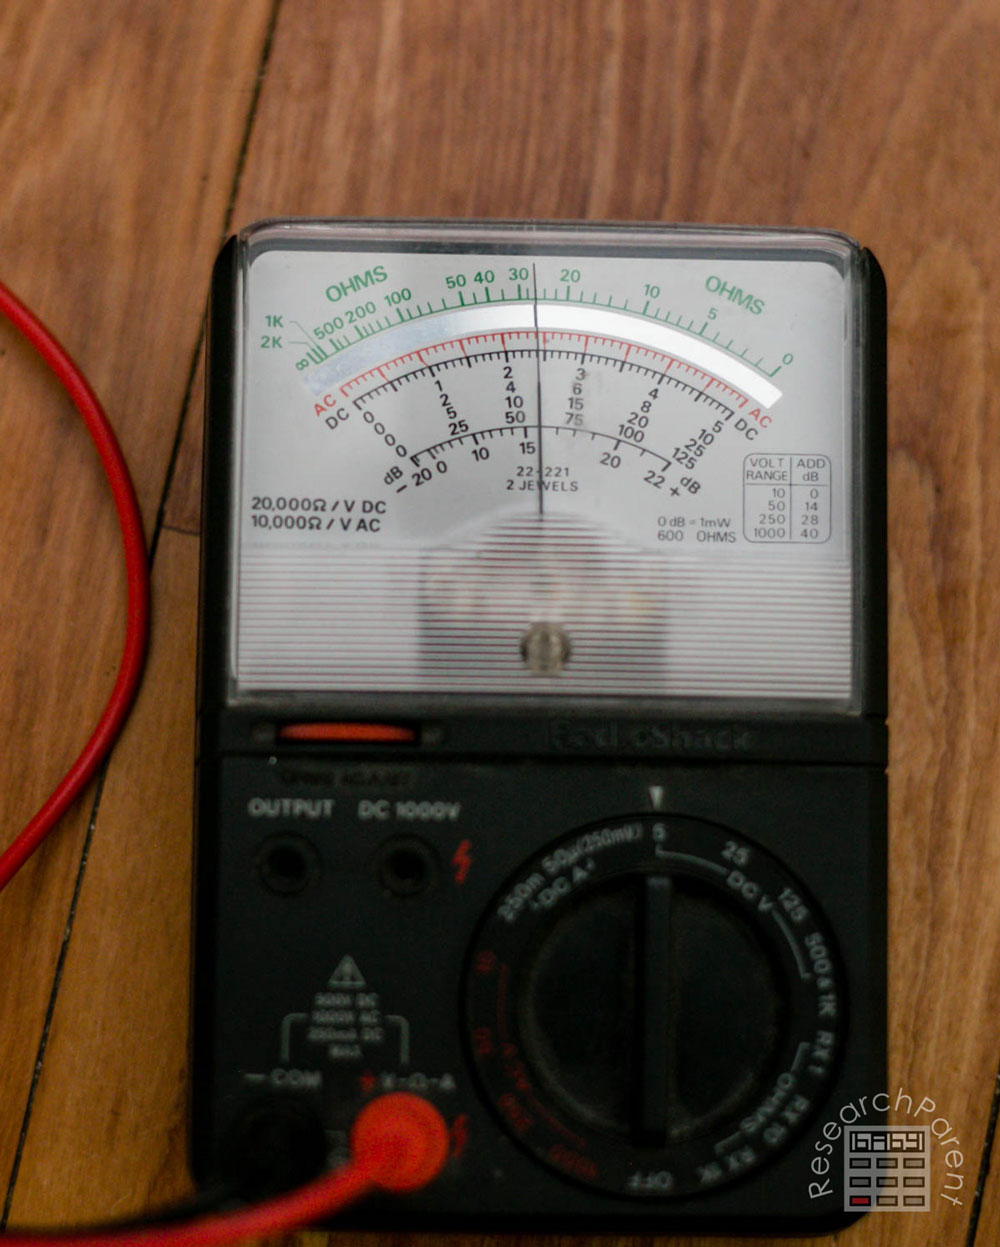
- Optionally, if you have a voltmeter, try playing around with it and measuring the voltage between different points in your circuit. To get a reading, it needs to be set to the lowest number on the DC V setting. For our voltmeter that was 5, which means that full scale (if the needle moved all the way to the right) is 5 V. If your voltmeter does not seem to be measuring anything, try flipping the leads as it will only show positive voltage drops.
Have fun being an electrical engineer!
Related Links
Science Activities for Kids
Chemistry Activities for Kids
Robotics Activities for Kids


Leave a Reply