Cell biology can be hard. Cells are too small to see and the science contains a lot of long, complicated words. How is anyone supposed to remember ANYTHING having to do with cells, when there’s nothing to visualize? I’m hoping this animal cell model activity will solve that problem. (I’ve also made a plant cell model which pairs well with this demonstration, so stay tuned!
The first time I made a cell model using food items was over 20 years ago. (Time flies, doesn’t it?!) It was high school Honors Biology and for that rendition of this classic science demonstration, I pretty much used only candy. If it didn’t have a high sugar content, it didn’t go in my model. Jello, Red Hots, gummy worms….I’m pretty sure my primary motivation was eating the leftovers. “I’m not kidding, Mom! I really do need a giant box of jellybeans for school!”
I remember the only problem being that a lot of the dyes in the candy bled into my cytoplasm. This time around, I decided to opt for a more color-stable, healthy assortment of food products. That way if my kids decided to sample the nucleus, they wouldn’t be bouncing off the walls for hours.
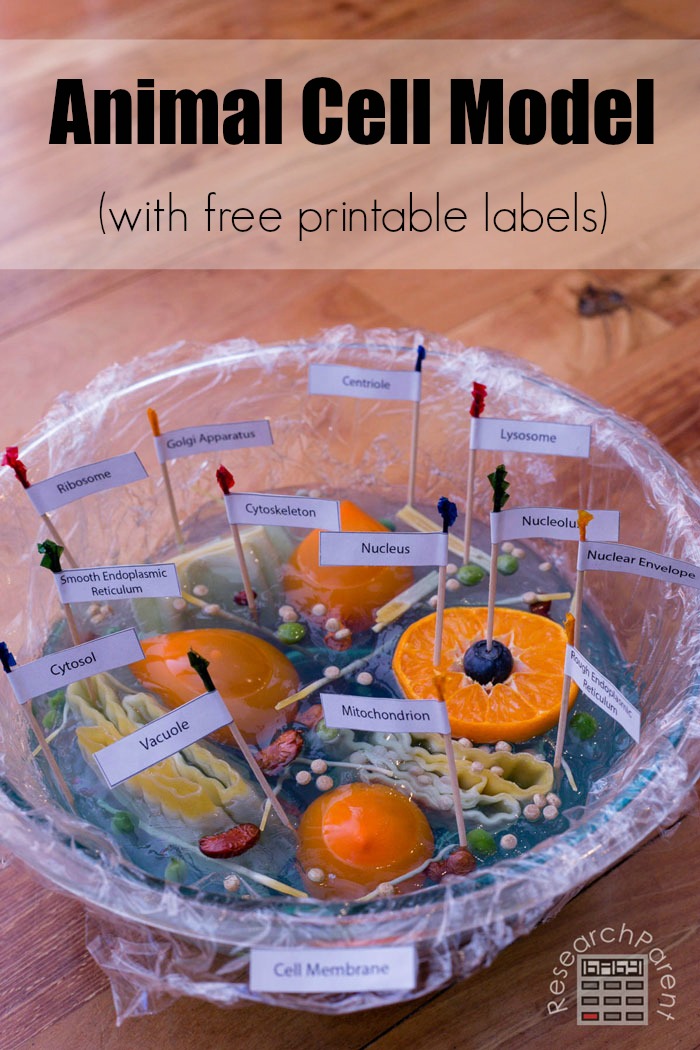
Below I will provide a step-by-step, picture tutorial for how I put together our animal cell model. However, there’s no need to use the exact same items that I used. I chose items based roughly on how I thought each organelle (cell component) should look, but let’s be honest…food is never going to exactly replicate the microscopic building blocks of life. If you need to switch out your pearl couscous for rice or your peas for corn…don’t worry about it! Work with what you have.
Here is an outline of what I used for your reference:
- cytosol – gelatin
- nucleus – tangerine
- nuclear envelope – tangerine peel
- nucleolus – blueberry
- Golgi apparatus – folded lasagna noodles
- ribosomes – pearl couscous
- smooth endoplasmic reticulum – manicotti glued together
- rough endoplasmic reticulum – manicotti glued together with pearl couscous
- lisosomes – peas
- mitochondria – red beans
- vacuole – water balloons
- centriole – spaghetti glued together
- cytoskeleton – spaghetti and angel hair pasta
- cell membrane – plastic wrap
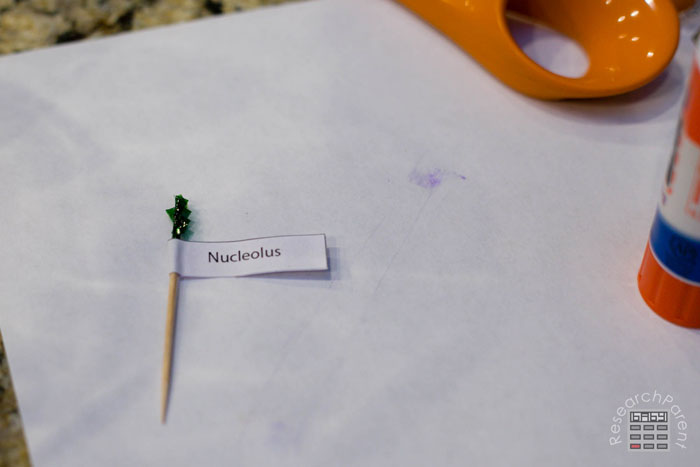
Once you’ve assembled your animal cell, feel free to use my free printable labels to make toothpick flags and let your child or student practice putting the flags into the cell. In doing this they can test their own knowledge by checking back with the list above. If you have more than one child (as I do), you can also have them take turns picking a flag at random.
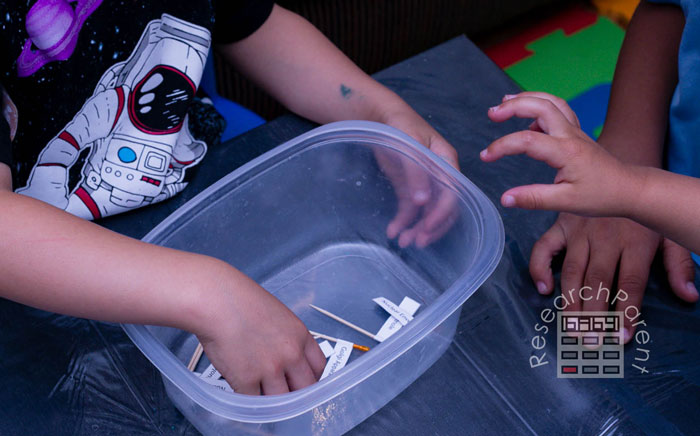
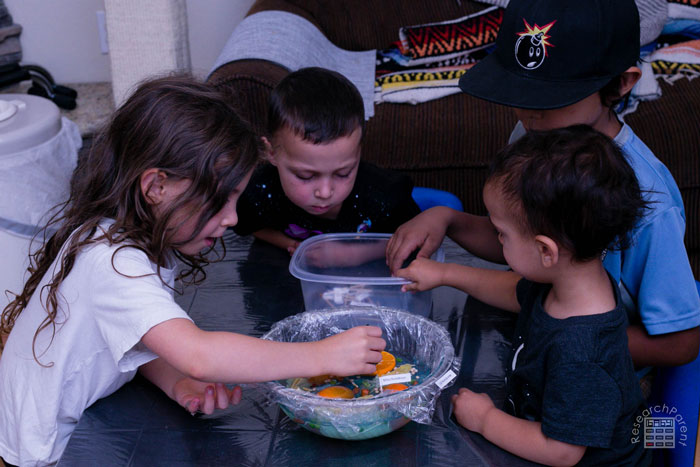
You can turn it into a game by having them score points if they are able to poke the flag into an appropriate spot. However, since my kids vary greatly in age and ability, I just gave them clues to figure out where to put it. “Mitochondria….remember, that’s the powerhouse of the cell. They are pretty small…not round like a ball, but a little stretched out…maybe a little bean-shaped even.” Basically I would just keep talking until I told them exactly where it should go if necessary.
If you are looking for ways to help introduce your child to cells, unfortunately I have not found any books that I’ve been overly impressed with. When I was making my model, I referred to a high school level biology text book I happen to own, but that is definitely not appropriate for my elementary-aged kids. Instead, we watched this FreeSchool video about cells and, going back to my own school days, this episode of Bill Nye the Science Guy. If you know of any great cell resources for kids, please comment below to let me know!
Recommended Age Range: Kindergarten, Elementary, Middle School
Time Required: ~2 hours (about half of this time is waiting for the gelatin to start to solidify)
Difficulty: Easy — but you do need to check frequently when the gelatin is getting firm to make sure it doesn’t completely solidify before you add your organelles
Cost: Free printable. Under $10 in used supplies. I used primarily things we already had in the pantry and fridge, but I did end up buying a small carton of blueberries and a box of gelatin. I recommend switching out items if necessary to avoid buying things if your family won’t enjoy whatever isn’t used.
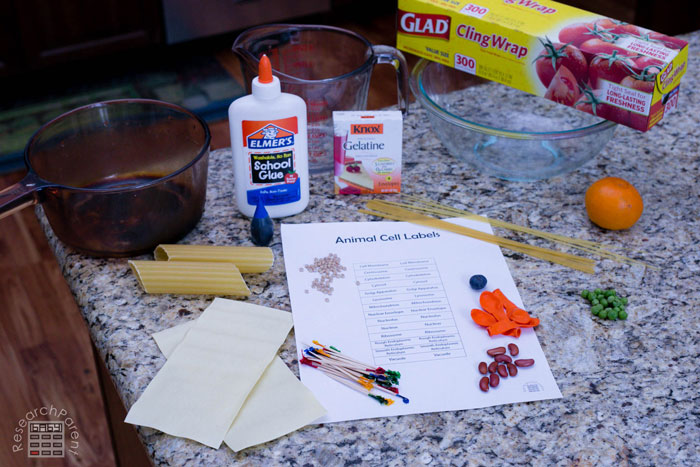
Materials:
- paper for printing flag labels
- 13 toothpicks (the cell membrane label will just be taped or glued to the plastic wrap)
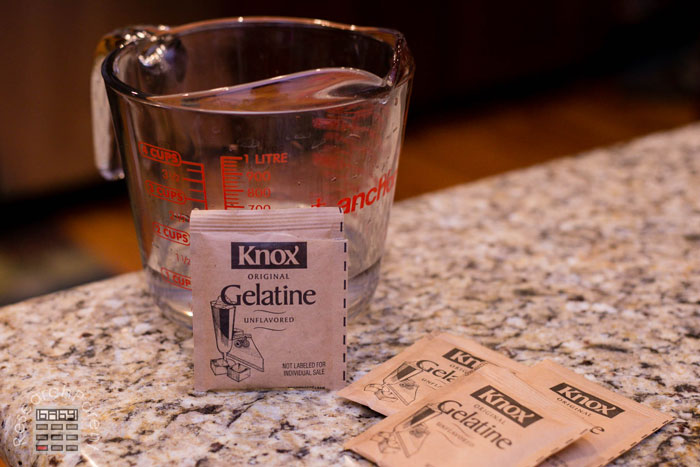
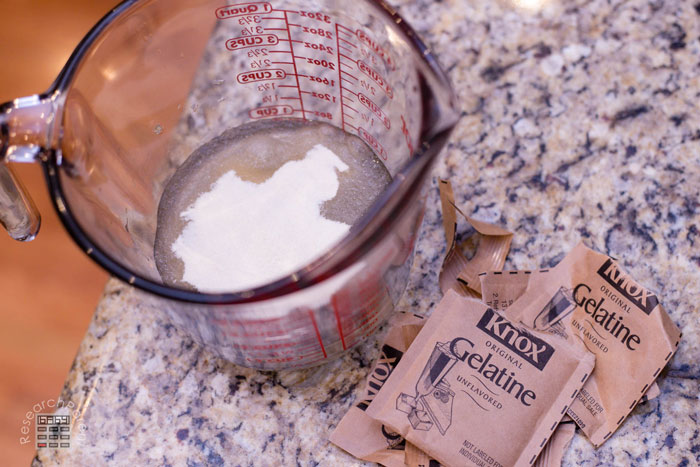
- gelatin (I used a box of Knox gelatin from the grocery store that only came with 4 envelopes. We used all 4 envelopes.)
- one tangerine
- one blueberry
- about 10 peas (I used frozen)
- 5 spaghetti noodles (2 will be used for centrioles and the rest for the cytoskeleton)
- 3 angel hair pasta noodles (optional, could just use more spaghetti)
- about 10 beans (I used red beans, but any kind is fine)
- 2 manicotti noodles
- one lasagna noodle sheet (I used the flat, oven-ready kind, but the bumpy kind should work too)
- handful of pearl couscous
- 2 or 3 water balloons
- plastic wrap
- one drop of food coloring (I used blue, but the cytosol doesn’t really have a color, so it doesn’t matter)
Supplies:
- round glass bowl that will hold at least 6 cups of liquid. (You will only be adding 4 cups of liquid, but you also need room to add all the “organelles.”)
- measuring glass
- pot for heating water
- spoon
- glue (I used Elmer’s, but other types would likely work)
Instructions:
- First, cook the 2 manicotti noodles and the lasagna noodle so they are soft by boiling them in water for a few minutes.
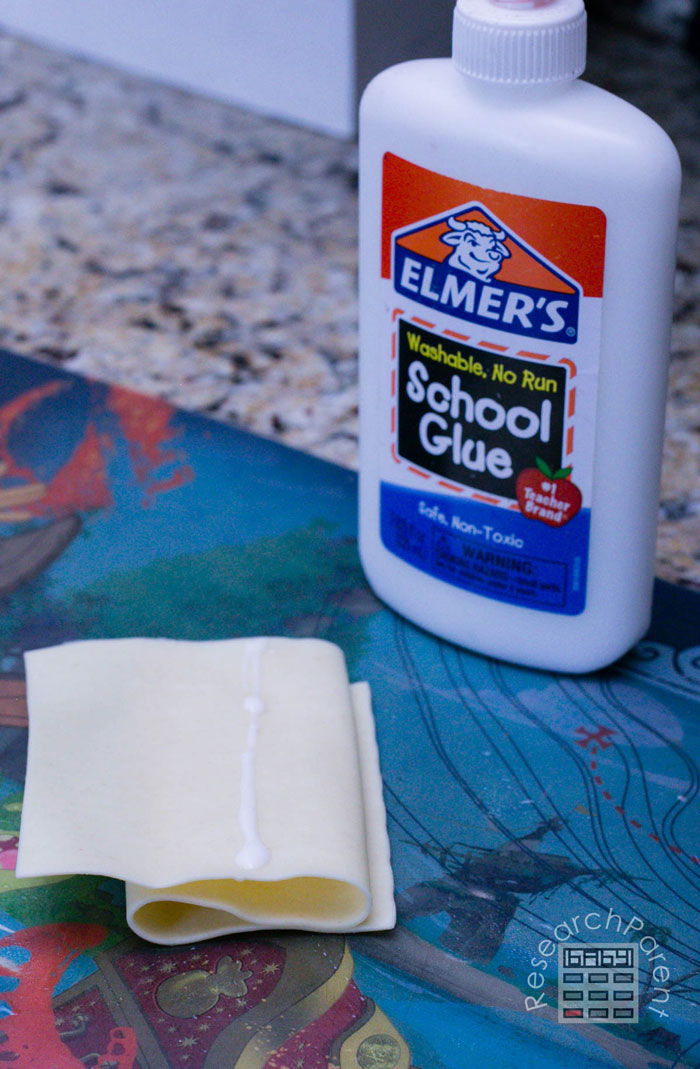
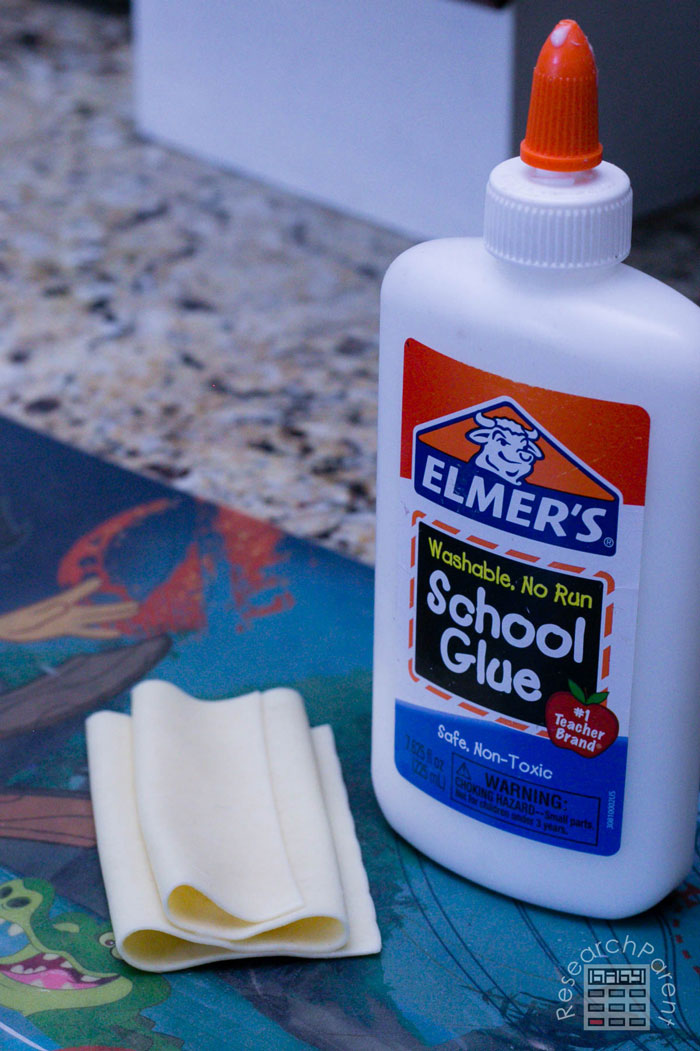
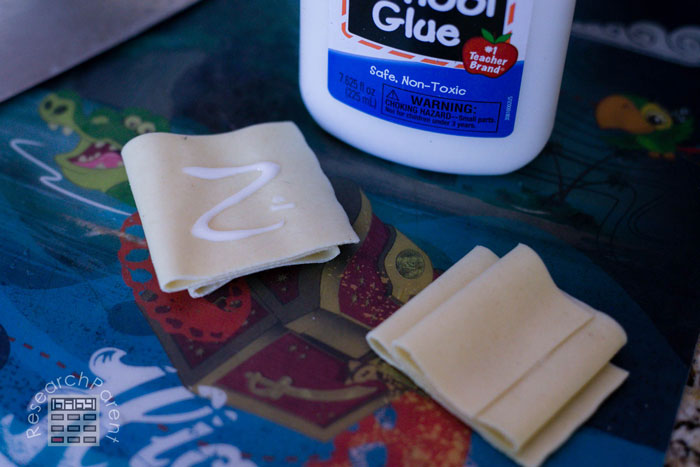
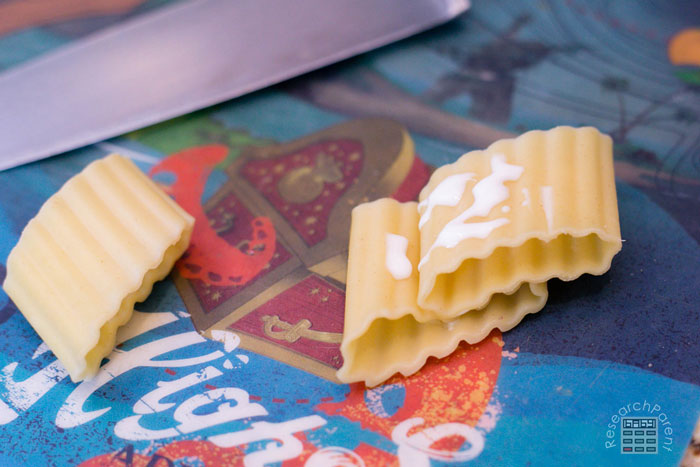
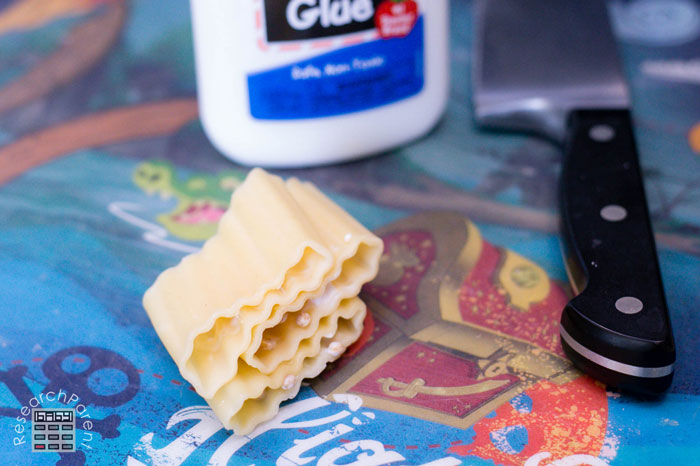
- Use glue to fold and secure the lasagna noodle as shown. Wait a couple minutes for the glue to dry.
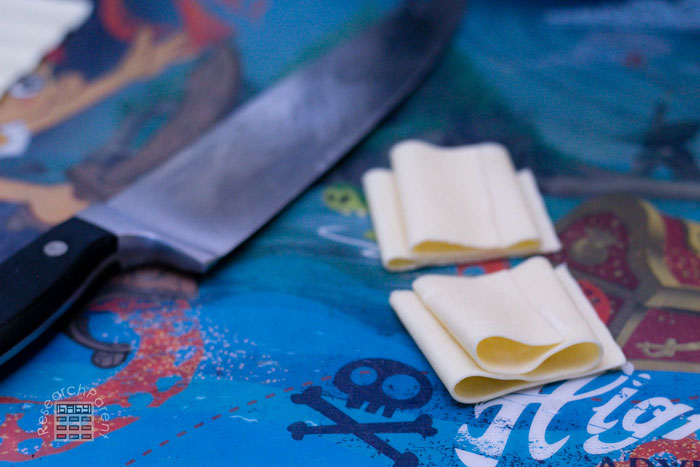
- Cut the folded lasagna noodle in half.
- Apply glue to the larger flat sides of each half.
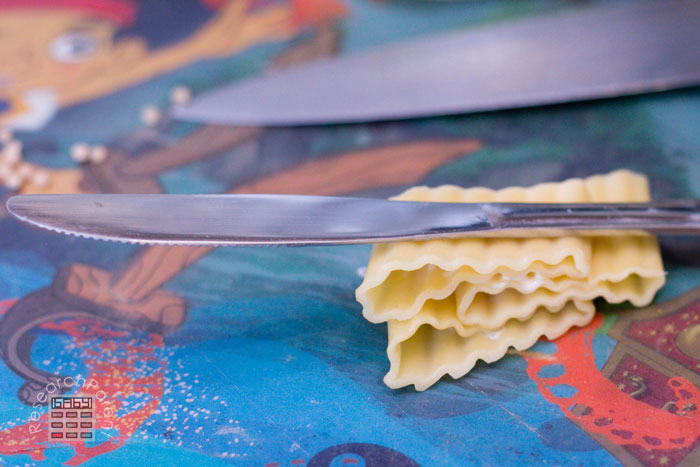
- Glue the two halves together. You now have a Golgi apparatus (which are also sometimes called Golgi bodies.)
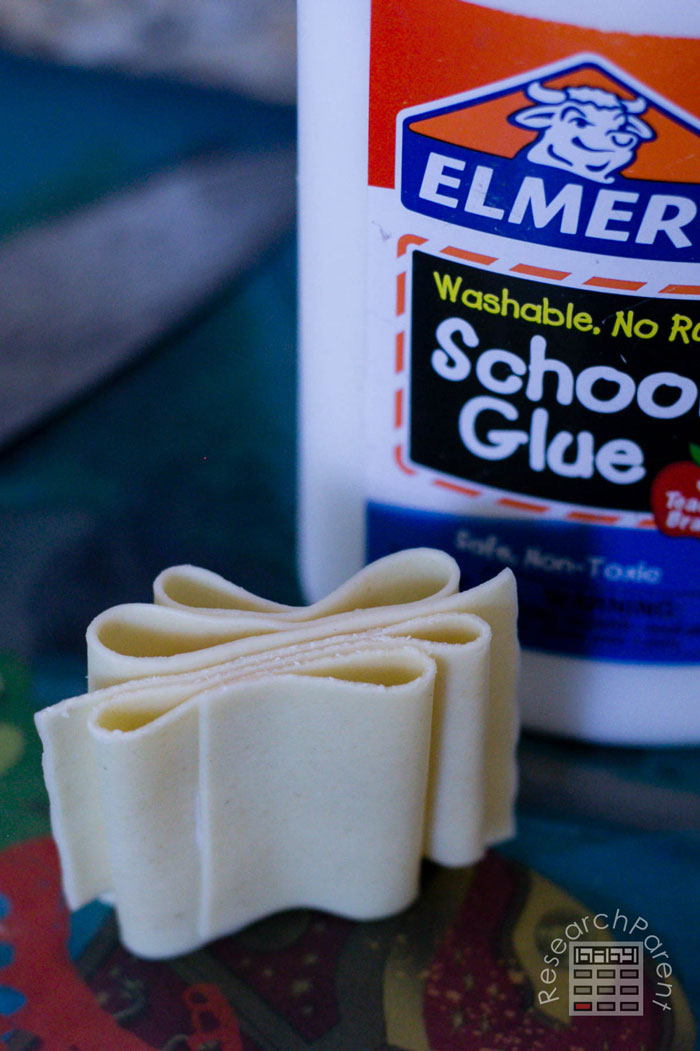
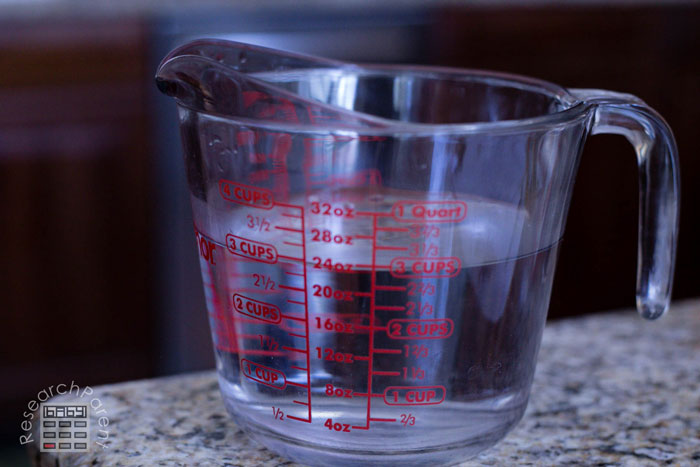
- Measure 3 cups of water.
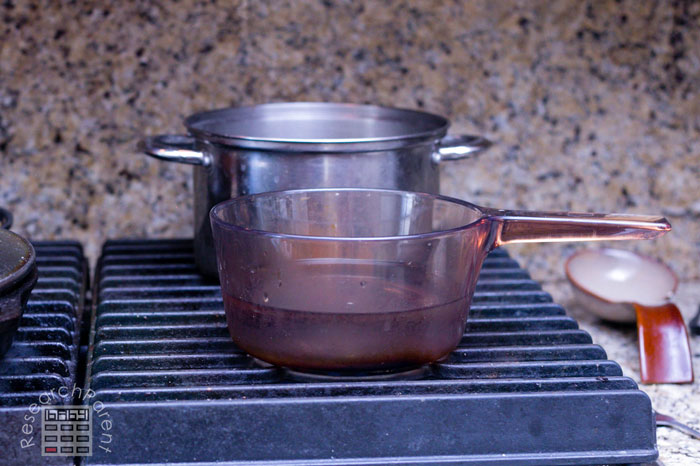
- Start boiling the 3 cups of water. You can continue assembling other “organelles” while you wait for the water to boil.
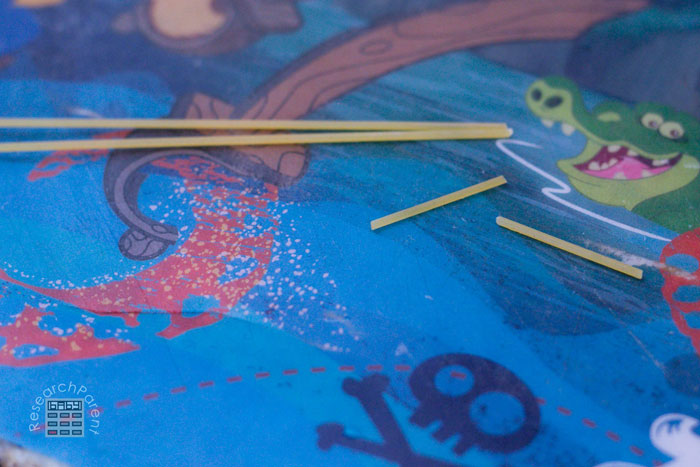
- Break 2 spaghetti noodles into about 1 inch pieces.
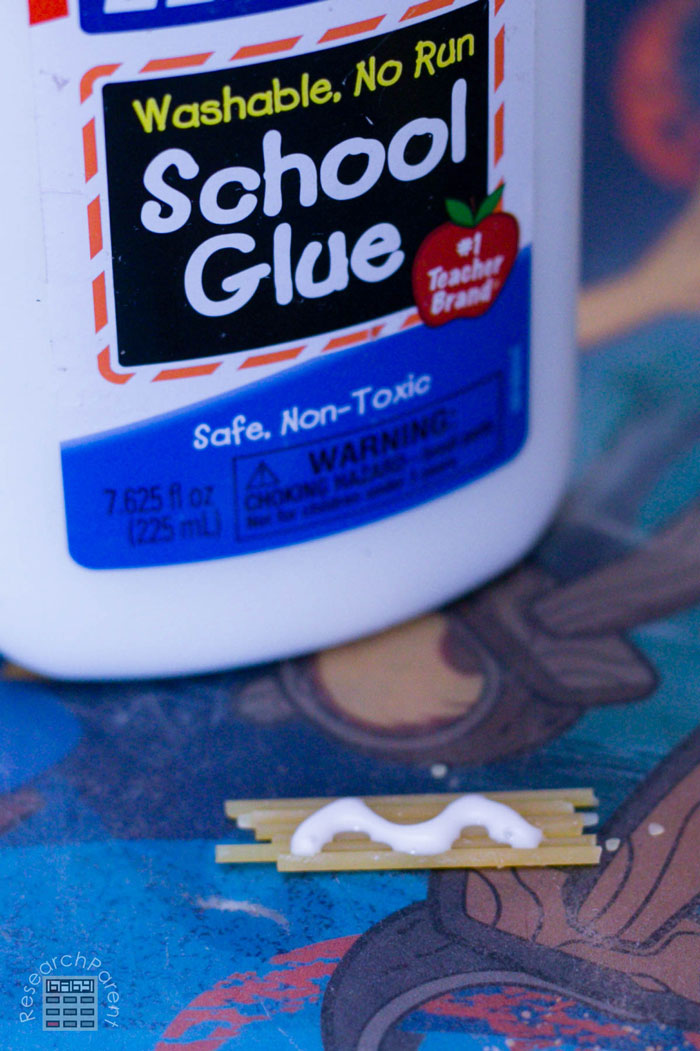
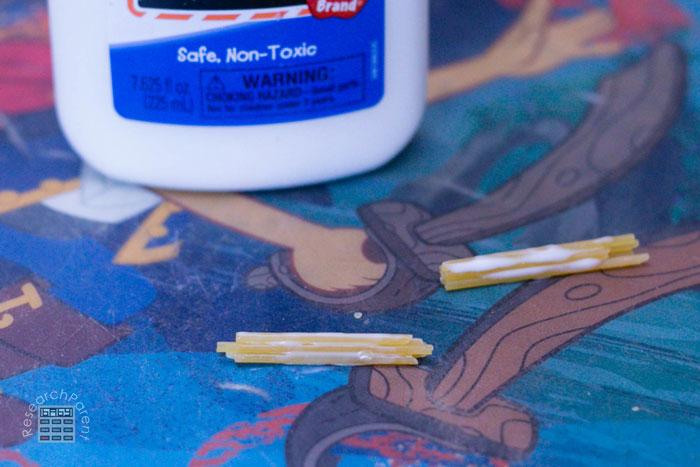
- Apply glue to about 5 or 6 pieces side by side.
- Spread the glue around and push the spaghetti pieces together as shown. This will be a centriole. Make 2 and let dry.
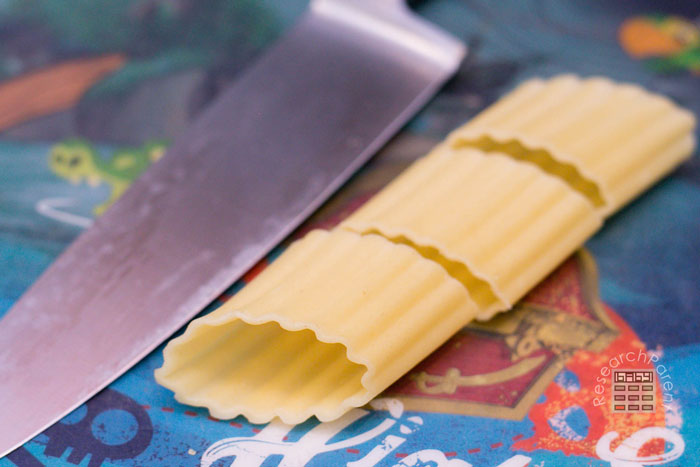
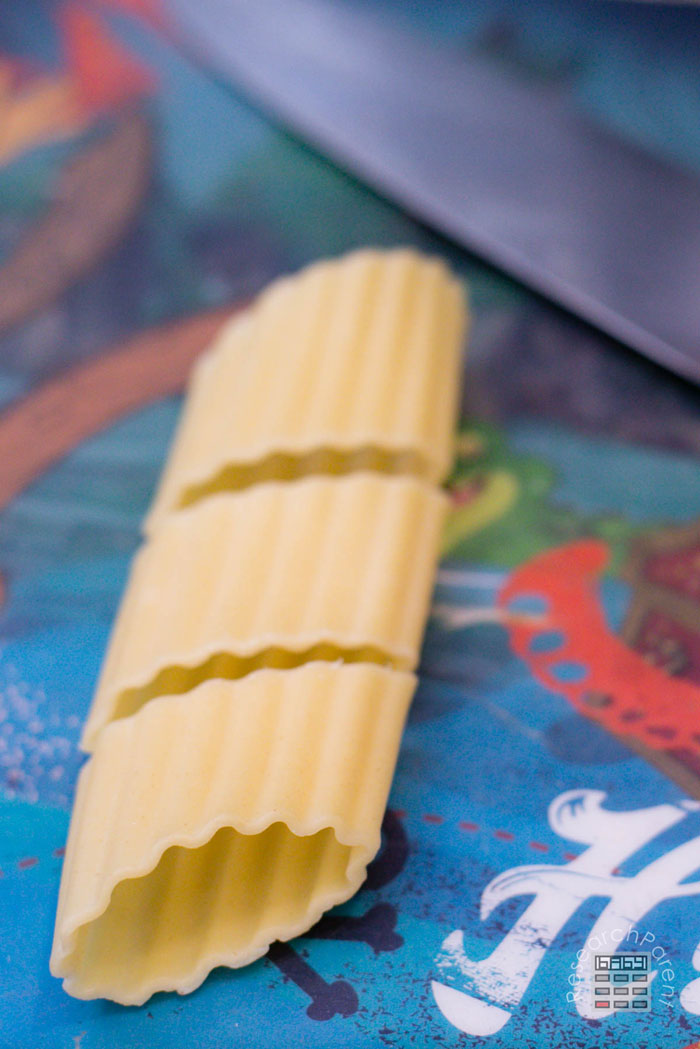
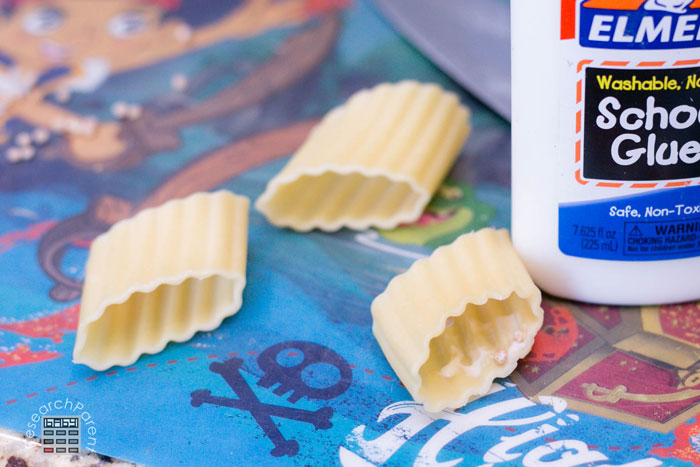
- Cut a cooked manicotti noodle into 3 pieces.
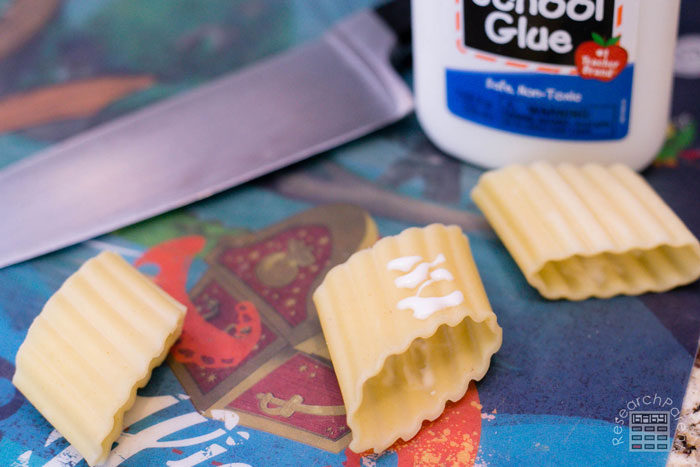
- Apply glue to the inside of all 3 manicotti noodle pieces and the top of two.
- Stack the manicotti noodles together as shown.
- Place something heavy on top of the manicotti pieces and wait for it to dry. This is your smooth endoplasmic reticulum.
- Now we are going to repeat the previous 4 steps again, but this time, add pearl couscous. Start by cutting your second manicotti into 3 pieces.
- Apply glue to the manicotti pieces as before, but this time stick some pearl couscous on the insides and outsides.
- Stack them together, as before, adding pearl couscous.
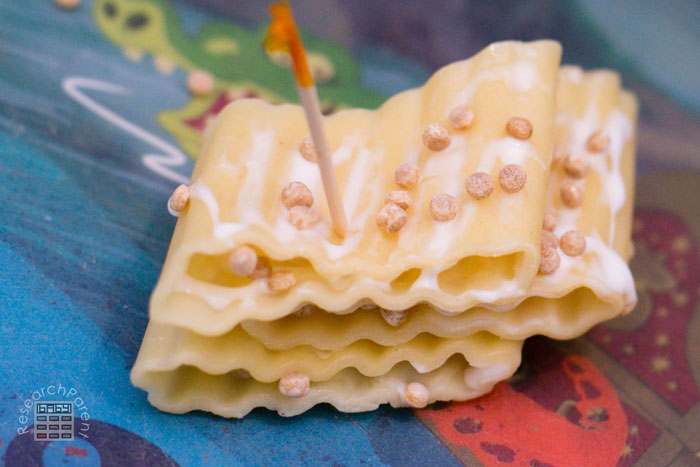
- Put a toothpick threw the pieces to hold them together. Add more pearl couscous to the outer surfaces with glue.
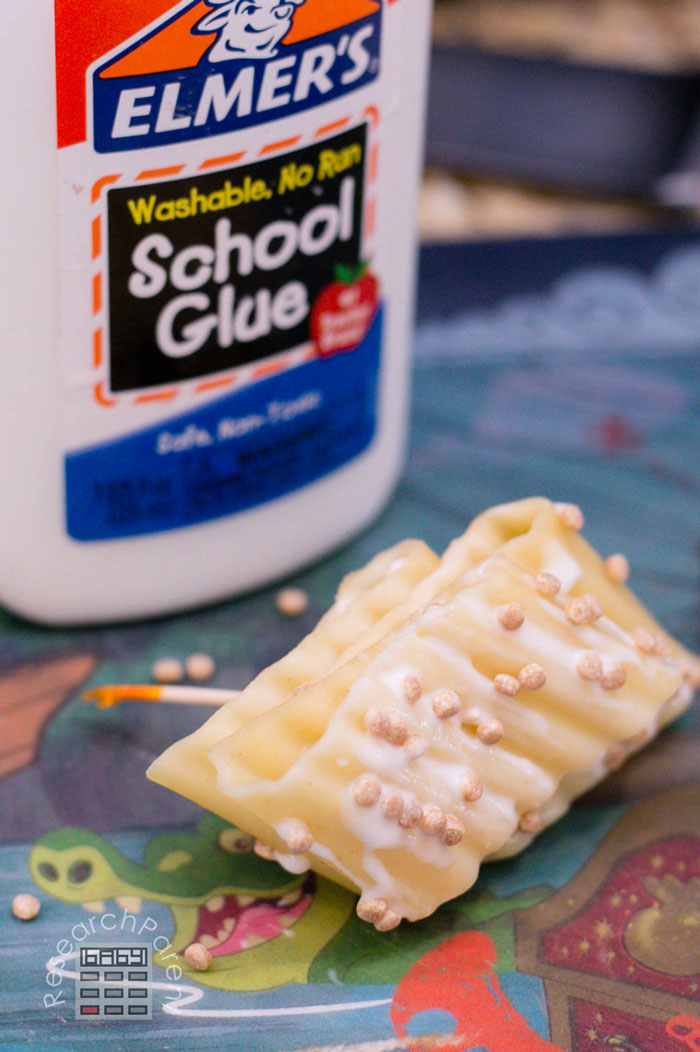
- Don’t forget to add pearl couscous to the bottom of the stack of manicotti pieces. You now have your rough endoplasmic reticulum.
- By this time, your water will probably be boiling. If so, measure 1 cup of water.
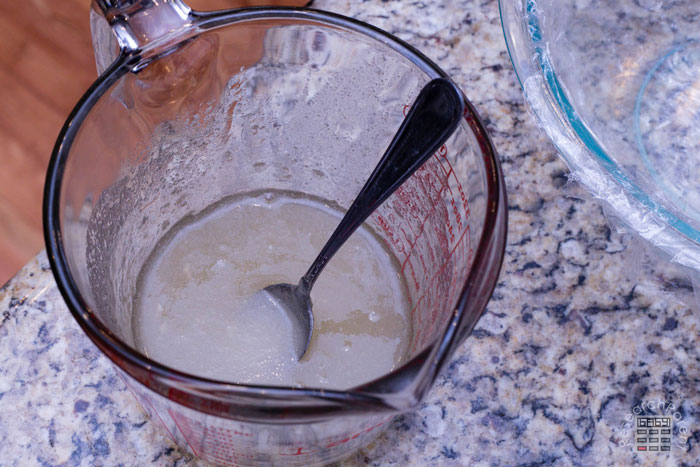
- Add 4 packets of gelatin to water (if using Knox envelopes. It not, check the packaging of your gelatin to figure out how much to add to 4 cups total of water.) Let stand for 1 minute.
- Stir the gelatin into the water.
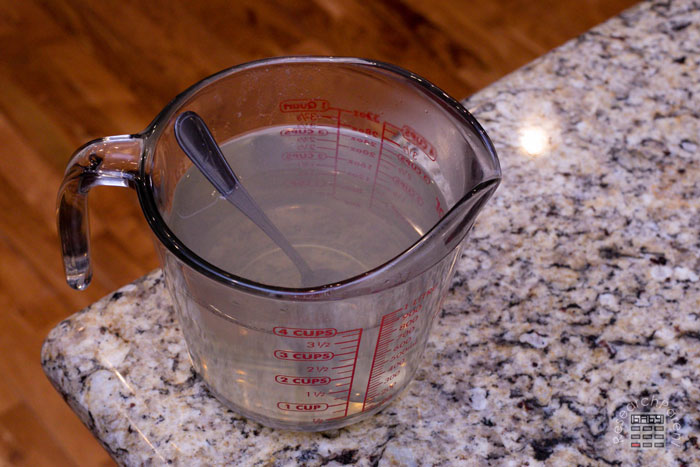
- Add boiling water to the gelatin mixture.
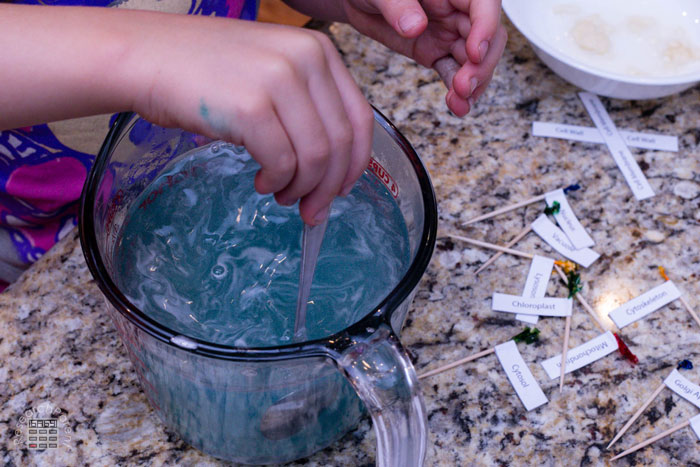
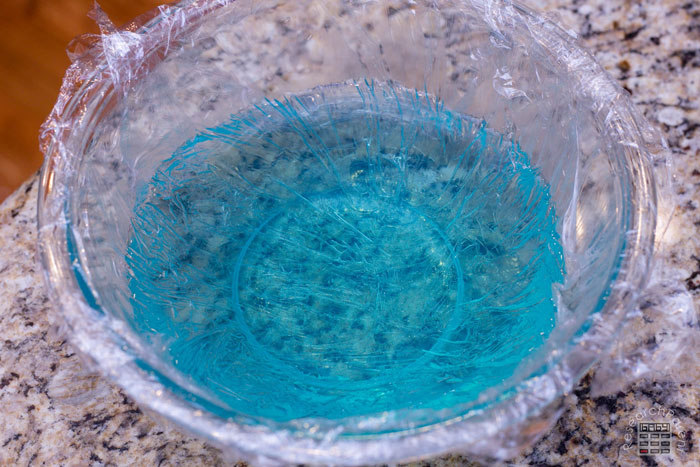
- Add one drop of food coloring and stir. This is your cytosol. Note that when I was in school, we called this cytoplasm. However, the convention now seems to be that the word cytoplasm includes other structures such as ribosomes (couscous).
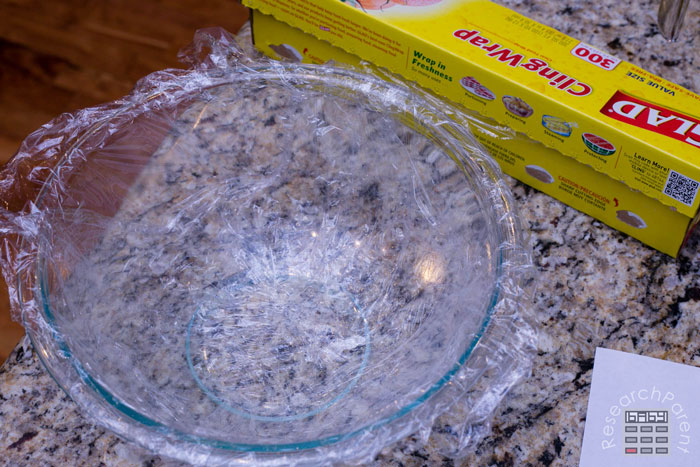
- Use plastic wrap to cover your bowl. You will likely need to use two pieces. This is your cell membrane.
- Pour the blue “cytosol” into the bowl with the plastic wrap. You will probably want to let this cool off a bit before sticking it in the fridge.
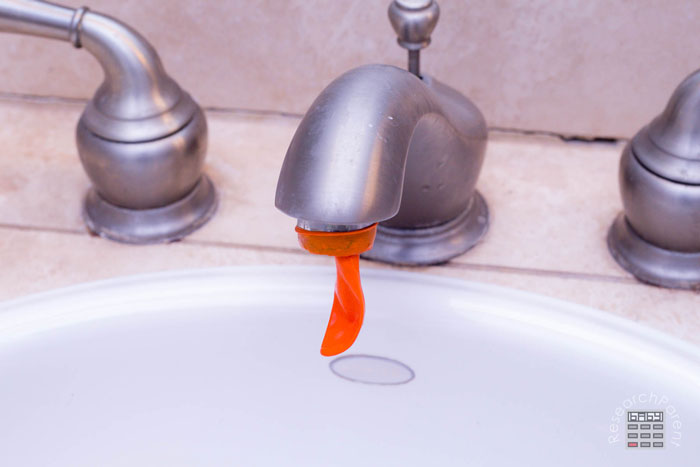
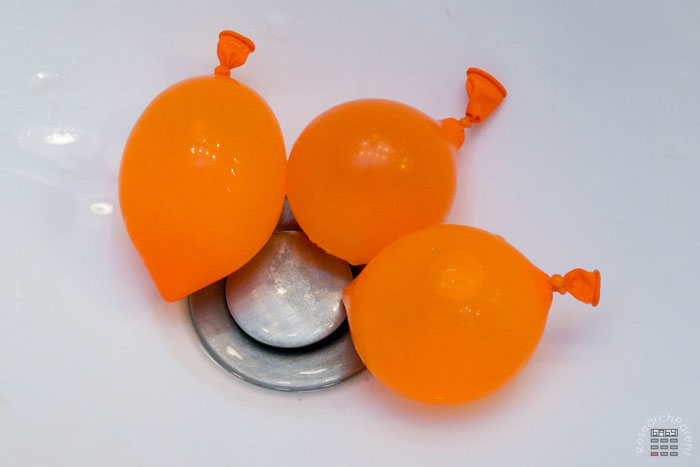
- While you wait for it to cool off, fill up water balloons. These will be your vacuoles. If you are going to make a plant cell to compare with your animal cell, make sure to fill these water balloons for the animal cell less. The animal cell vacuoles are smaller than the one in a plant cell.
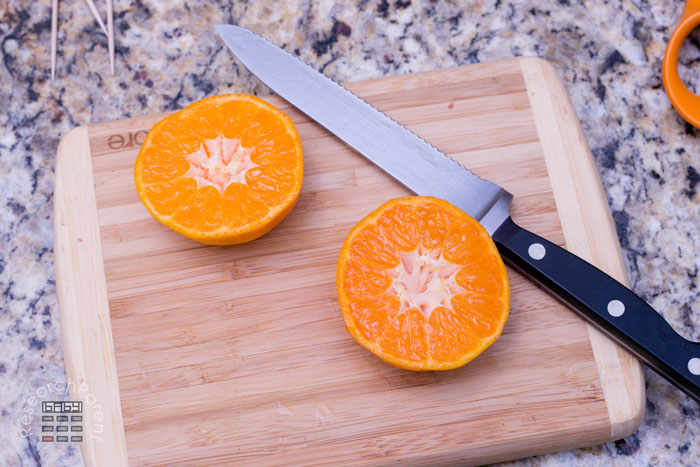
- Cut a tangerine in half.
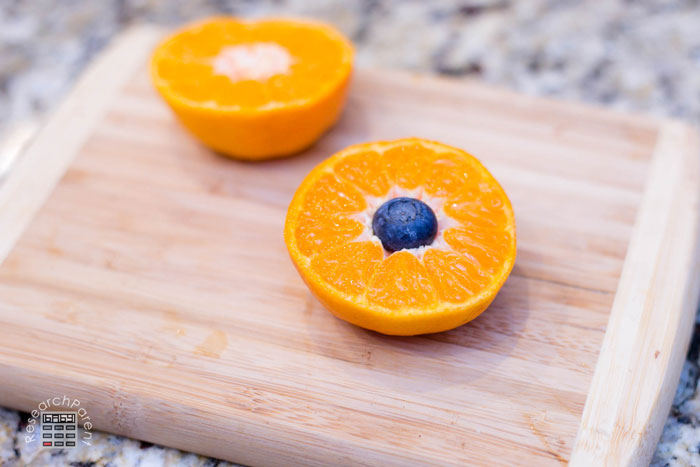
- Place a blueberry into the center of the tangerine. The entire tangerine plus blueberry is the nucleus of the cell. The blueberry is the nucleolus and the tangerine peel is the nuclear envelope.
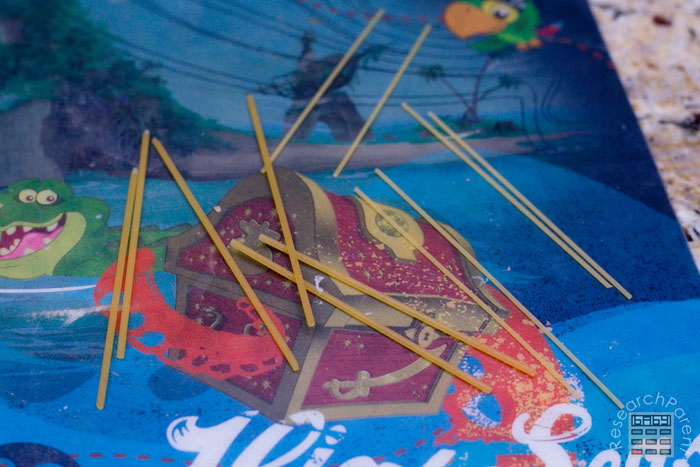
- Break up some pieces of spaghetti and angel hair pasta into 2 or 3 pieces. This will be your cytoskeleton.
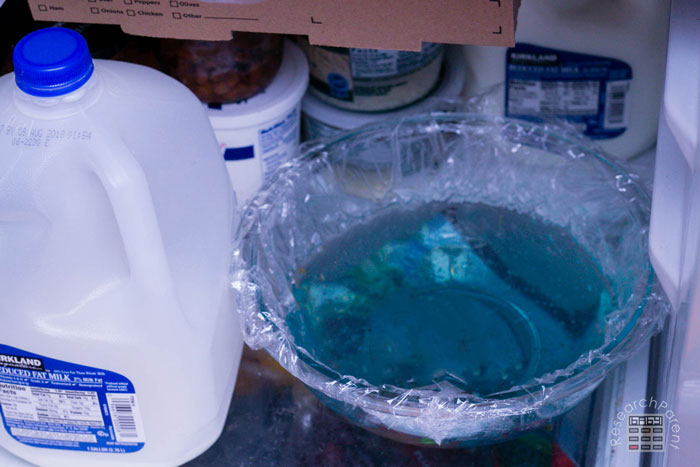
- Check if your bowl with gelatin mixture is no longer hot. If so, place it in the refrigerator.
- CHECK THE CLOCK! You will want to pull the gelatin out of the fridge, BEFORE it solidifies. You want it to have started getting thicker, so that your organelles will not sink all the way to the bottom, but you also don’t want it to be so solid that you have to break the gelatin to insert your organelles. For me, the ideal time was between 45 and 55 minutes. Around the 30 minute mark, I would start checking every 5 minutes or so. (Note: even if you feel you’ve waited a little too long, I found that having it sit out on the counter for a few minutes while I inserted my food items was long enough for the cracks in the surface to “heal” themselves.
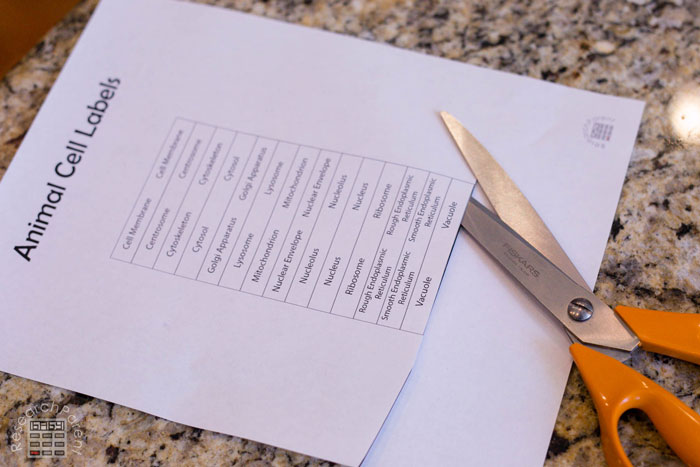
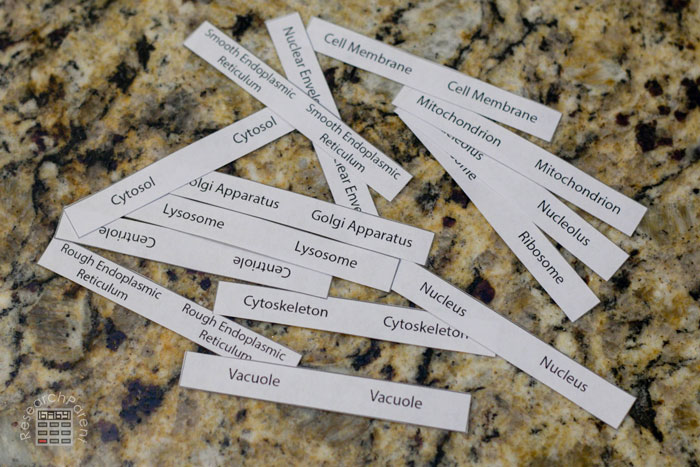
- While you are waiting for your gelatin to gel, make your toothpick flags. First cut out all the animal cell labels.
- Set the cell membrane label off to the side. Since you will want to attach this one to the plastic wrap, you do not need the toothpick. You can either use glue or tape. Also, note that there is no cell wall label. Unlike plant cells, animal cells lack a cell wall. In the plant cell, I called the bowl the cell wall. The animal cell still contains a bowl, but this bowl is there simply to support the shape of our cell, not to act as a cell wall.
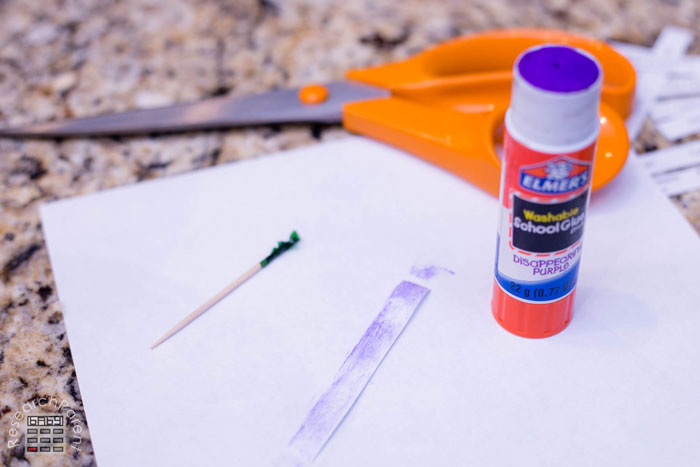
- Apply glue to the back of a label.
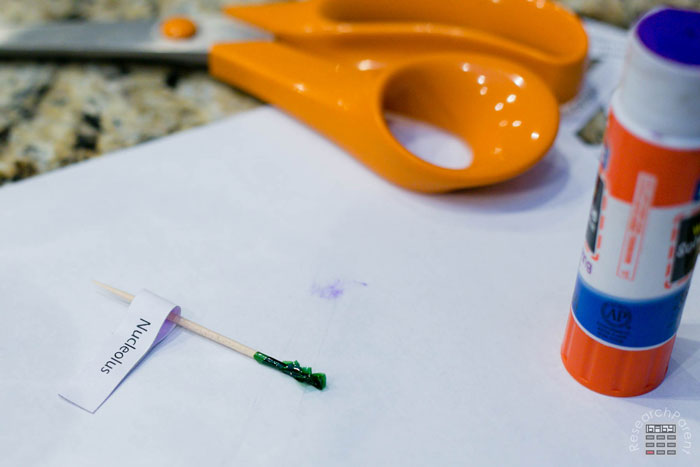
- Fold the two sides together and stick a toothpick in the opening.
- Secure the label around the toothpick and let it dry.
- Repeat for the other 12 labels (being sure to exclude the cell membrane label).
- Once your gelatin has just barely started to gel, pull it out of the fridge. Note that the order of the next several steps is not important.
- Add peas to the cell. These are the lysosomes.
- Add 2 to 3 water balloons to cell. These are the vacuoles.
- Add the tangerine with a blueberry in the middle to the cell. This is your nucleus, nucleolus, and nuclear envelope.
- Add the manicotti with pearl couscous attached to it near the nucleus. This is your rough endoplasmic reticulum.
- Add the manicotti without pearl couscous farther away from the nucleus. This is your smooth endoplasmic reticulum.
- Add folded lasagna to the cell. This is the Golgi apparatus.
- Add 1 inch spaghetti noodles glued into two clumps to the cell. These are your centrioles. They should be perpendicular to each other.
- Add beans to cell model. These are the mitochondria.
- Add pearl couscous to cell model. These represent ribosomes.
- Add spaghetti and angel hair pasta to cell. This represents your cytoskeleton.
- Place back in the fridge for another 30 minutes or so in order for the gelatin to completely solidify.
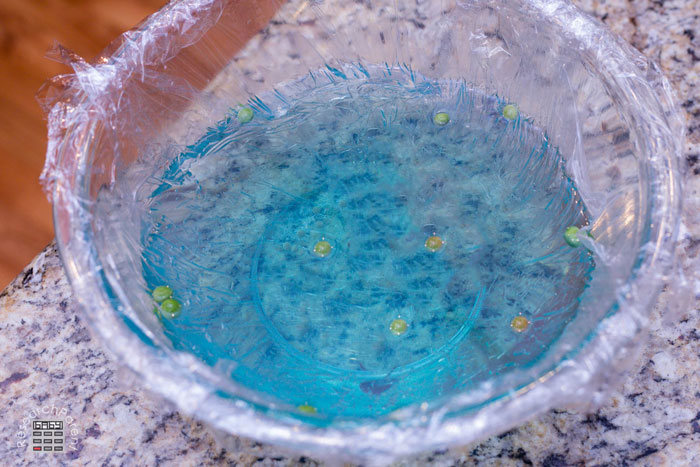
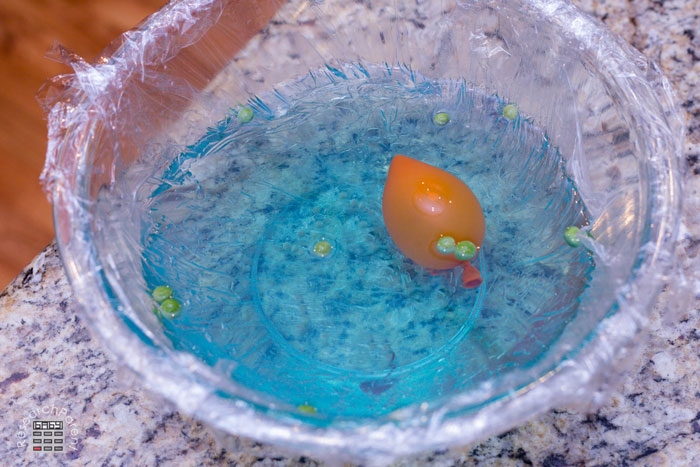
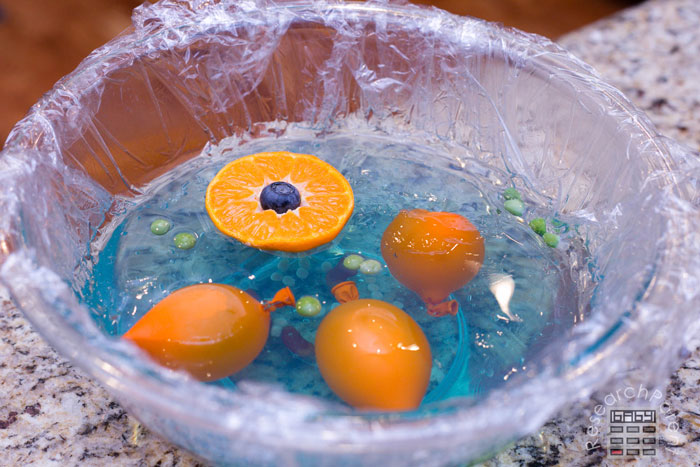
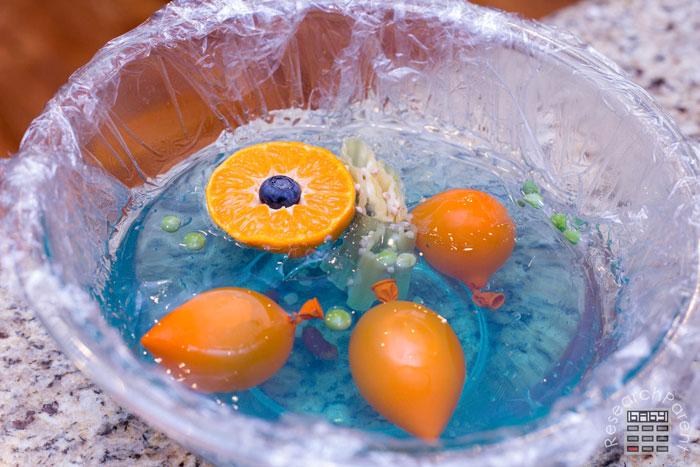
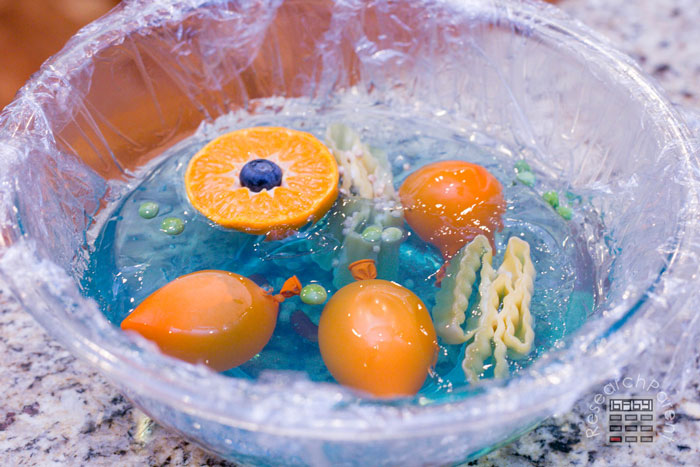
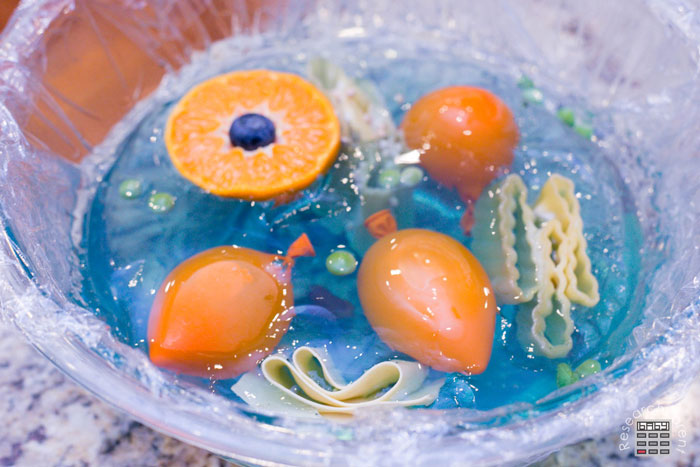
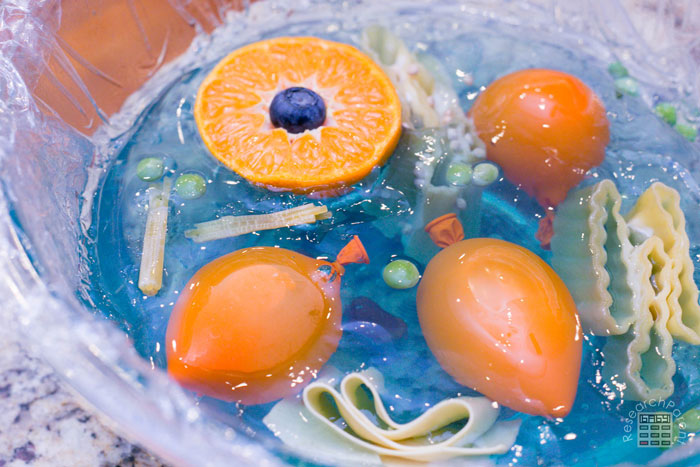
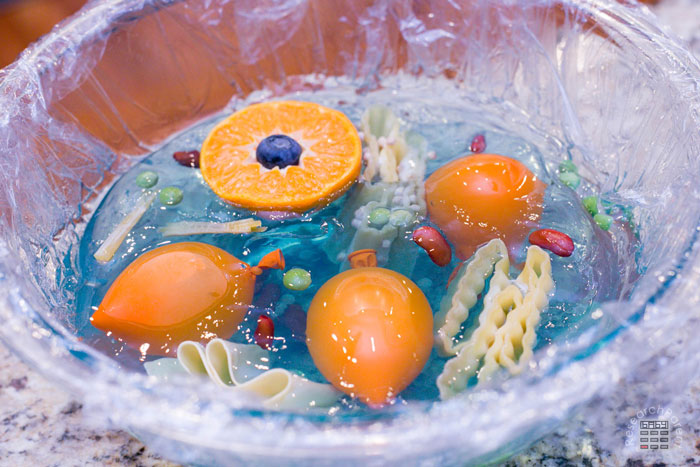
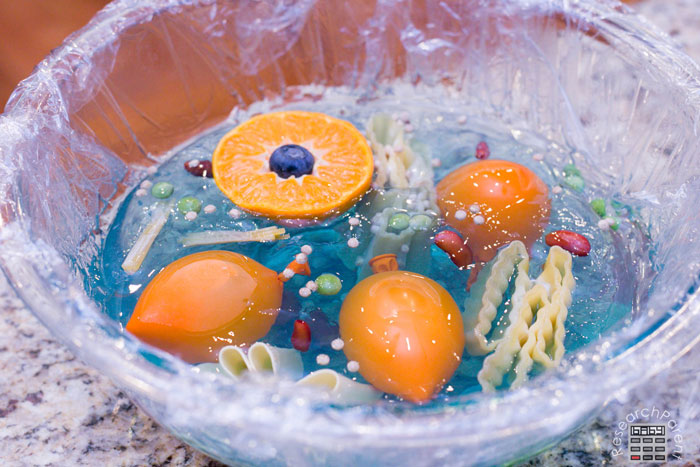
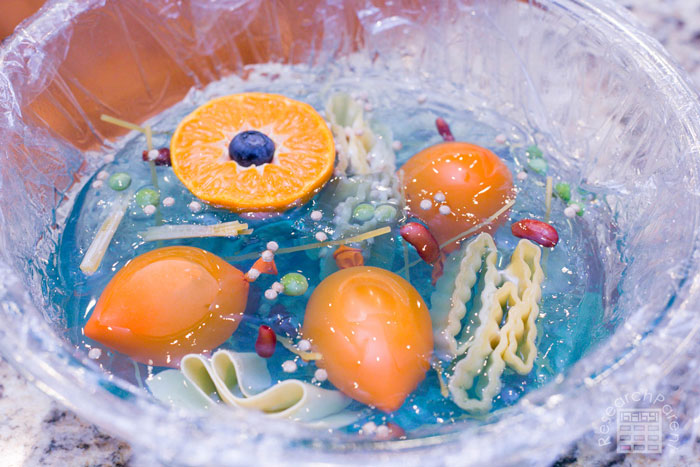
You now have a completed animal cell model! Now as you learn about each organelle, you can use your flags to label each part of the cell.
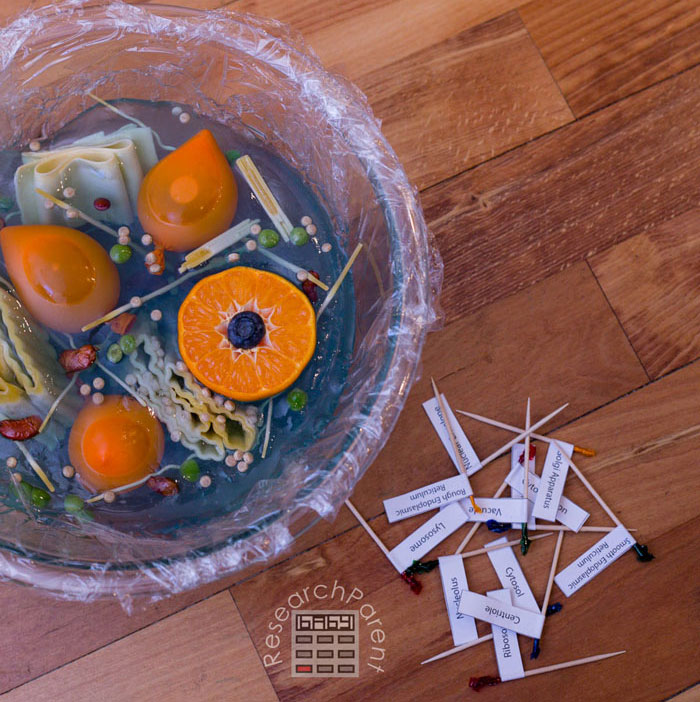
Kids can use the flags to test their own knowledge or take turns placing the flags to play a multi-player game.
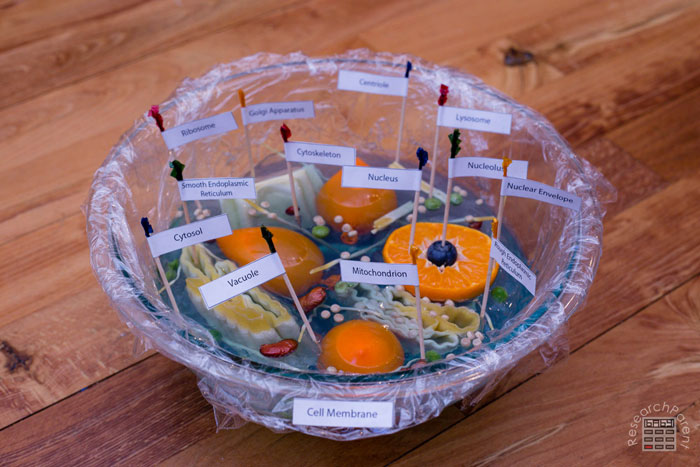
I hope your kids enjoy this activity demonstrating animal cell biology!

Click here for more Biology activities for kids.
Related Links
Science Activities for Kids
Chemistry Activities for Kids
Robotics Activities for Kids


Very cool idea. Kudos for the health attempt, but I’d vote for candy so it’s actually edible instead of glued noodles. If it looks like food near kindergartners then it should be fully edible in case you turn your back and ‘Johnny and Mary’ dig in. :)
Haha, that’s definitely true. I wouldn’t recommend doing this in a class setting with young kids!
I’m sorry if this is dumb question, but couldn’t I just use jell-o?
Of course! I liked being able to control the amount of color to make sure all the “organelles” were visible, but you could ABSOLUTELY just use a light-colored Jello!
Michelle that’s true, didn’t think of how dark some jello is. thanks so much can’t wait to do this.