About 6 years ago, I bought a LEGO Mindstorms EV3 (LEGO’s robot kit before the Spike Prime). My kids and I worked together to build a robot using the instructions in the box. We learned how to drive it around like a remote control car. Then it sat in a closet on a shelf where it still sits to this day. When I tried looking online to find tutorials to teach me how to program the robot, I would get overwhelmed. For the record, I have a PhD in engineering and worked as a computer programmer for years. I knew it shouldn’t be as hard as it seemed. Now that my kids are older, my new goal is to coach a First LEGO League Challenge team. To do that, I NEED to learn how to program LEGO’s robots. My plan is to write a series of posts as I learn, breaking the process up into bite-sized, manageable, unintimidating pieces.
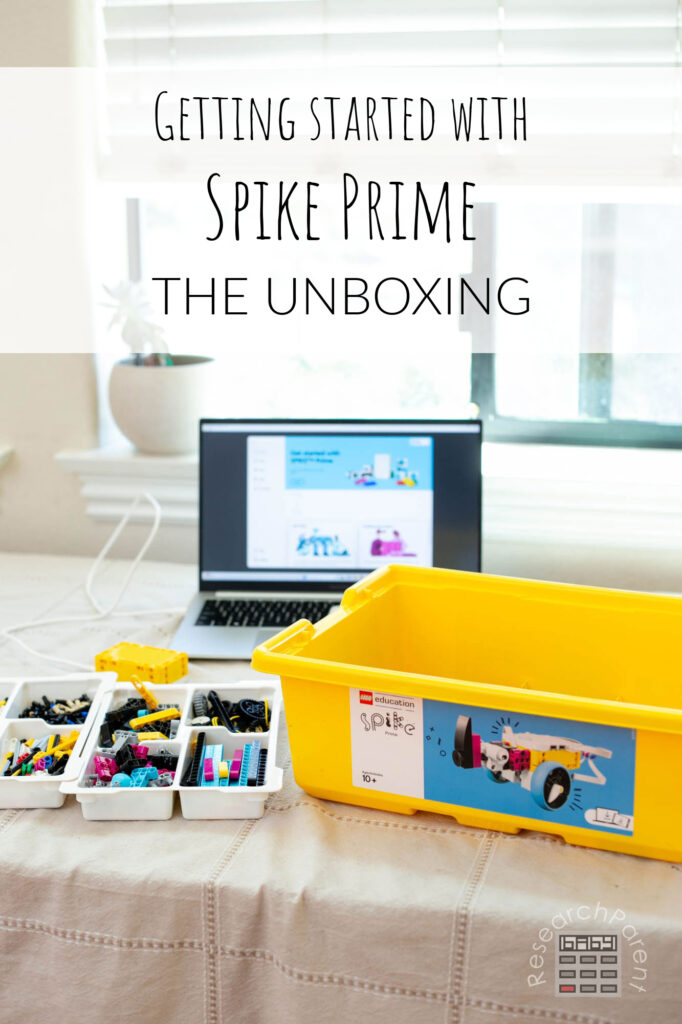
The LEGO Education Spike Prime Set is not cheap. Since I homeschool with a charter in California, I was fortunate that my charter was able to buy it for me. To enter the First LEGO League Challenge competition, it is about $300 to register a team and another $100 for all the parts to make the challenges that the kids are trying to solve. The competition is for kids in 4th through 8th grade. My oldest has been involved with a team for the past 2 years and it is so fun for the kids and such a great experience. Anyone can start a team! I’m looking forward to coaching this year. The bar is a bit higher to start a high school-level team, but I may look into that in the future as well.
Even if your child does not want to participate in First LEGO League competitions, if they are into robots, I am extremely impressed with this kit! It is a serious step up from the easy robotics projects for kids tutorials that I share on this site. Since this Spike Prime kit involves programming sensors that allow the robot to respond to the environment, the children are truly learning robotics. The whole setup is very user-friendly and has a plug-and-play feel to it. The next step beyond these LEGO robots would be to learn to make a robot by programming an Arduino or Raspberry Pi. I’ll get there one day!
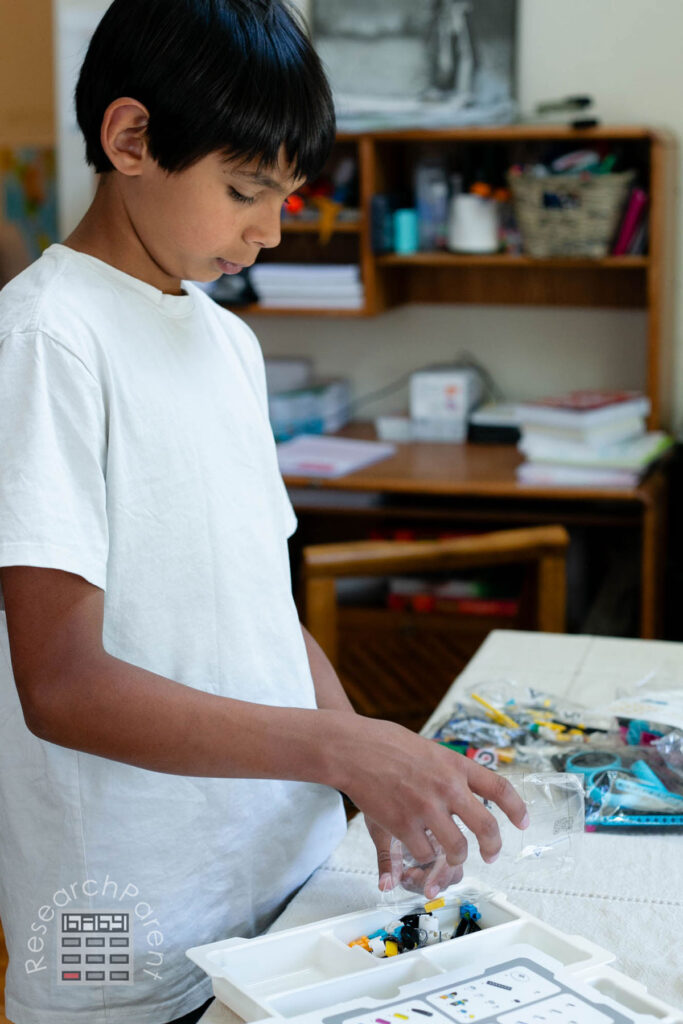
For now, we have our kit, and this first post will share the unboxing we did on Day 1. (So far, we’ve also tested all our motors and sensors, but I will share that in the next post.) Since LEGO instructions are written in LEGO pictures and not English, they are meant to be intuitive and universal. However, especially for those of us that haven’t spent hours doing LEGO builds, they don’t always inspire a lot of confidence. Hopefully, this post will help you feel confident that you are moving in the right direction as you get to know your new LEGO Spike Prime!
For your convenience, here is the entire LEGO Spike Prime Tutorial Sequence. I am hoping I will remember to come back and update this as we go!
- Tutorial 1: The Unboxing
- Tutorial 2: Testing the Motors and Sensors
- Tutorial 3: Installing the App and Connecting the Hub
- Tutorial 4: Writing and Managing Programs
- Tutorial 5: Building the First Robot Car
Unboxing Spike Prime Details
Recommended Age Range: Elementary, Middle School, High School
Time Required: About 20 minutes
Difficulty: Easy
Cost: The LEGO Education Spike Prime Set costs $400 on the LEGO site. As of this writing, it is more expensive on Amazon, but I would check!
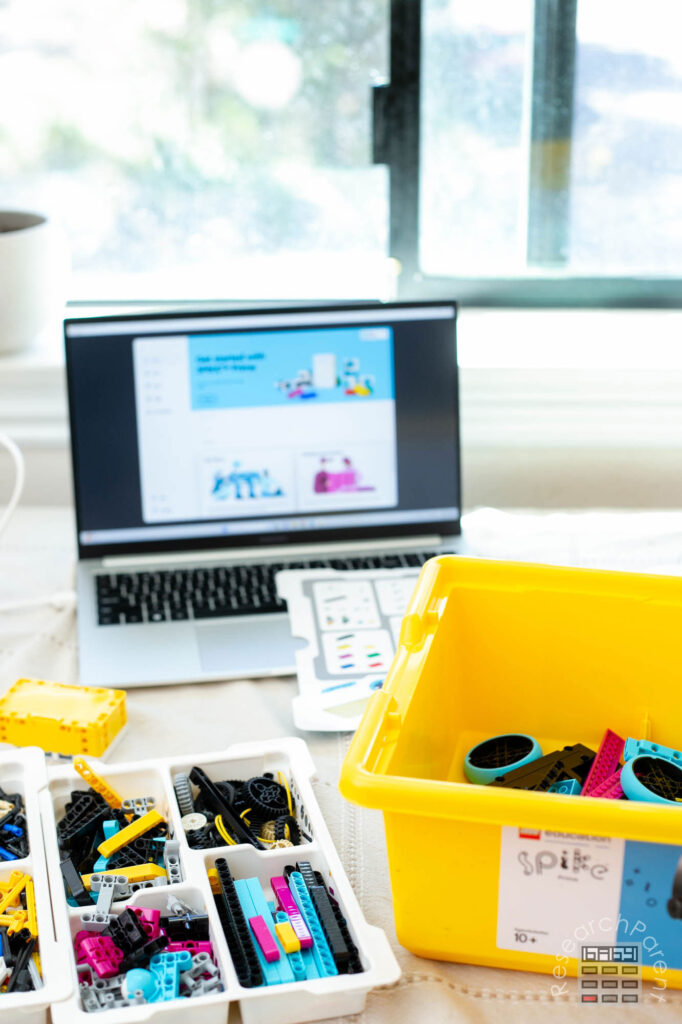
Instructions
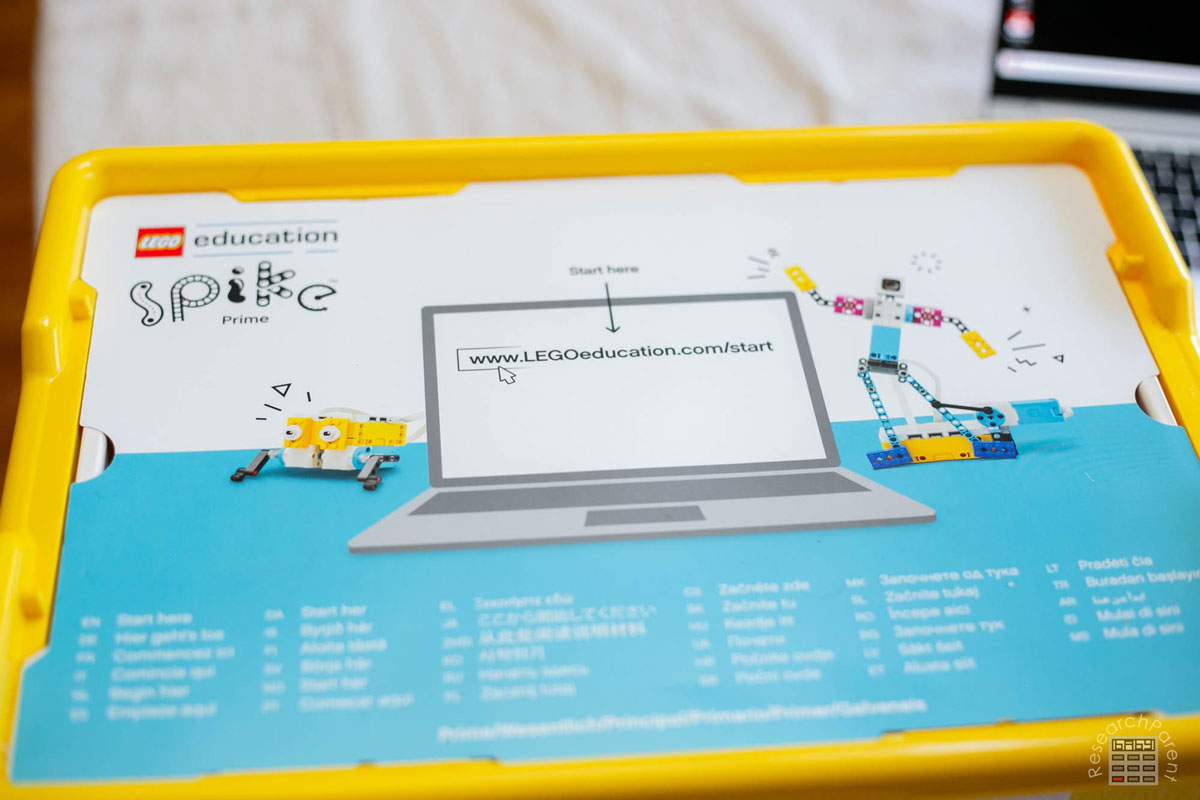
- You have your kit, now open your box! The first thing you will see is the website to start with in order to download the app to your computer. You can wait to do this! You won’t need it today.
However, flip this piece of paper over and you will find a handy sheet listing the contents of the box! (My 13-year-old is the one that found this. I probably wouldn’t have thought to flip over the paper. 😂)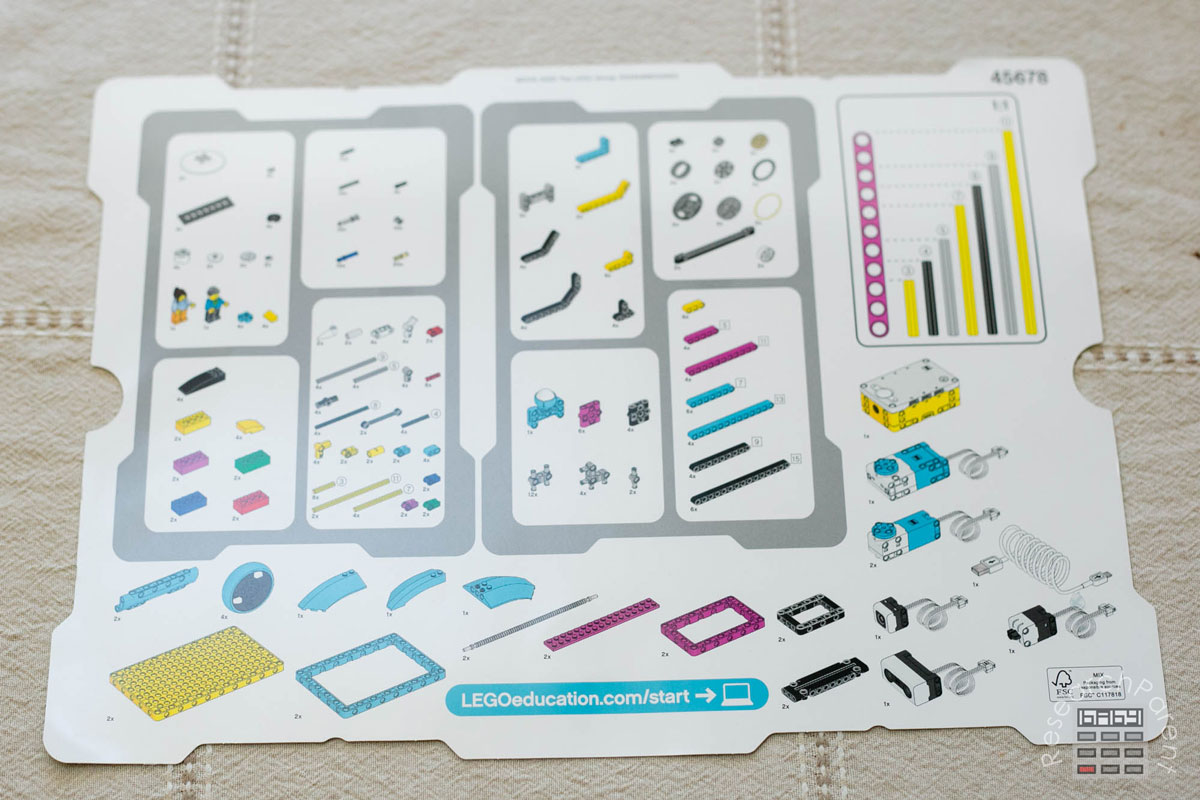
- Next spread out all the goodies on your work surface. You will find 2 trays and several bags, boxes, and larger components.
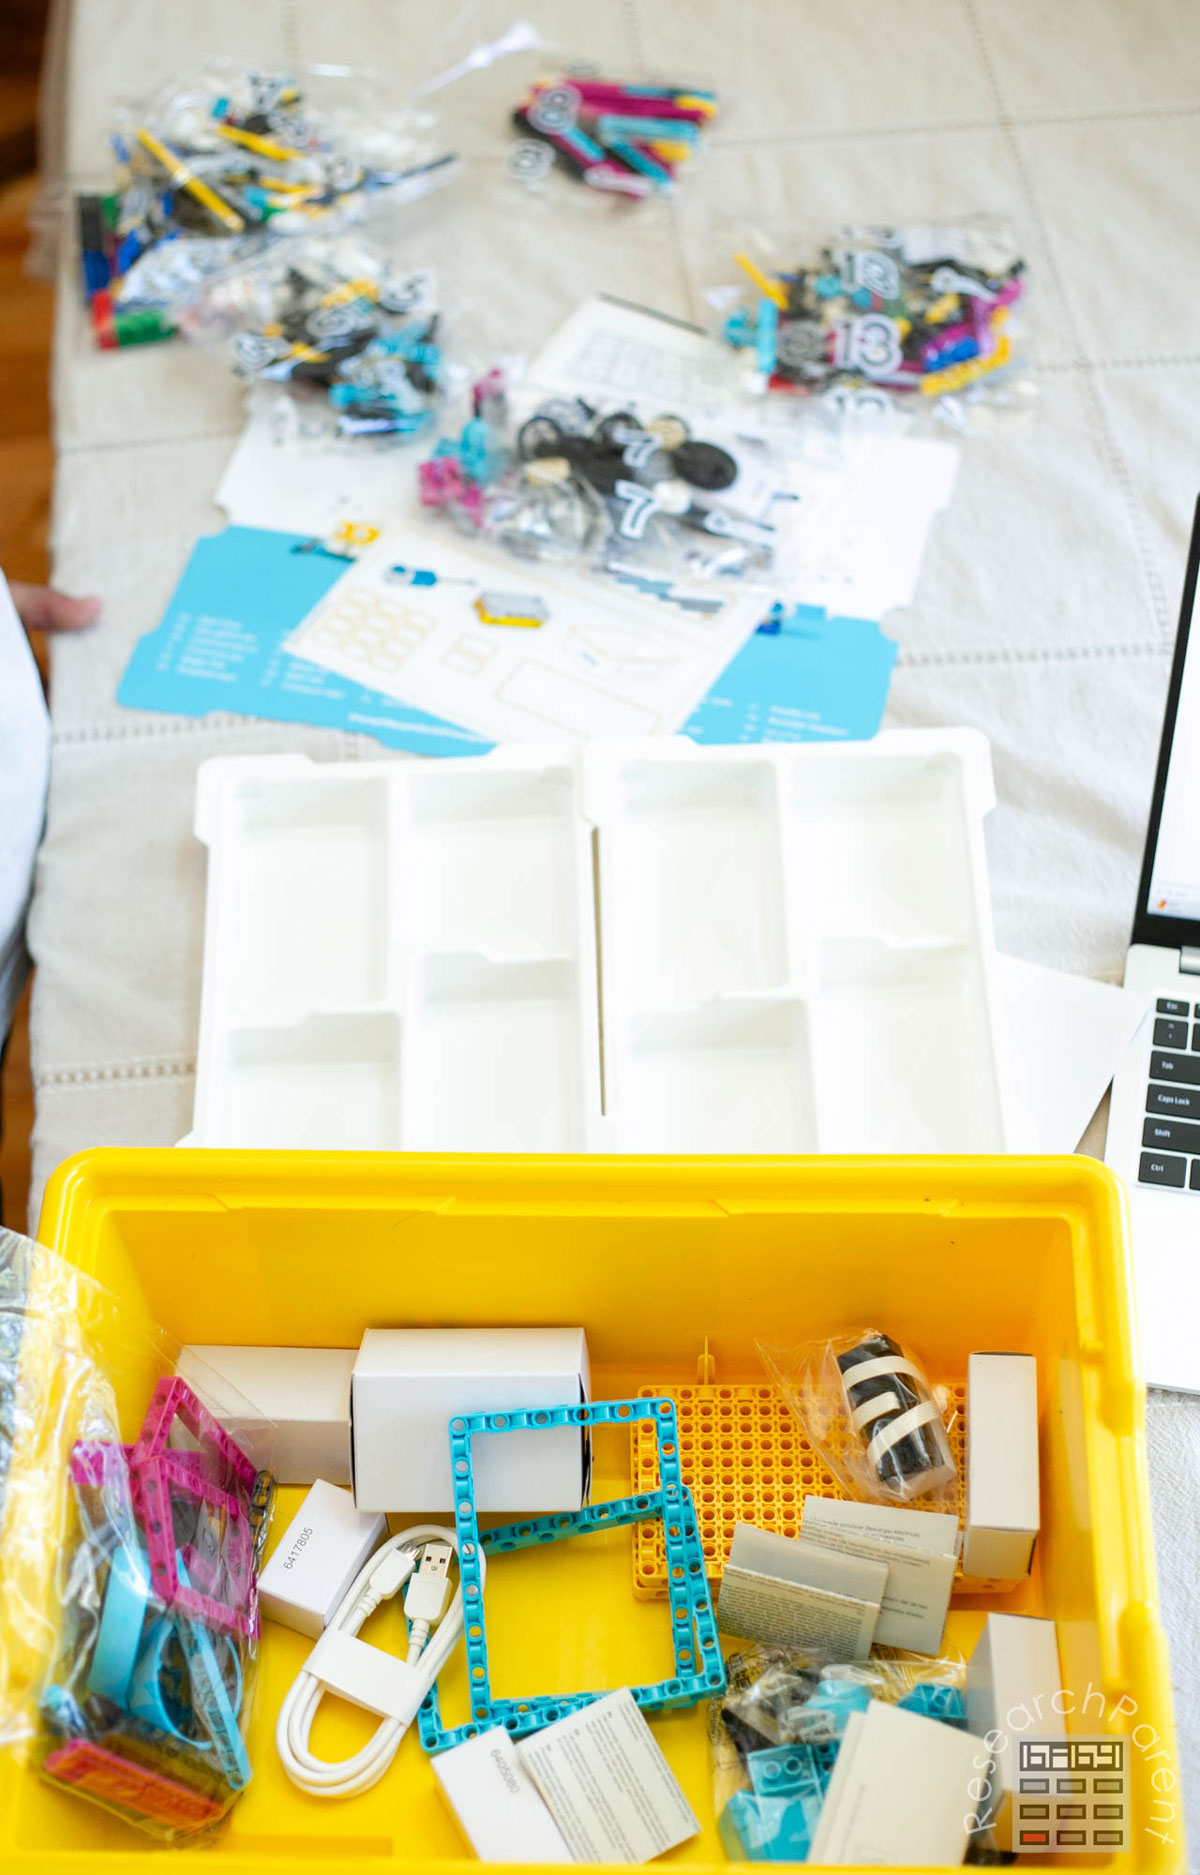
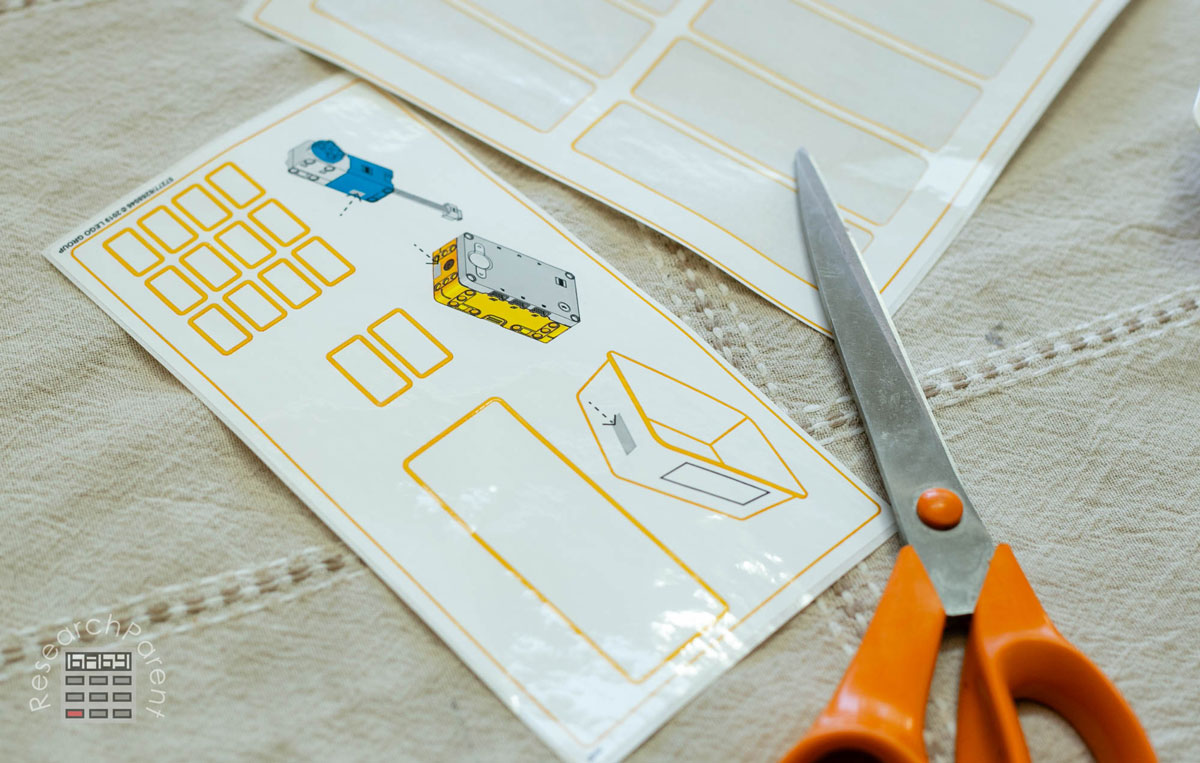
- Within the box, you will find a sticker sheet. If you are fluent in LEGO-ese, you will realize that they want you to use the stickers to label the different compartments of your trays. There are 8 stickers and 8 compartments. The instructions show you where each sticker goes.
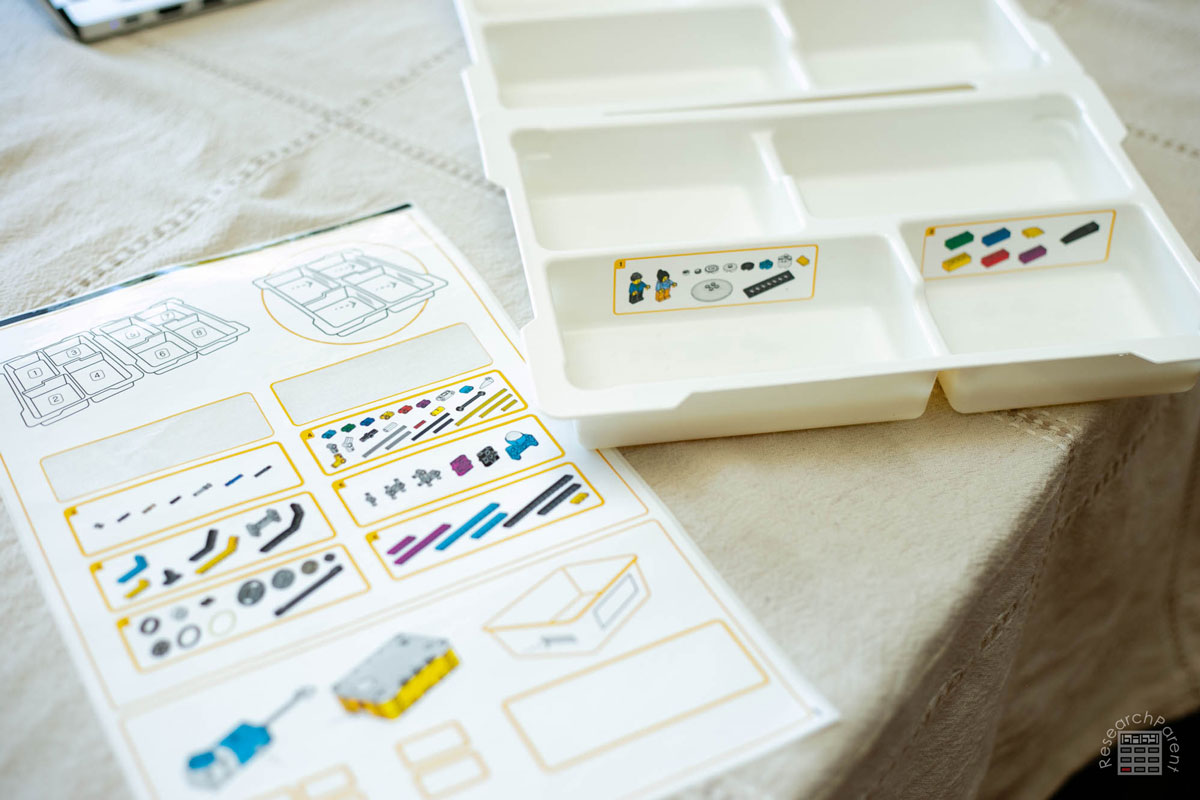
Keep placing the stickers in the appropriate spots until all 8 compartments are labeled.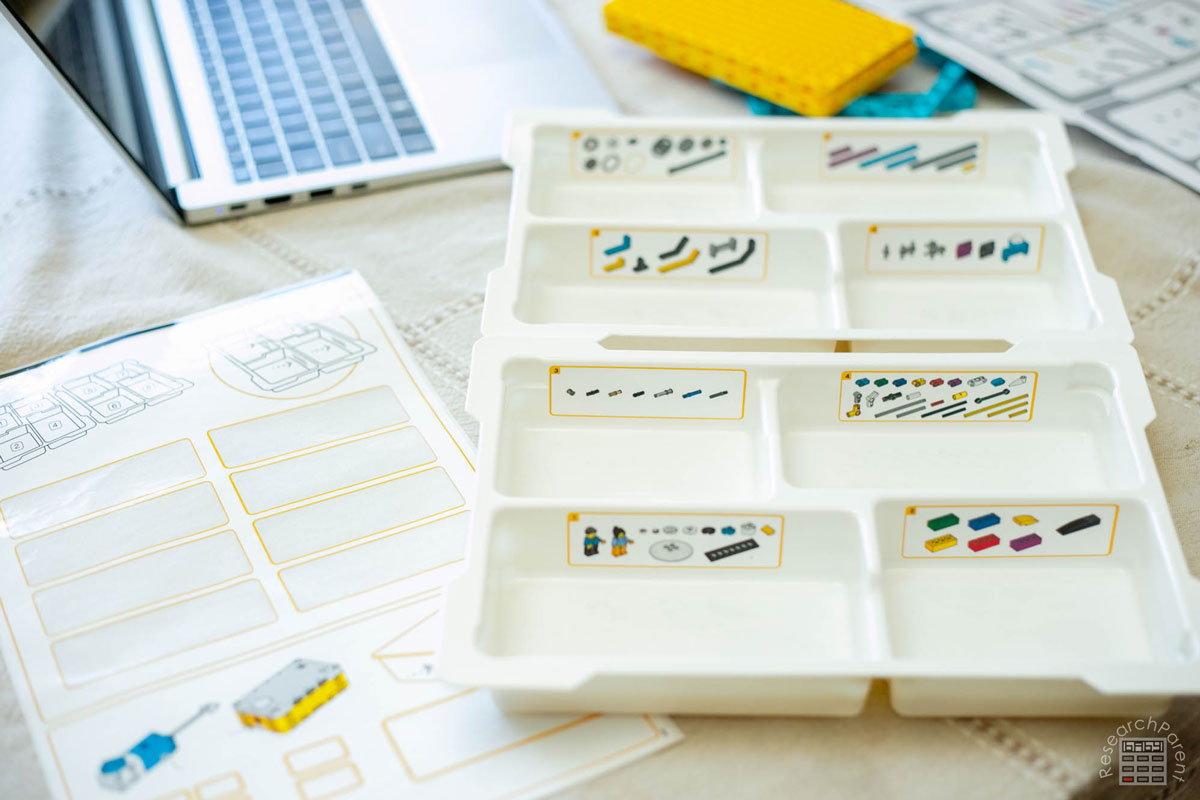
- Next, you’ll notice that of the many bags that you have, eight of them are labeled 1 through 8. You will also have unlabeled bags and a bag labeled 13, but ignore those for the moment. The ones that are labeled 1 through 8 each go in their appropriate compartment on the trays.
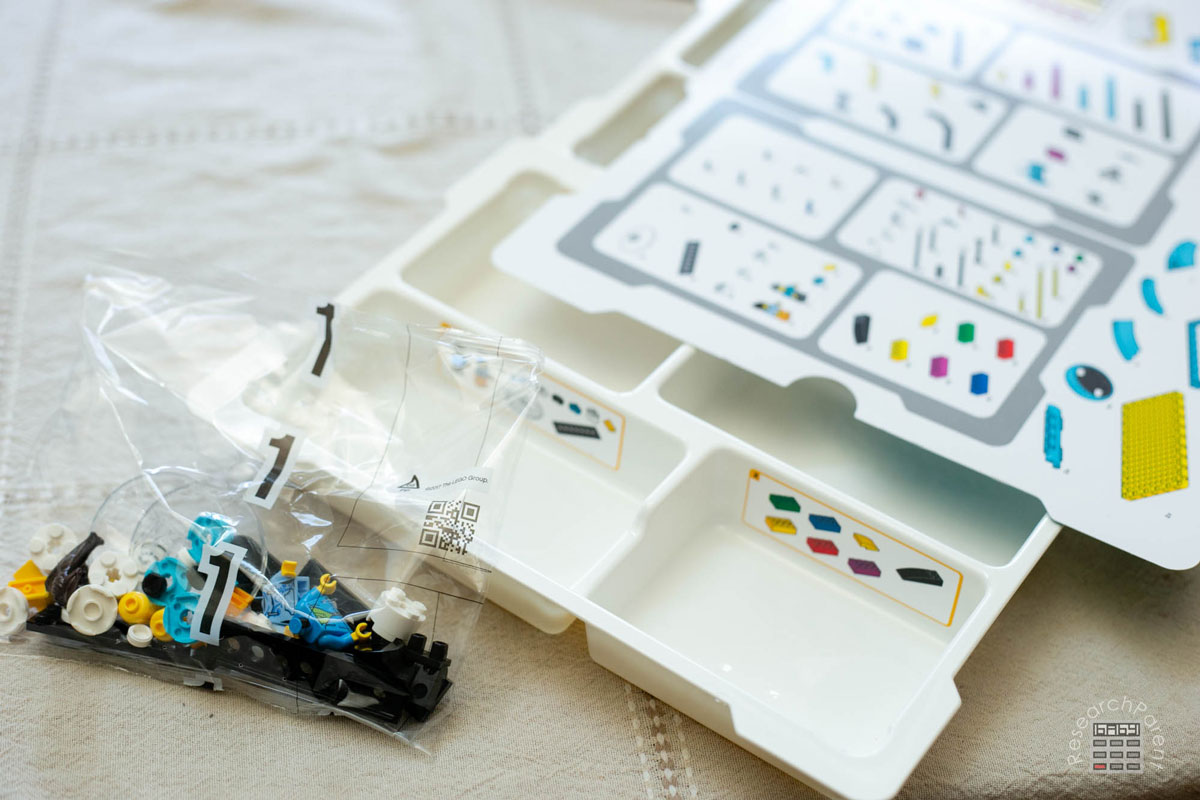
You can verify this using the parts list found on the underside of the sheet that was on top of your kit. For compartment 1, you will also have 2 minifigures to assemble.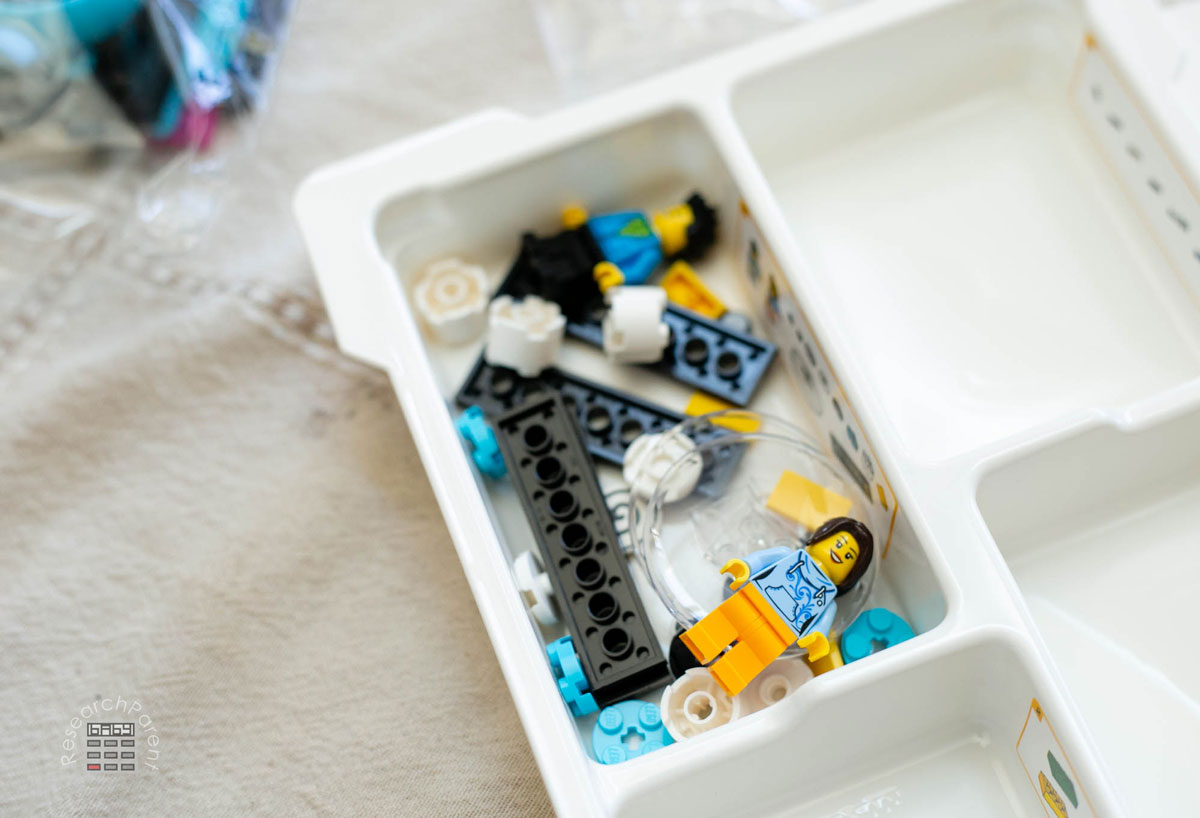
Similarly, in compartment 6, you’ll want to place the white ball in the blue socket to assemble the caster, just to make sure these two pieces stay together.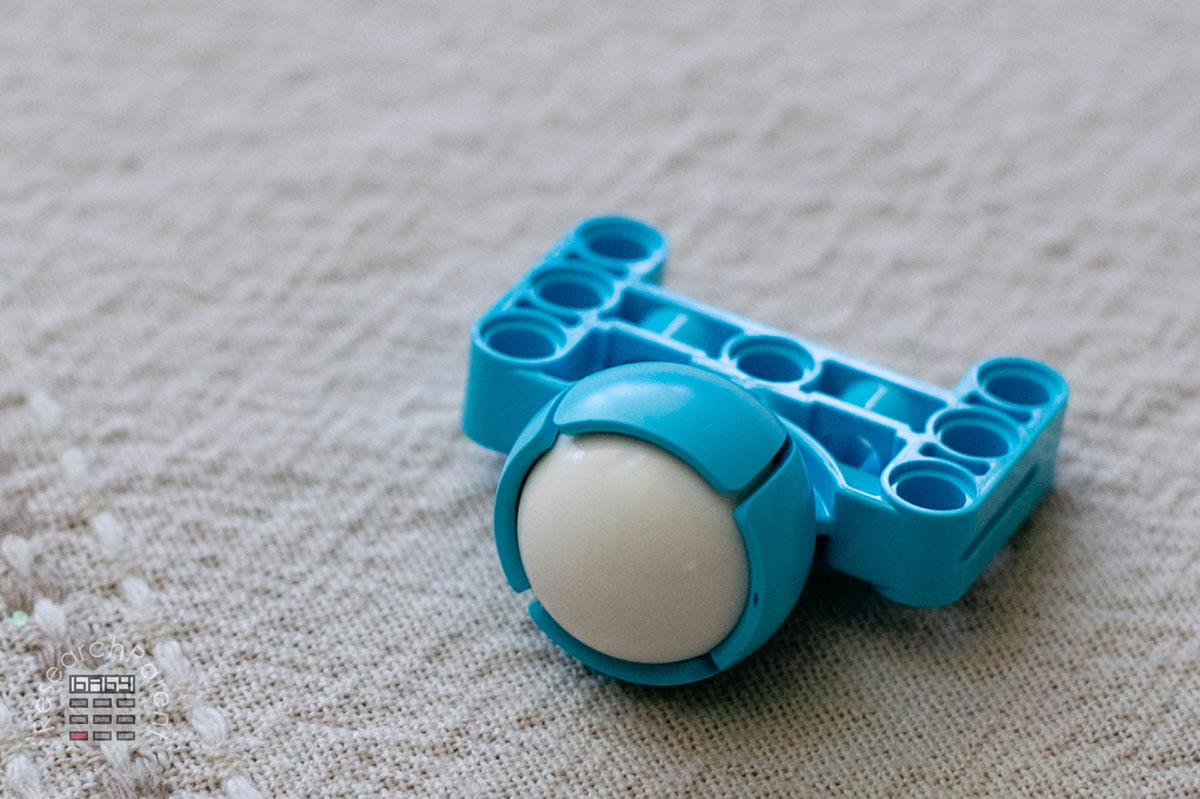
- Once all your trays are filled with bags 1 through 8, you might notice that compartment 8 seems to be missing some of the items that belong in that compartment as shown on the sticker.
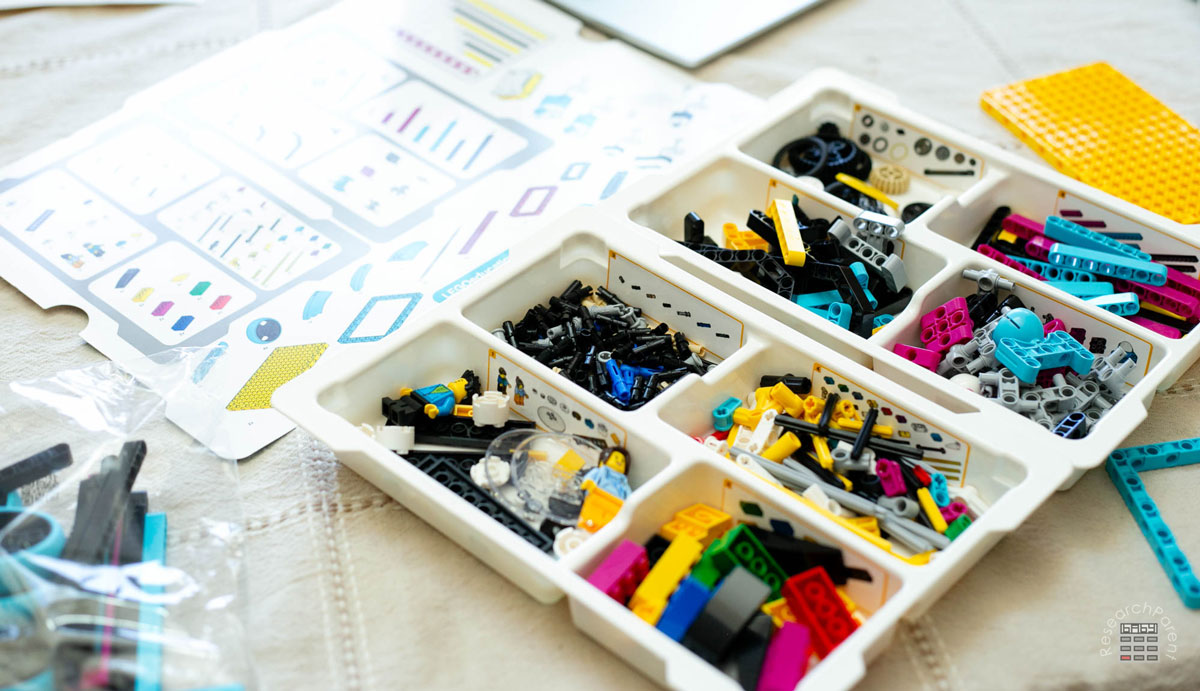
You will find these extra longer items in one of the unlabeled bags. Place these in compartment 8, then place the rest of the large pieces loose in the yellow tub.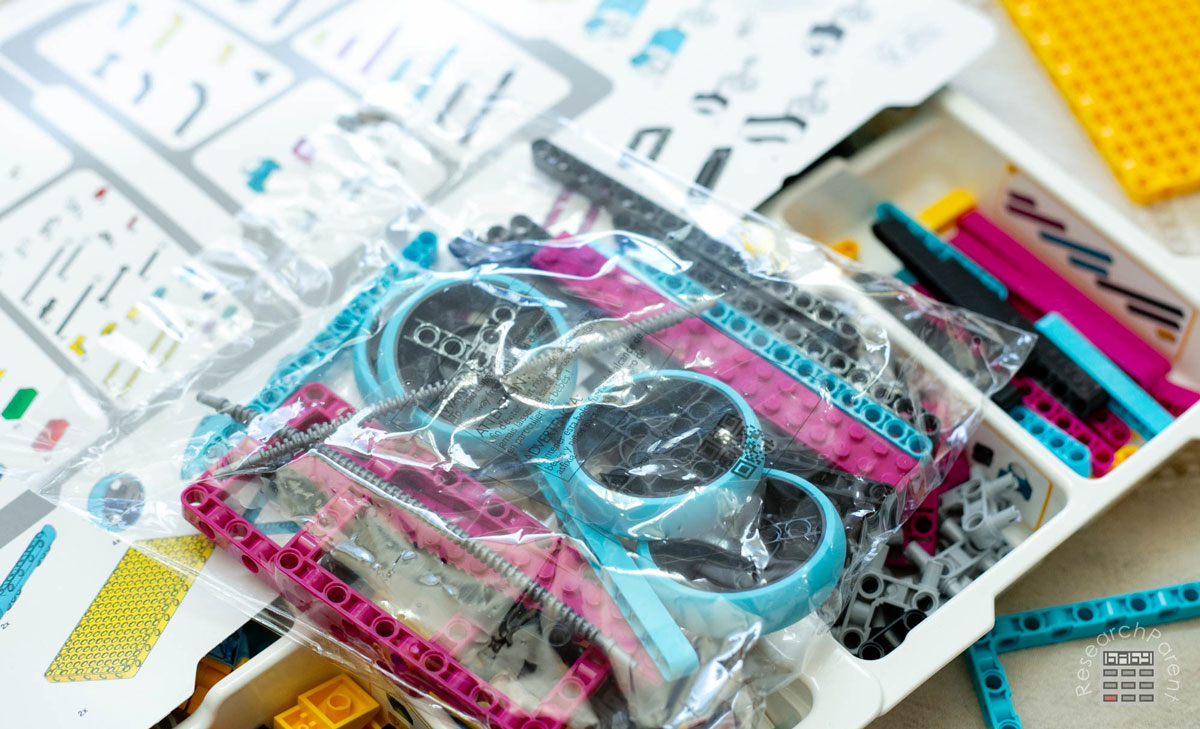
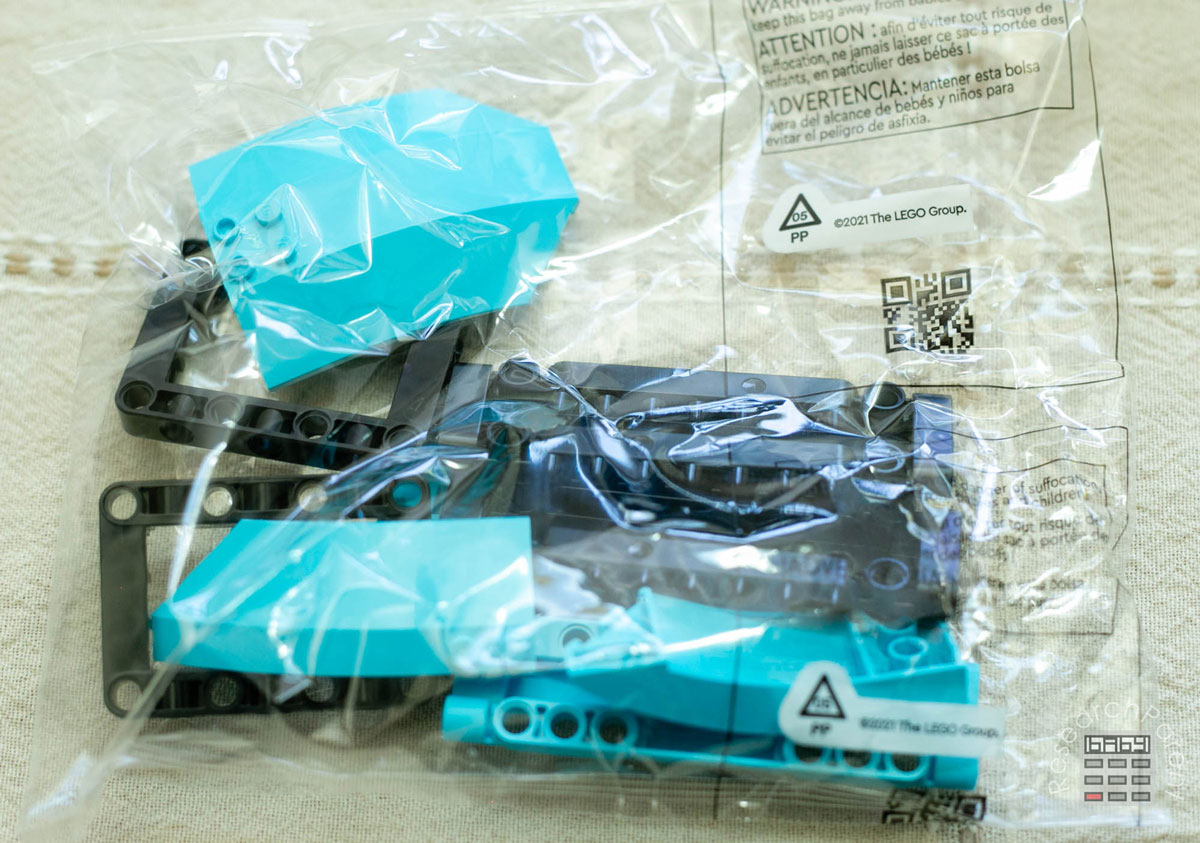
- There is another unlabeled bag of parts that contains more large pieces. We just opened the bag and stuck those pieces in the yellow tub as well.
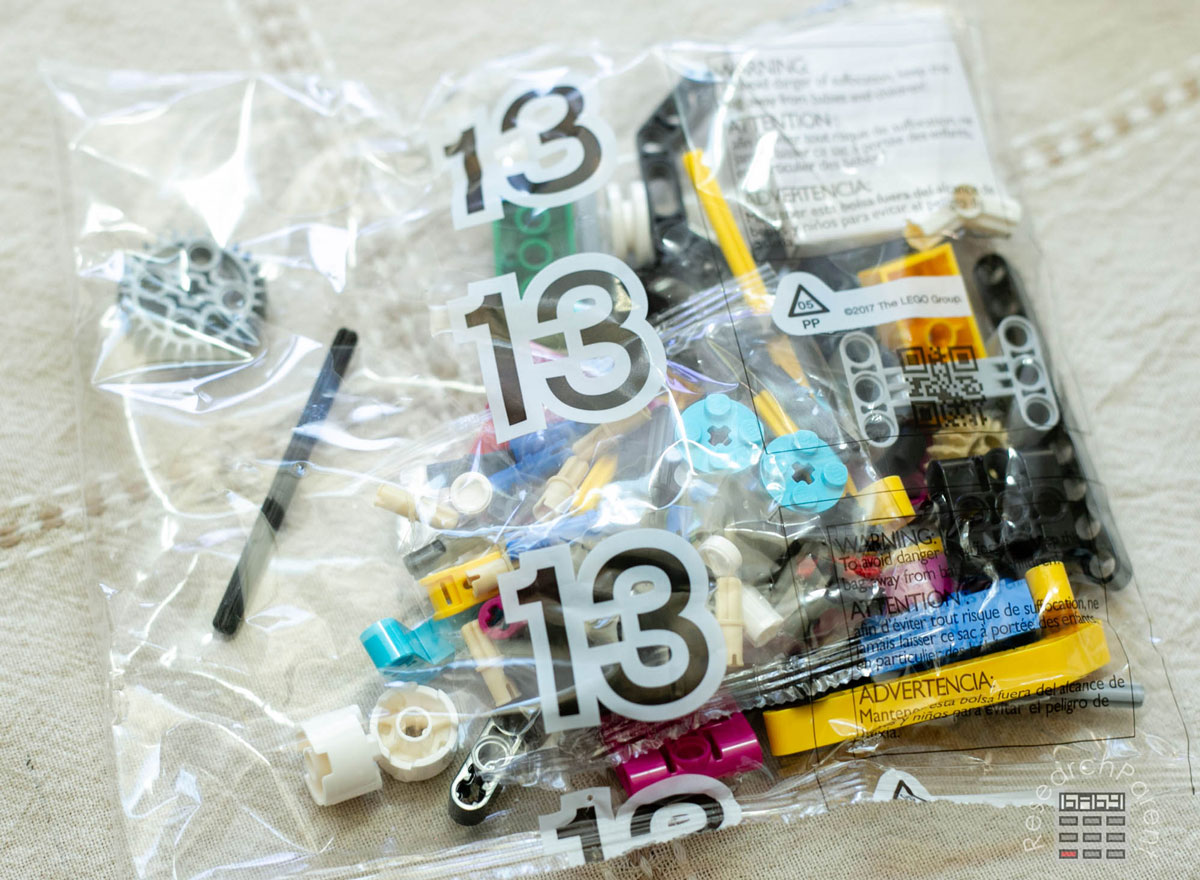
- Now there is one bag remaining labeled 13. Why 13? I have no idea. We searched on YouTube and realized this was a bag of spare parts. Most people seem to suggest just sticking the bag in your tub for when you need it. It’s your kit and you can do what you want with it. I like to encourage my kids to be creative and I don’t think for a second that my kids are going to keep track of all the pieces in the trays and count to be sure everything matches. I had my son just sort those extra parts into the compartments they fit into so my kids would be able to use them.
- Once you’ve finished dealing with the bags, you will notice there are several boxes. These are your motors and sensors.
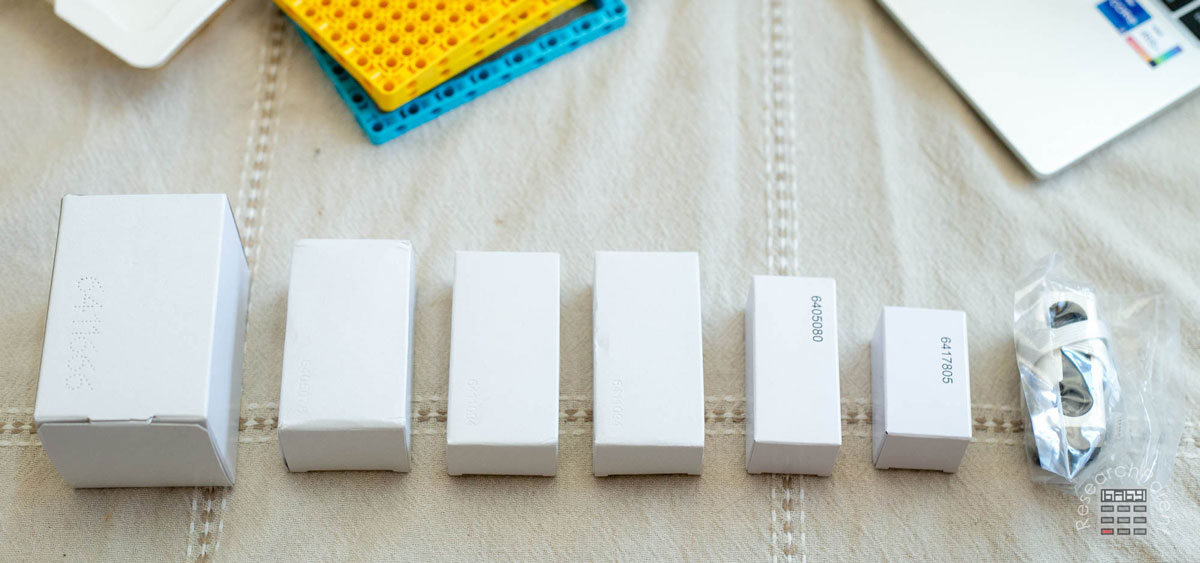
We looked online to figure out the name of each component.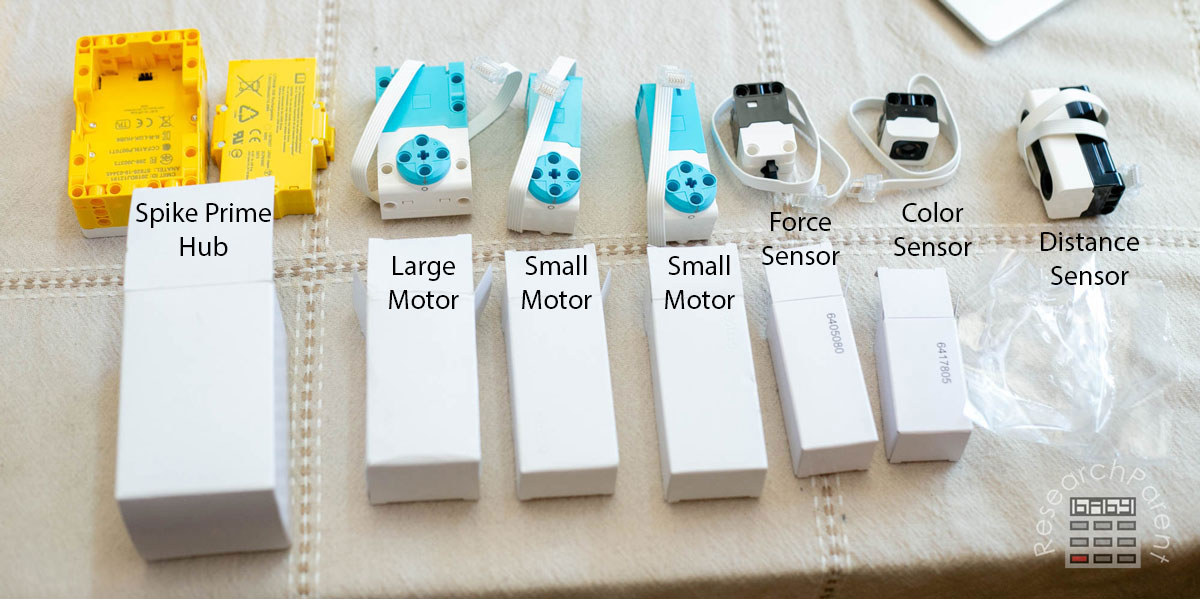
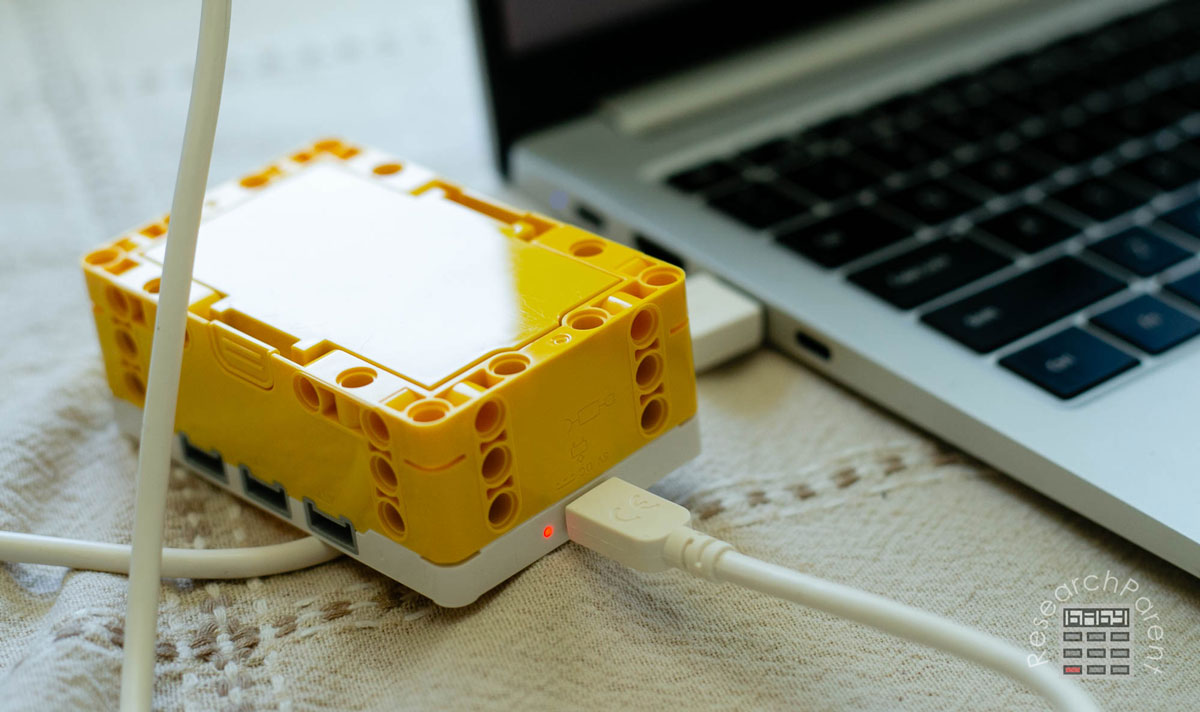
Part of me wanted to keep everything in the boxes, but I know I need to let go of the idea that this kit is going to stay in pristine condition. We decided to throw away the boxes and put the motors and sensors back into our yellow bin for easy access. - In the kit, you will find a USB cable that can be used to charge the Spike Prime Hub. We plugged it into a laptop to make sure it would be fully charged when we were ready to use it.
- The bottom of the sticker sheet contains labels that can be added to all the components. I haven’t decided what to put on these yet. You could label all the components (hub, force, color, etc…), but I think we will start remembering pretty quickly which is which. Instead, I will likely end up adding our last name since we will share these components with other kids on our team. If I end up getting a second Spike Prime set, then it might add a number as well (hub 1, hub 2), just so can keep track of who is using what. We cut off the top part of the sticker sheet and threw it away, then stuck the labels in our yellow bin.
- The kit also comes with a number of papers. I am the sort of person that likes to save digitized files of instructions in my Evernote account, but it didn’t seem worth saving these at all, so we just threw them away.
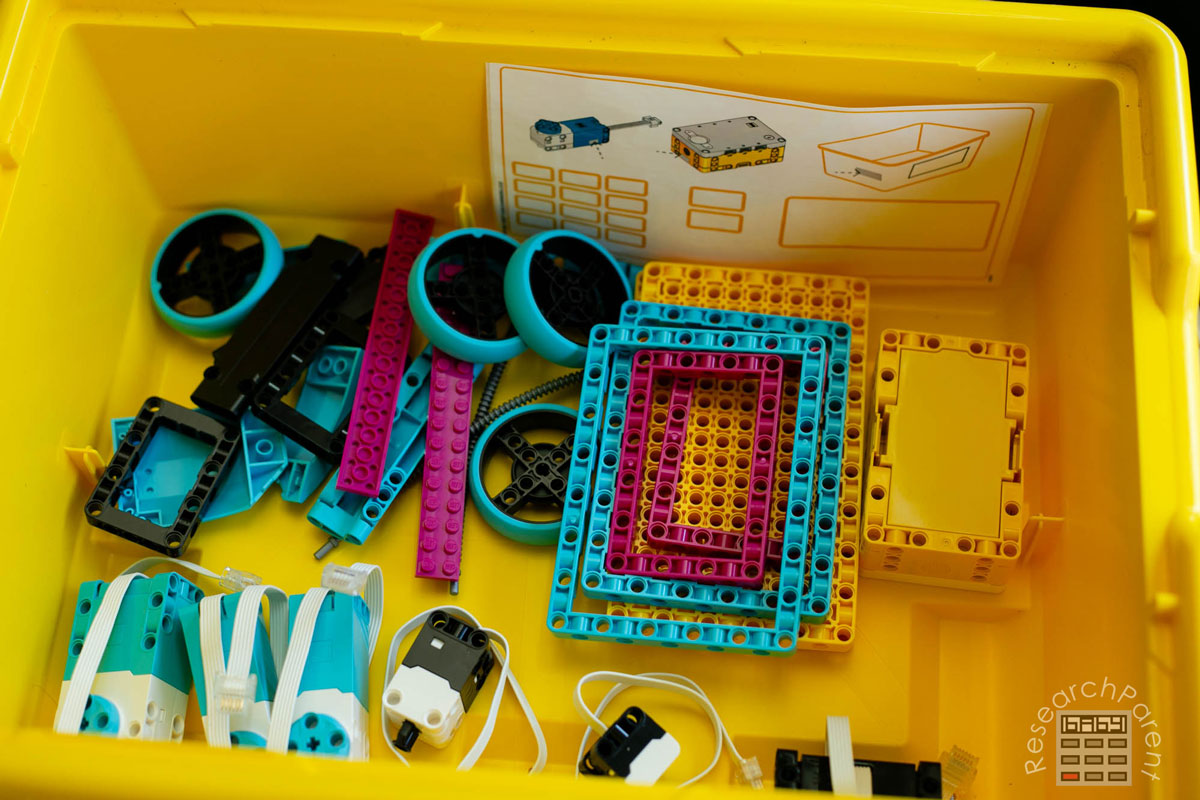
- In the end, this is what the bottom of our yellow bin looked like! We put the trays on top and were done for the day.
That’s it for Day 1! Next time, I will explain how we tested all our sensors and motors to get familiar with them before connecting the hub to a computer.
Related Links
Science Activities for Kids
Robotics Activities for Kids
All Learning Activities


Leave a Reply