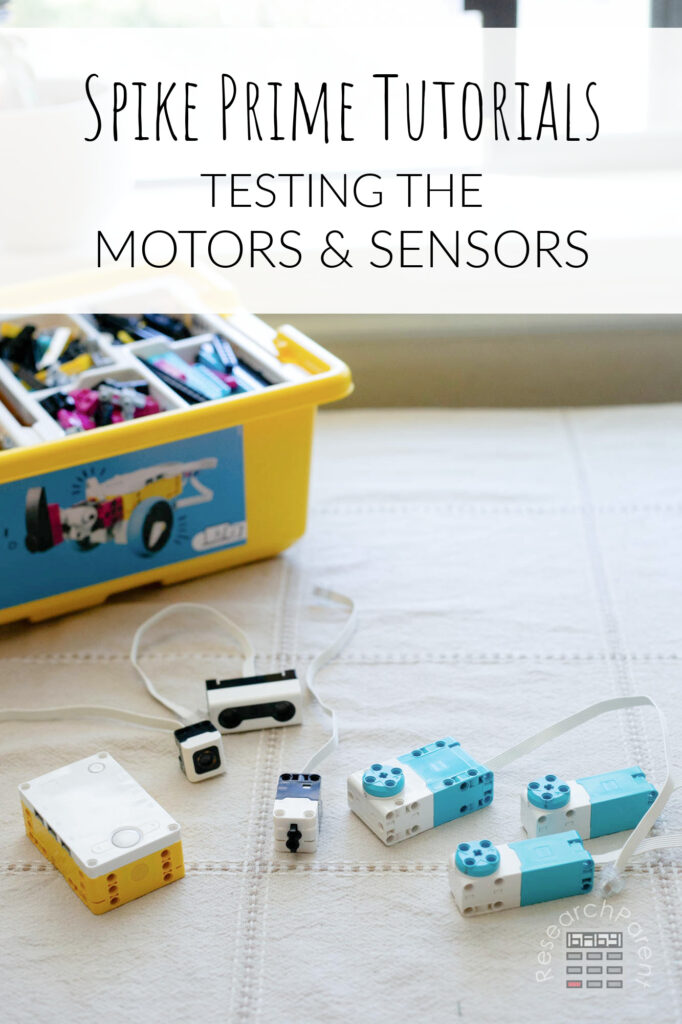
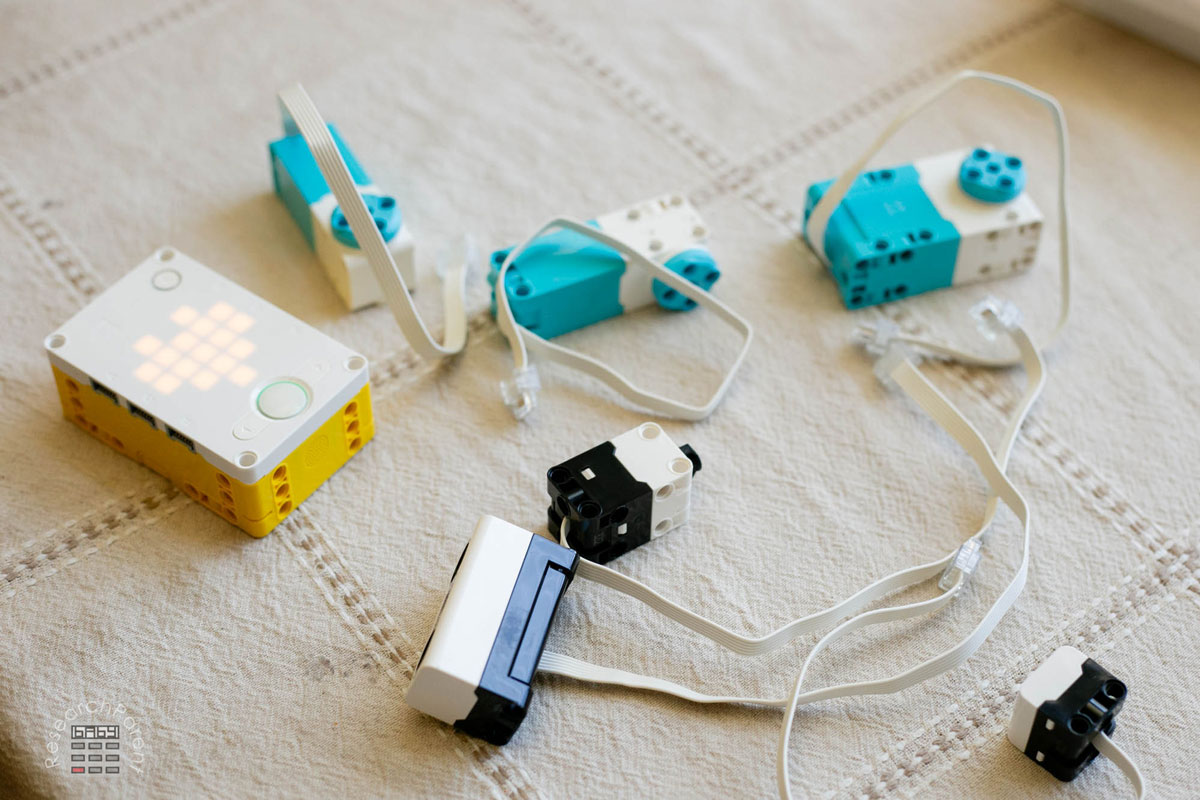
Earlier this week we unboxed our very first Spike Prime. Now we are starting to become familiar with the major components included in our kit. Namely, the Spike Prime hub, motors, and sensors. Next time, I will share how to download the Spike Prime app on desktop and transfer your very first program via Bluetooth. Today’s tutorial does not involve the computer. Rather, it utilizes the hub’s “heart” function which allows you to operate the sensors and motors intuitively from the hub itself.
My 13-year-old and I learned about the heart function, by watching this video on Tufts University’s LEGO Engineering page. While the video was extremely helpful, it is a couple of years old, and I had a moment of panic because our hub was not operating exactly the same as theirs. Ours does not show traveling light when you plug in motors and sensors. I’m honestly not sure if our specific hub is just malfunctioning slightly (which seems unlikely given the quality of LEGO products) or if there was just a design change with the hubs.
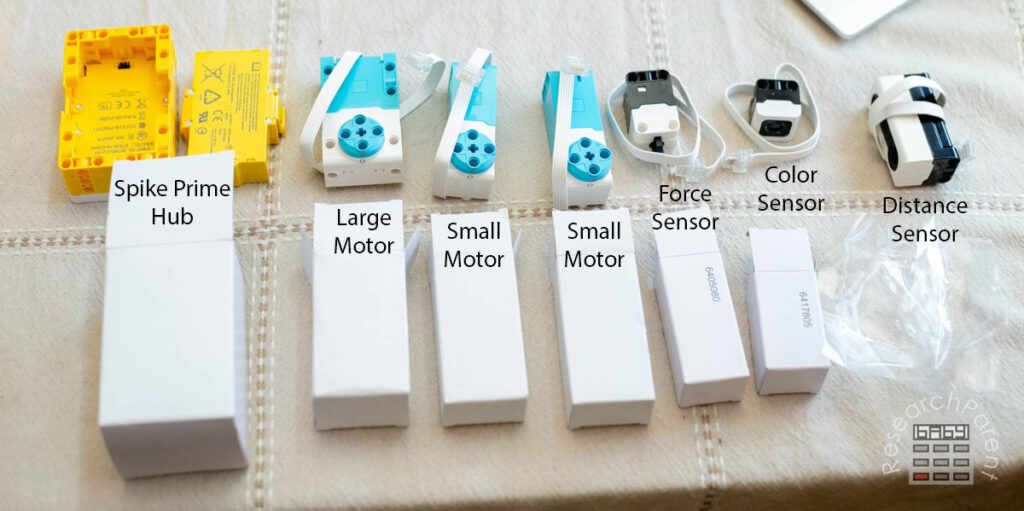
Either way, we got the motors to run and the force, color, and distance sensors to work as expected which was the main goal of this activity. We were also able to use the sensors to directly control the motors. In the future, we will definitely be writing code to run our own specific programs, but this helped us get familiar with the sensors and motors. Now we have a better idea of the speeds the motors are capable. We also can directly see the responsivity between the sensors and motors.
For your convenicene, here is the entire LEGO Spike Prime Tutorial Sequence. I am hoping I will remember to come back and update this as we go!
- Tutorial 1: The Unboxing
- Tutorial 2: Testing the Motors and Sensors
- Tutorial 3: Installing the App and Connecting the Hub
- Tutorial 4: Writing and Managing Programs
- Tutorial 5: Building the First Robot Car
Testing Spike Prime Motors and Sensors Details
Recommended Age Range: Elementary, Middle School, High School
Time Required: About 20 minutes
Difficulty: Easy
Cost: The LEGO Education Spike Prime Set costs $400 on the LEGO site. As of this writing, it is more expensive on Amazon, but I would check!
Instructions
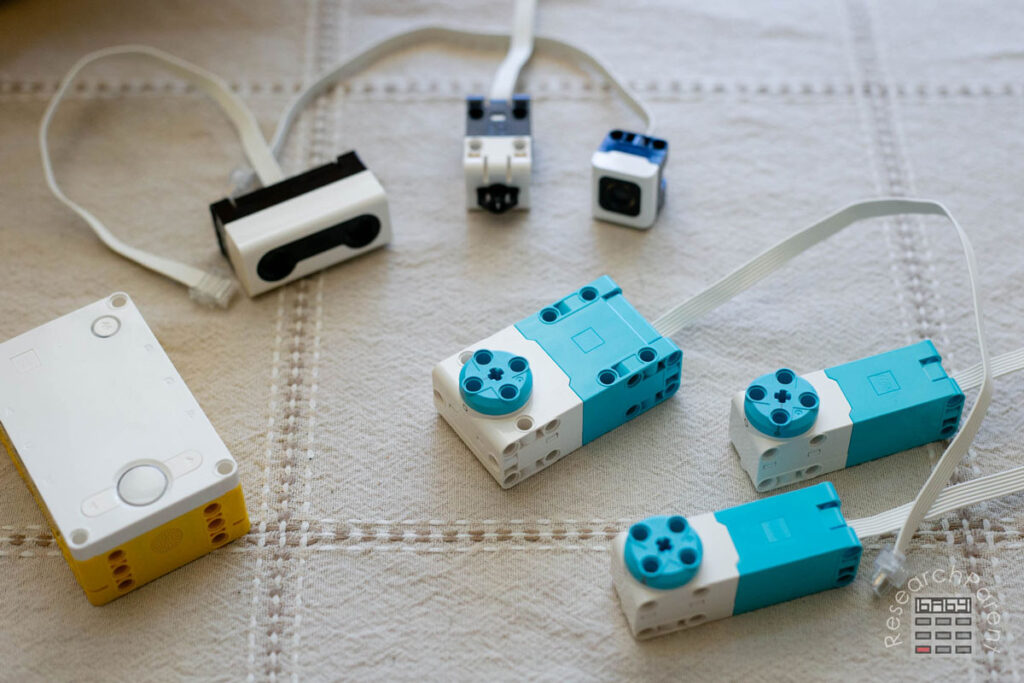
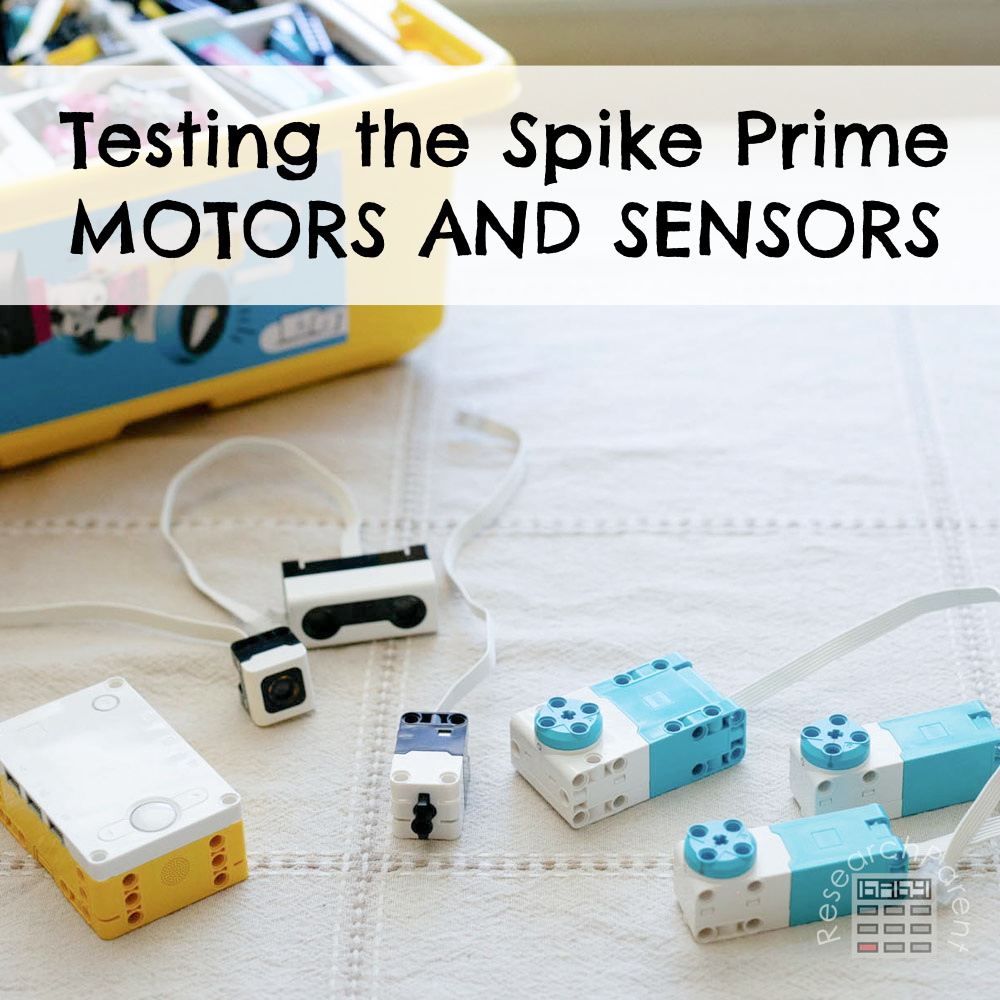
- To start, get out the Spike Prime hub, all 3 blue motors, and all 3 black sensors from your Spike Prime Education Set.
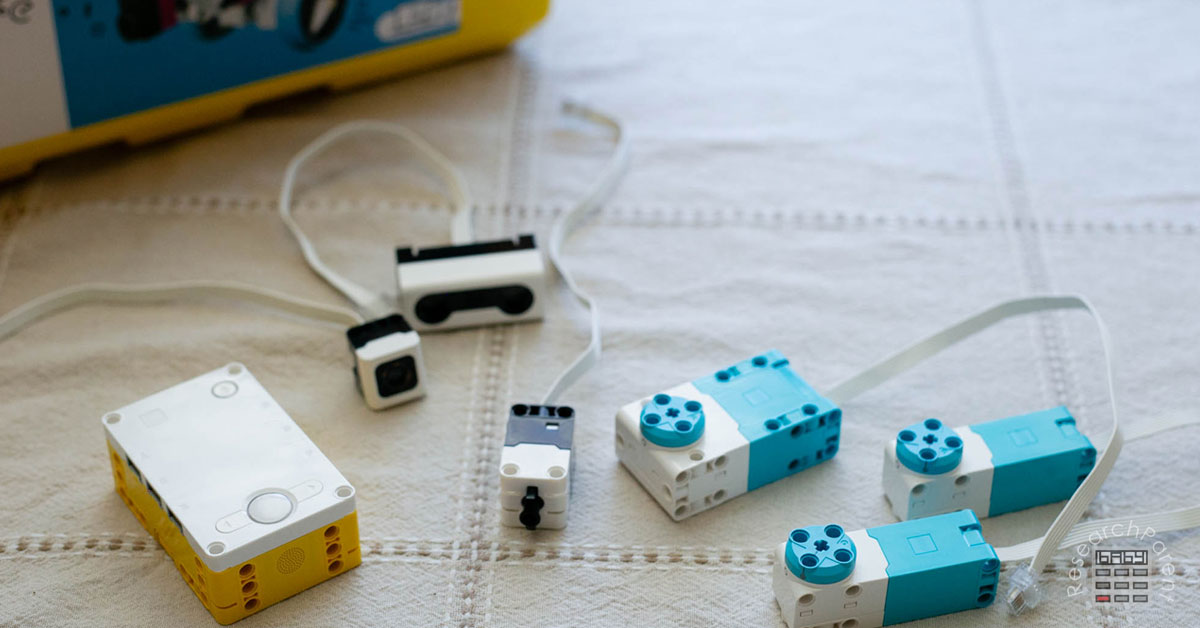
- Next, you will want to press the yellow circle for just a second to get the hub to turn on. You should see a heart lit up on the screen.
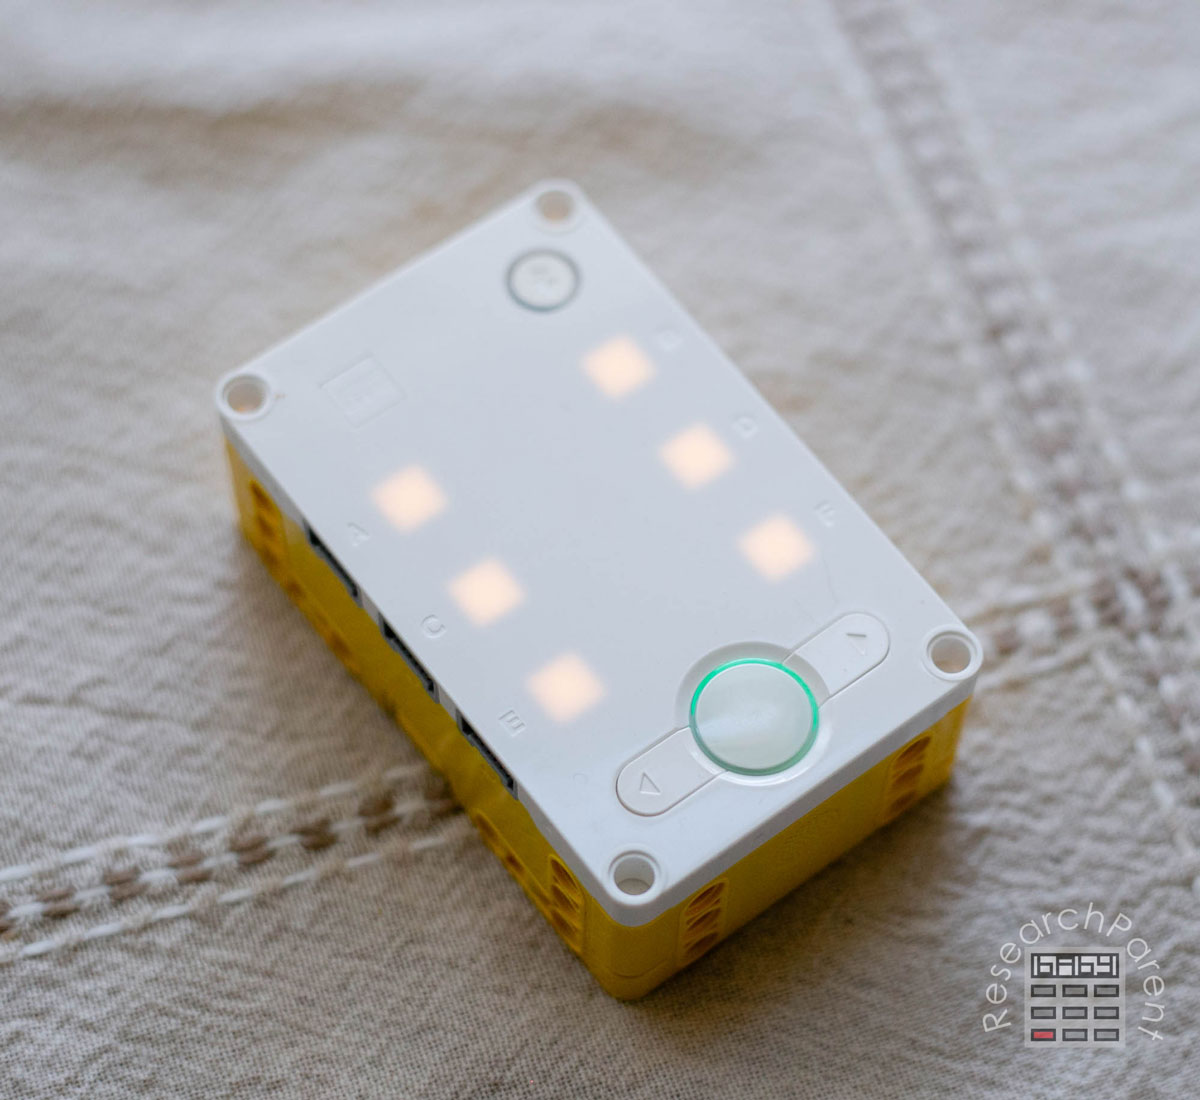
- Next, you will want to press the button one more time to select this heart program. All 6 ports should have a light lit up next to it.
- Connect a motor to one of the ports. It does not matter which one. Now only that light should be lit up.
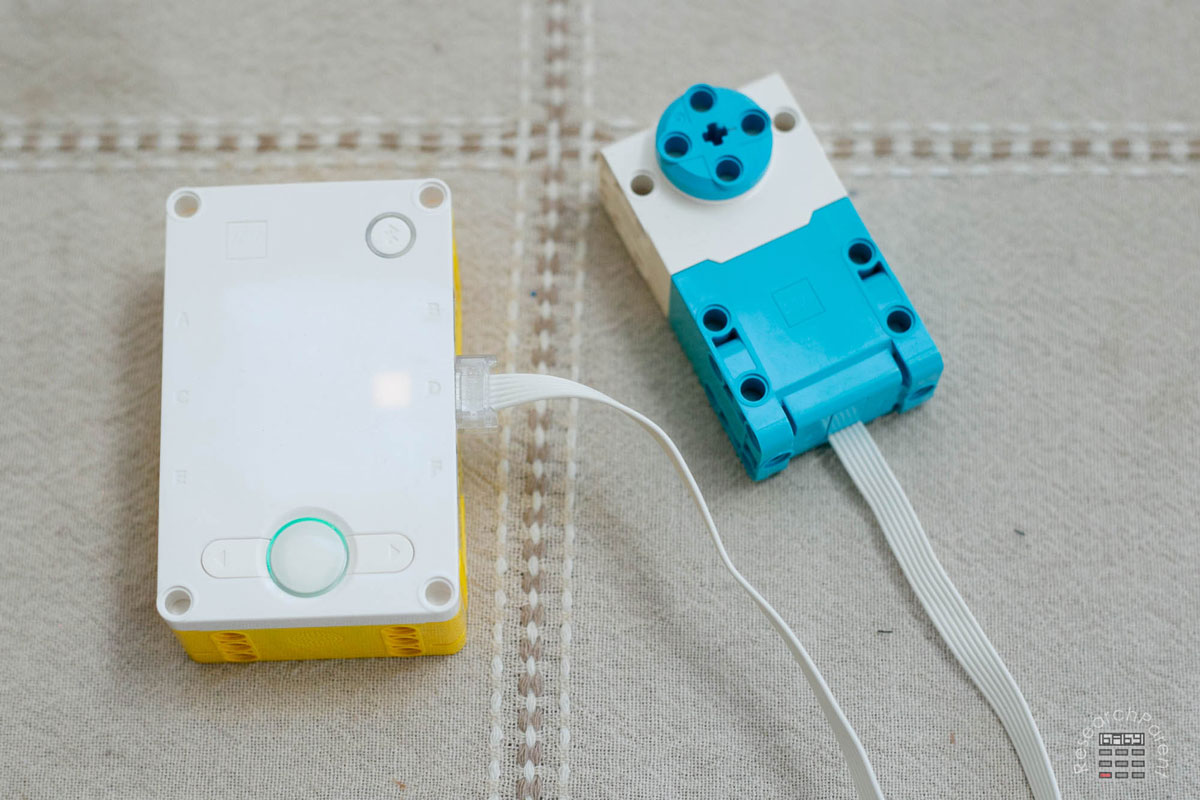
- Experiment with pressing the right and left arrows. Pressing the right arrow multiple times will cause the motor to speed up. Pressing the left arrow will cause it to slow down, stop, and eventually change directions. My 13-year-old realized that you can stop the motor directly from any speed by pressing both buttons at the same time.
- Next, disconnect the motor (we will reconnect it in a bit) and play around with the sensors individually. We started by connecting the distance sensor. You can do this at any port.
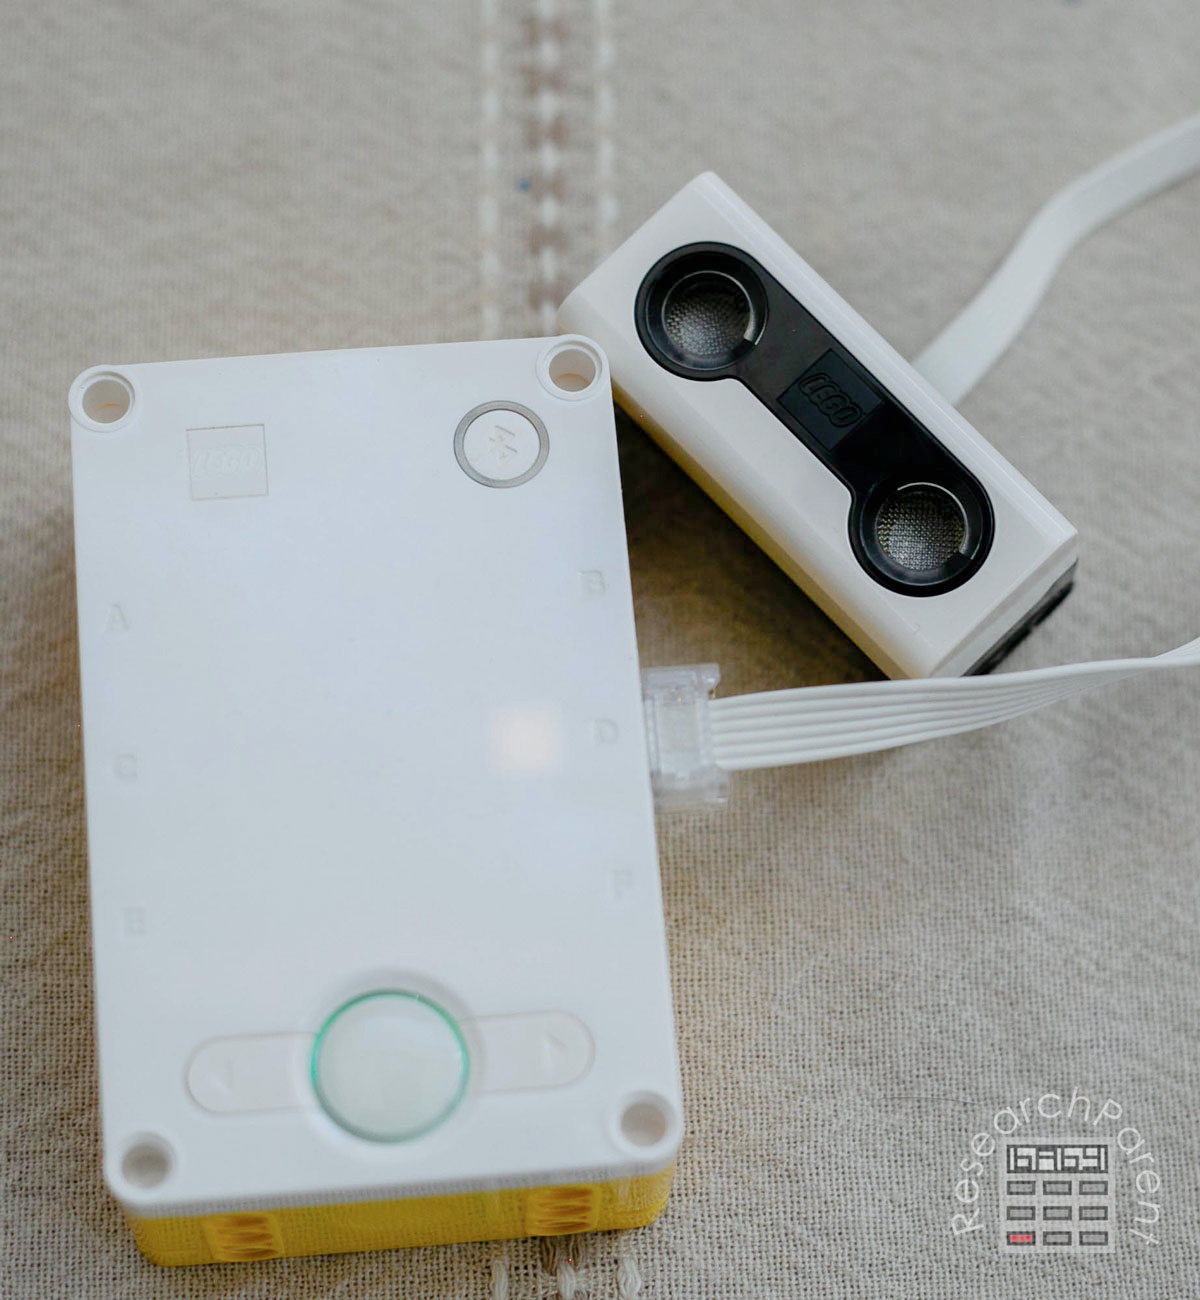
- Now move the distance sensor close to objects and away from objects. The lights on the port next to the distance sensor will act like a meter. The farther away the object is that the sensor sees, the more lights will be lit up.
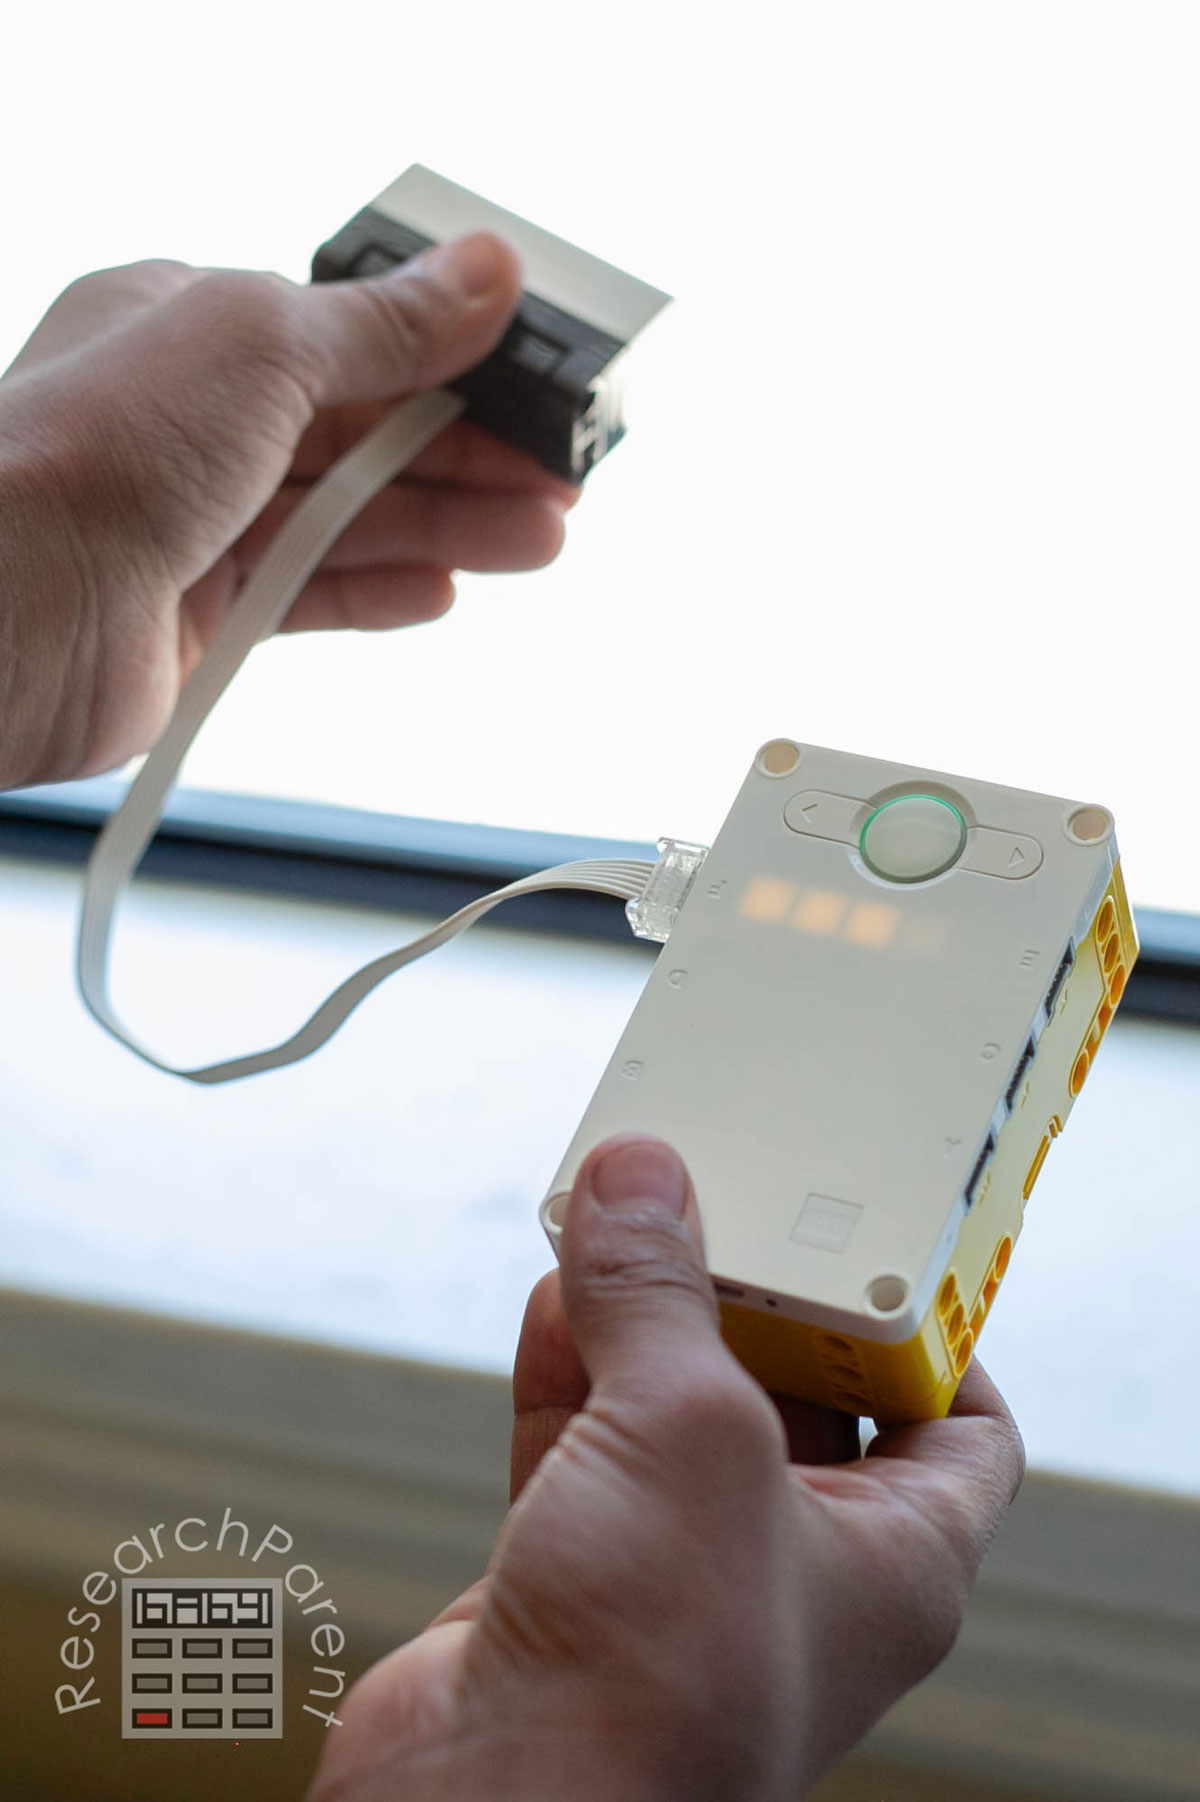
- Next, connect the force sensor to any port. The harder you push the force sensor, the more lights will be lit up on the indicator next to the port.
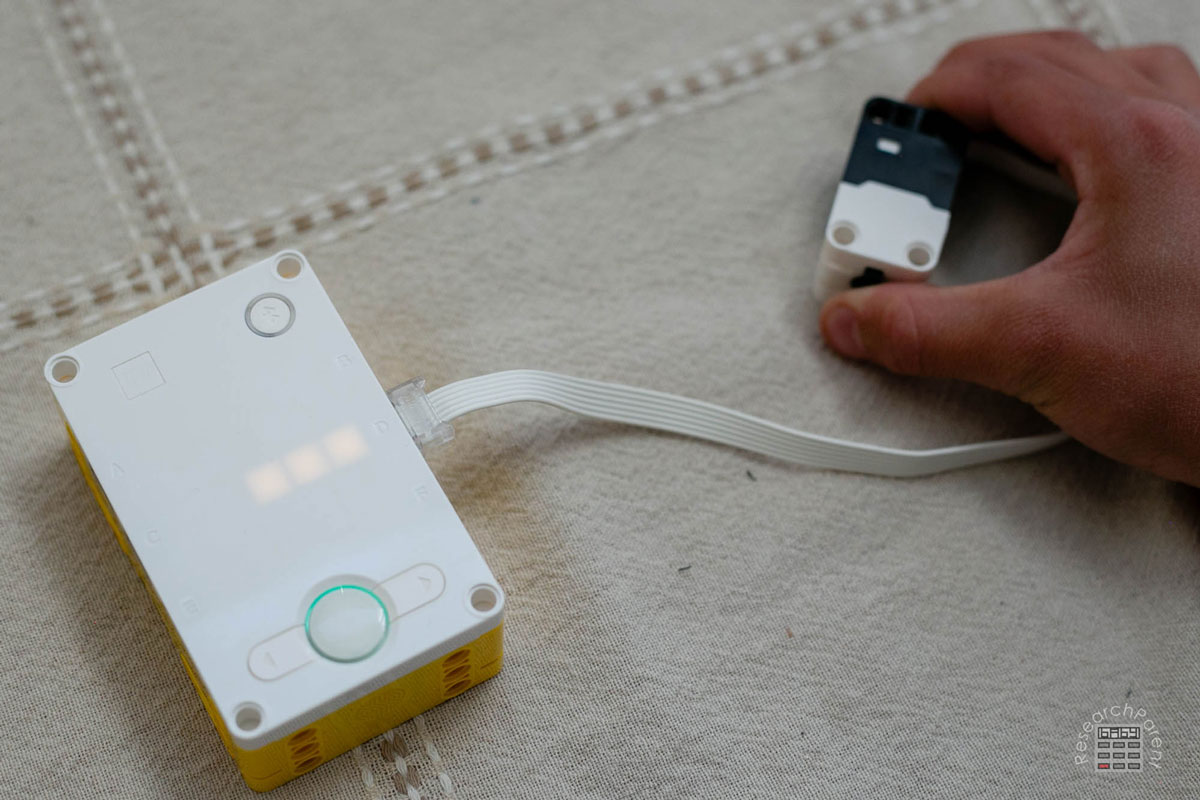
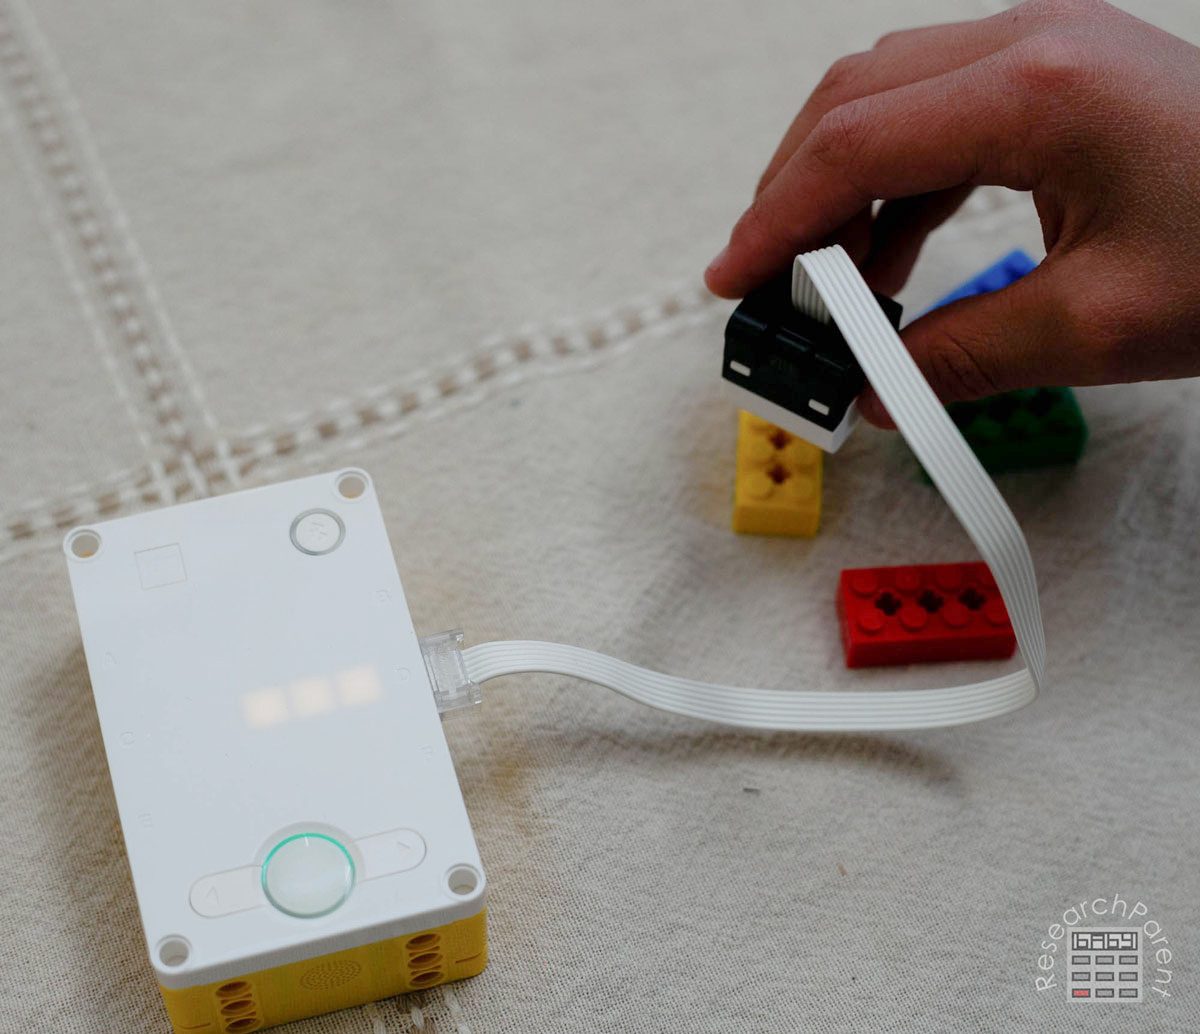
- Finally, connect the color sensor to any port. Experiment aiming the color sensor and objects of different colors. We just used a pile of LEGO bricks to test the different colors quickly. You will find that the light indicator next to the port will change depending on what color is in the sensor field of vision.
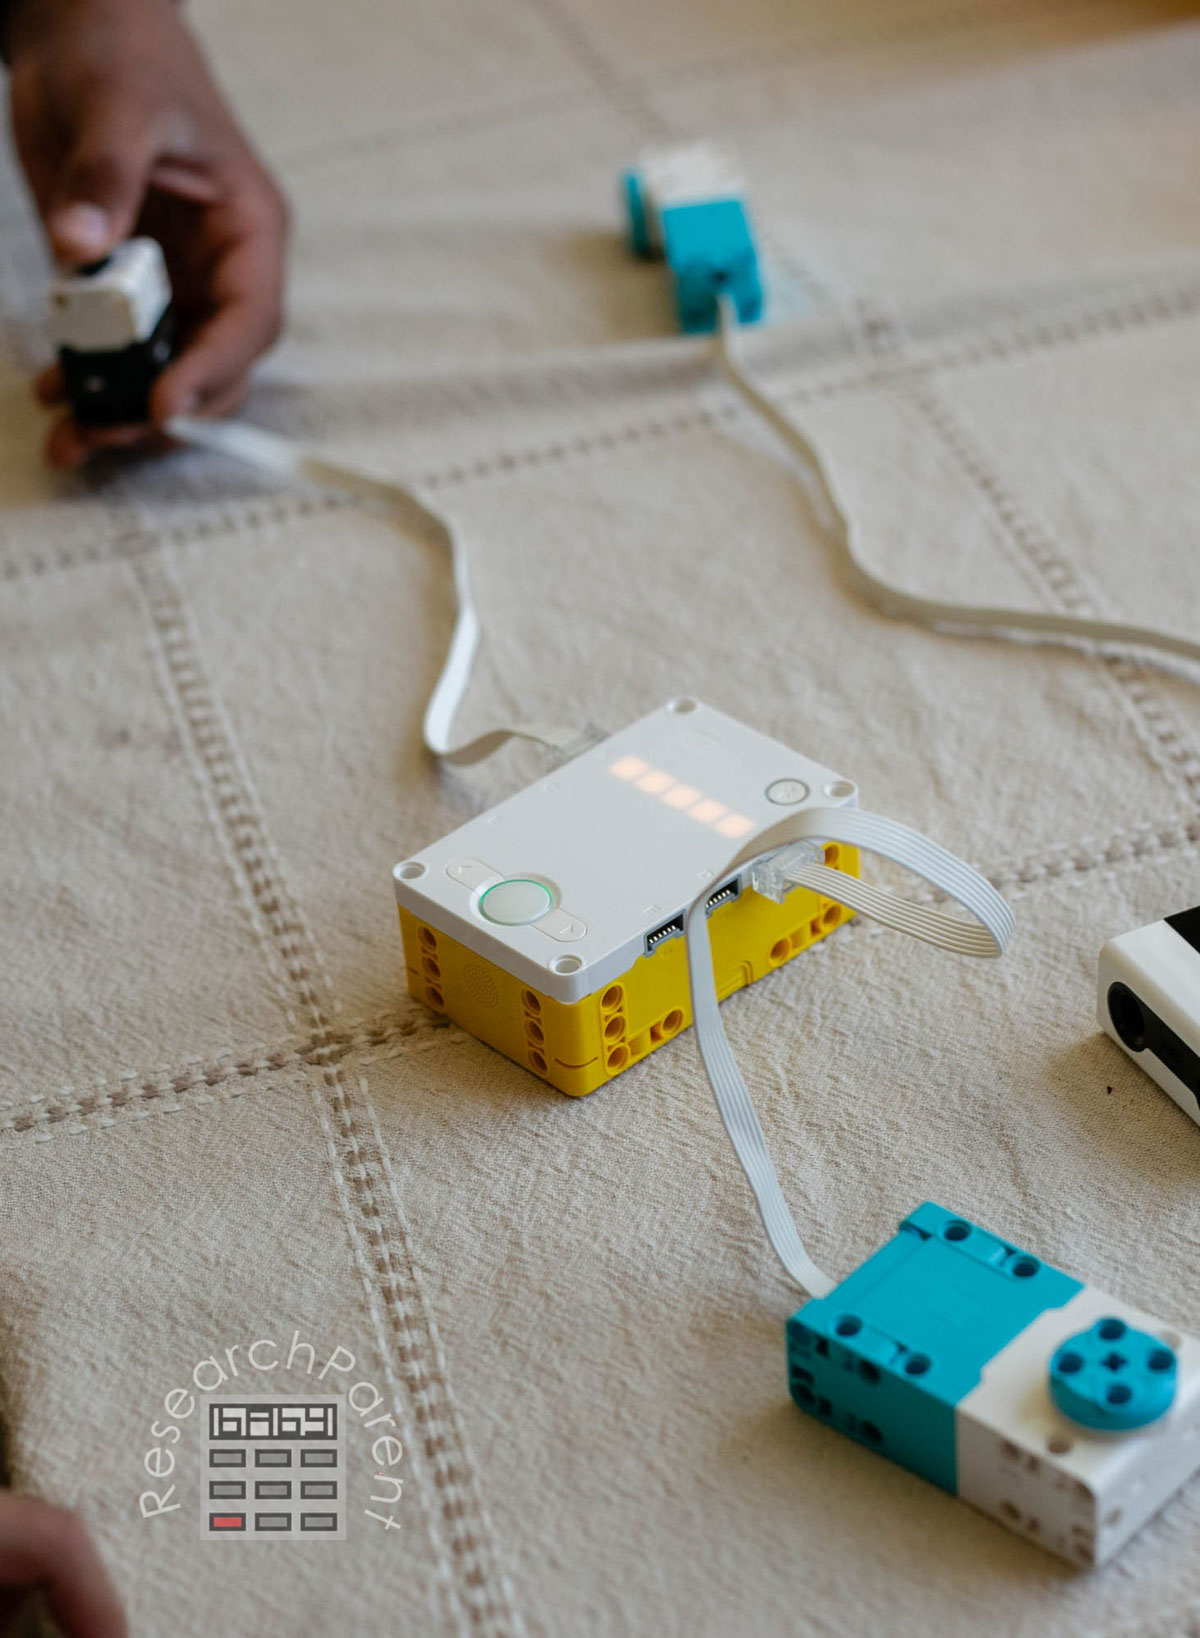
- Now that you have tested the motors and sensors individually, you can try connecting a motor to a sensor. To do this, plug a motor into any port. Then, plug any sensor into the port directly across from it. A line of lights will appear to show that the two components are connected. In the figure below, we used the force sensor which ended up being the easiest to use to control the speed of the motor.
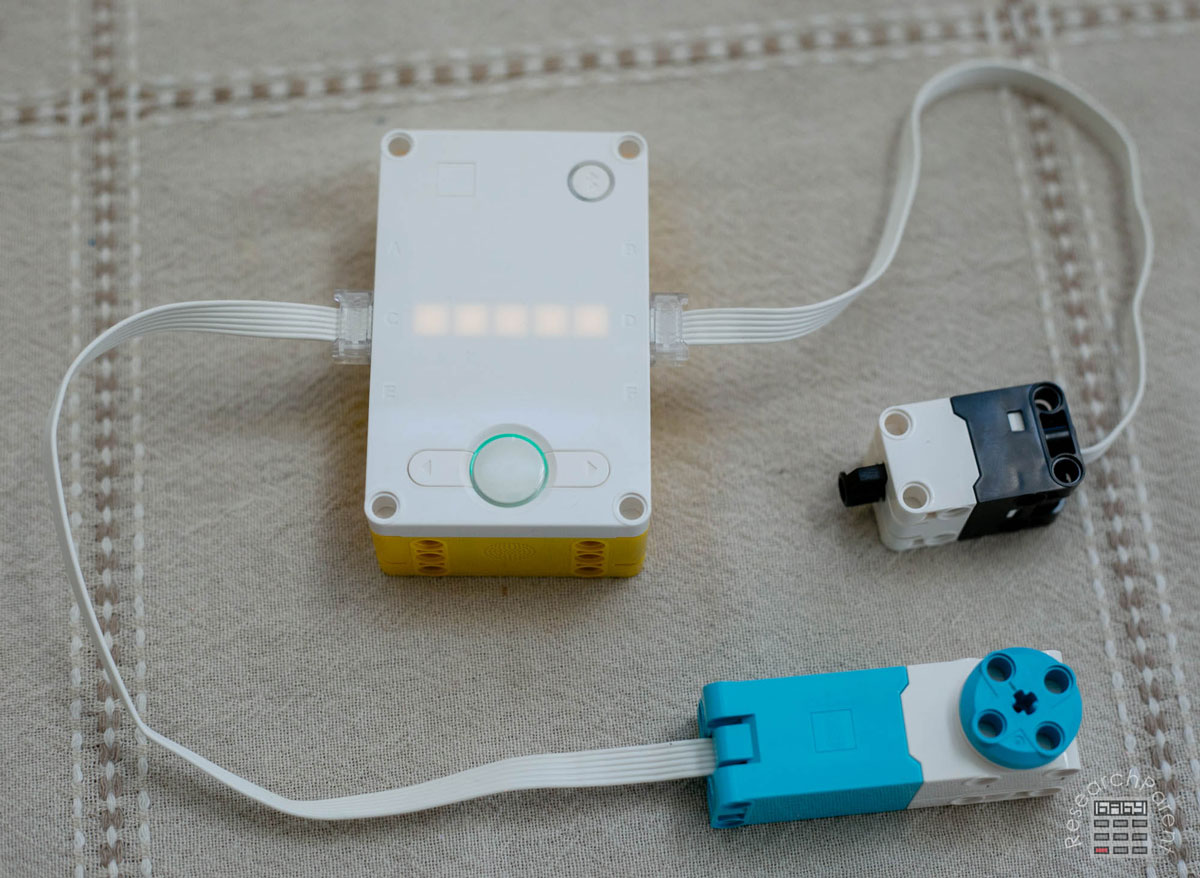
- Depending on how hard you press the force sensor, the motor will speed up or slow down. If you want, you can play around with using the color and light sensors to control the motors as well!
Next time, we’ll explain how to install the Spike Prime app and connect your Spike Prime Hub in order to transfer your first program. Until next time!
Related Links
Science Activities for Kids
Robotics Activities for Kids
All Learning Activities


Leave a Reply