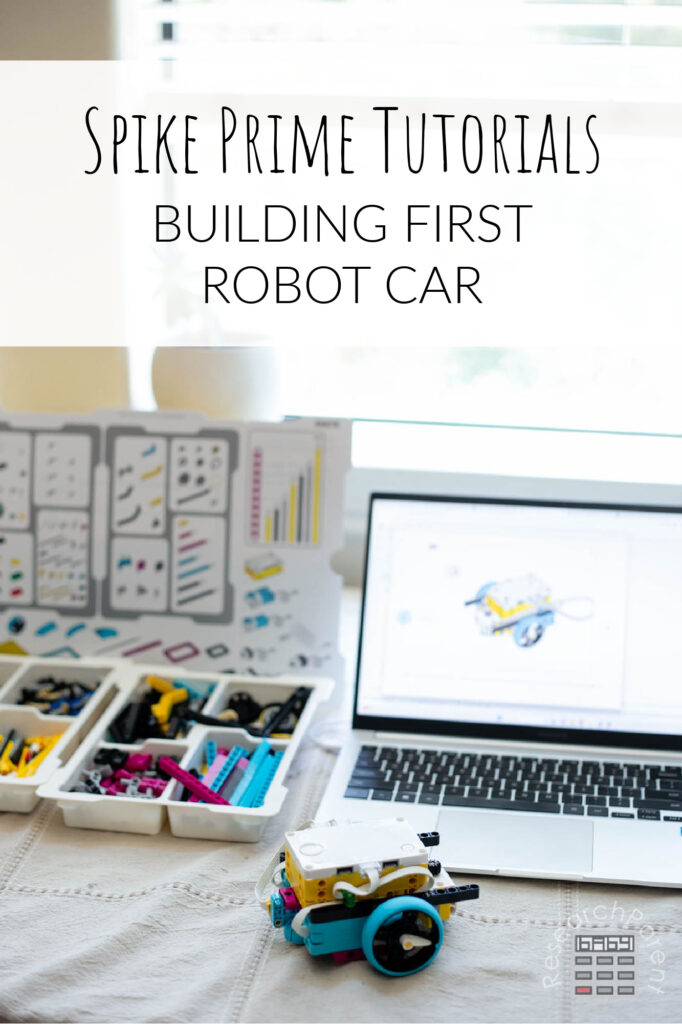
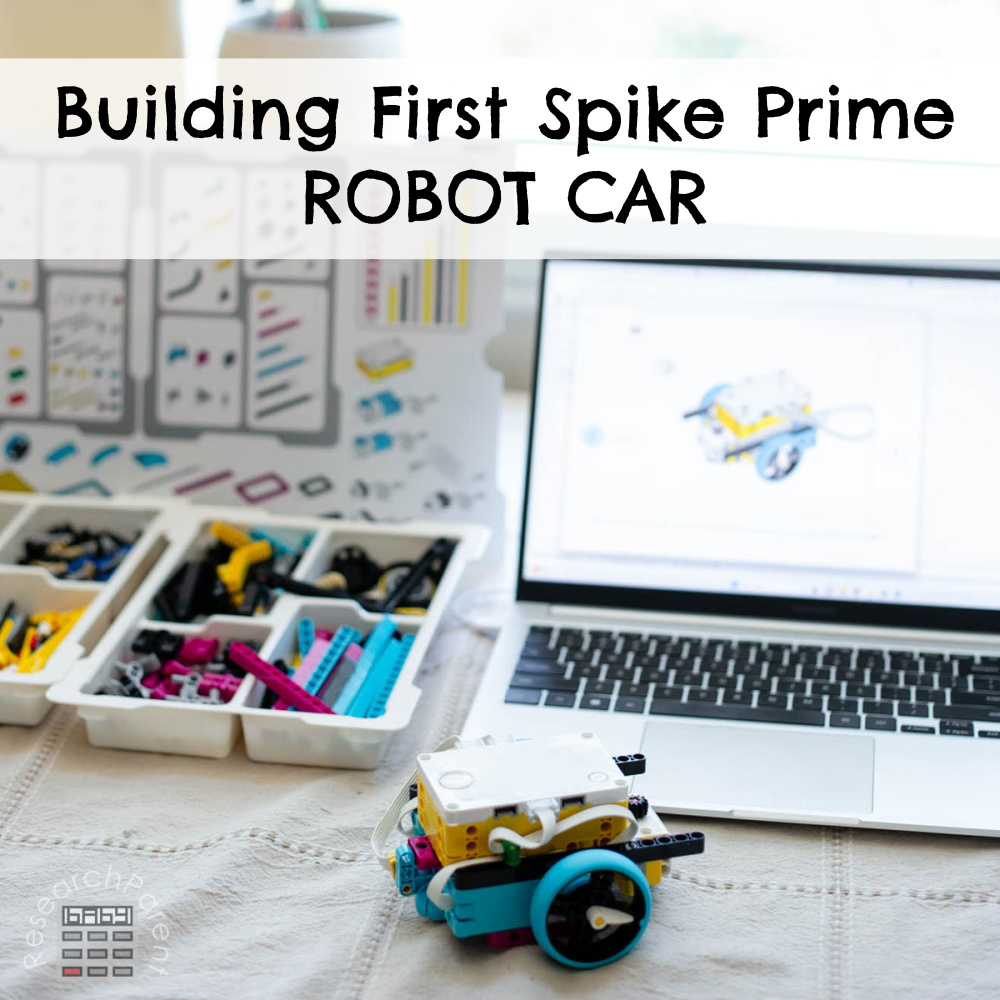
This post is the 5th in a series on learning how to use the LEGO Education Spike Prime set. At this point, we are ALMOST ready to start doing some challenges. We just need a basic car that can be made with the supplies included in the set as a jumping off point to tackling specific problems. Once this basic car is built, the fun can officially begin! 😄
Here is the entire LEGO Spike Prime Tutorial Sequence. I am hoping I will remember to come back and update this as we go!
- Tutorial 1: The Unboxing
- Tutorial 2: Testing the Motors and Sensors
- Tutorial 3: Installing the App and Connecting the Hub
- Tutorial 4: Writing and Managing Programs
- Tutorial 5: Building the First Robot Car
As I’ve mentioned previously, I am creating this series in real time as our family learns how to work with the Spike Prime robots. Many eons ago, I bought a LEGO Mindstorm kit and never really got into using it, because the learnind process felt like more than I can handle at the time I’m hoping by breaking the process up into manageable steps, more people will take advantage of this incredible opportunity to learn robotics and programming in a fun, hands-on way.
My goal is to start my own FIRST LEGO League Challenge team in my local community for 4th through 8th graders. My goal is to understand how to work with these robots before we start meeting with other kids in September. So far, things are going smoothly. I already have my oldest working on simple challenges before our competition material arrives! I’m hoping to share posts on what we’re doing soon so that even those who will not be doing a LEGO robot tournament can still experience some of the same excitement and satisfaction of getting a robot to do your bidding.
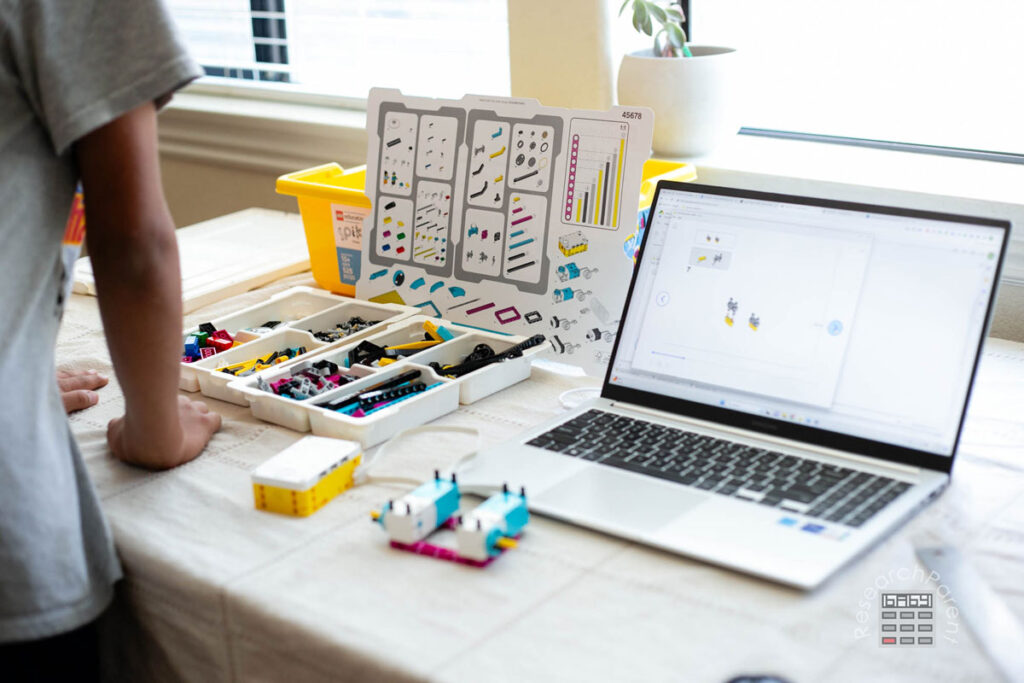
To build our first robot car, we are going to use one of LEGO’s supplied tutorials. However, I will walk you through this process and point out any areas that might be a little confusing for those who are not fluent in working with LEGO. For the actual competition, we may end up using a different base car so that it is easier to add and remove attachments, but this base car will be a great place to start!
Building First Robot Car Details
Recommended Age Range: Elementary, Middle School, High School
Time Required: About 20 – 30 minutes
Difficulty: Easy
Cost: The LEGO Education Spike Prime Set costs $400 on the LEGO site. As of this writing, it is more expensive on Amazon, but I would check!
Instructions
- To find a tutorial for building a base robot car using the supplied material in the LEGO Education Spike Prime set, open the Spike app.

- Once you are to the home page, click on the Build menu on the left hand side of the screen.
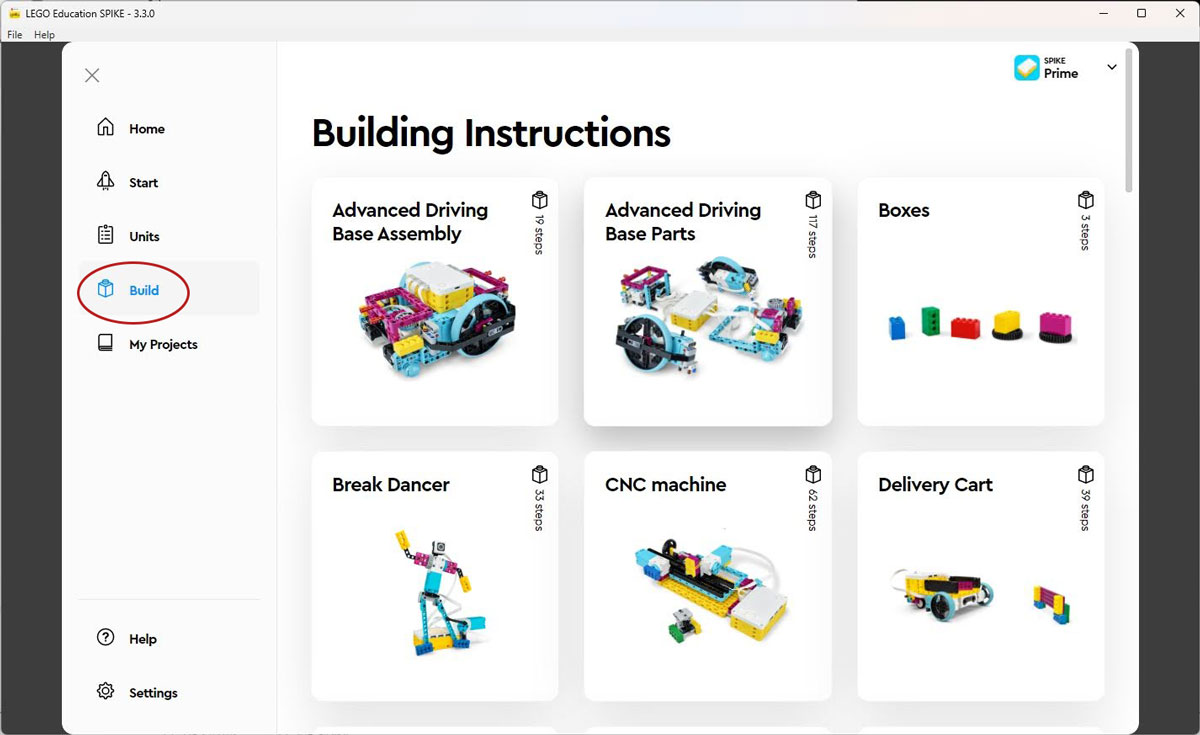
- Now, you do NOT want to try building the Advanced Driving Base Assembly. There really isn’t any guidance when you get to this page. We decided to try starting with this first tutorial only to find we didn’t have all the necessary pieces. Instead, I recommend starting with the Driving Base 1. How is Driving Base 1 different from Driving Base 2 and 3? I don’t know yet. 😂 What I do know is that adding on pieces to Driving Base 1 has been enough for my oldest to complete several challenges that I have given him using only pieces included in the LEGO Education Spike Prime set.
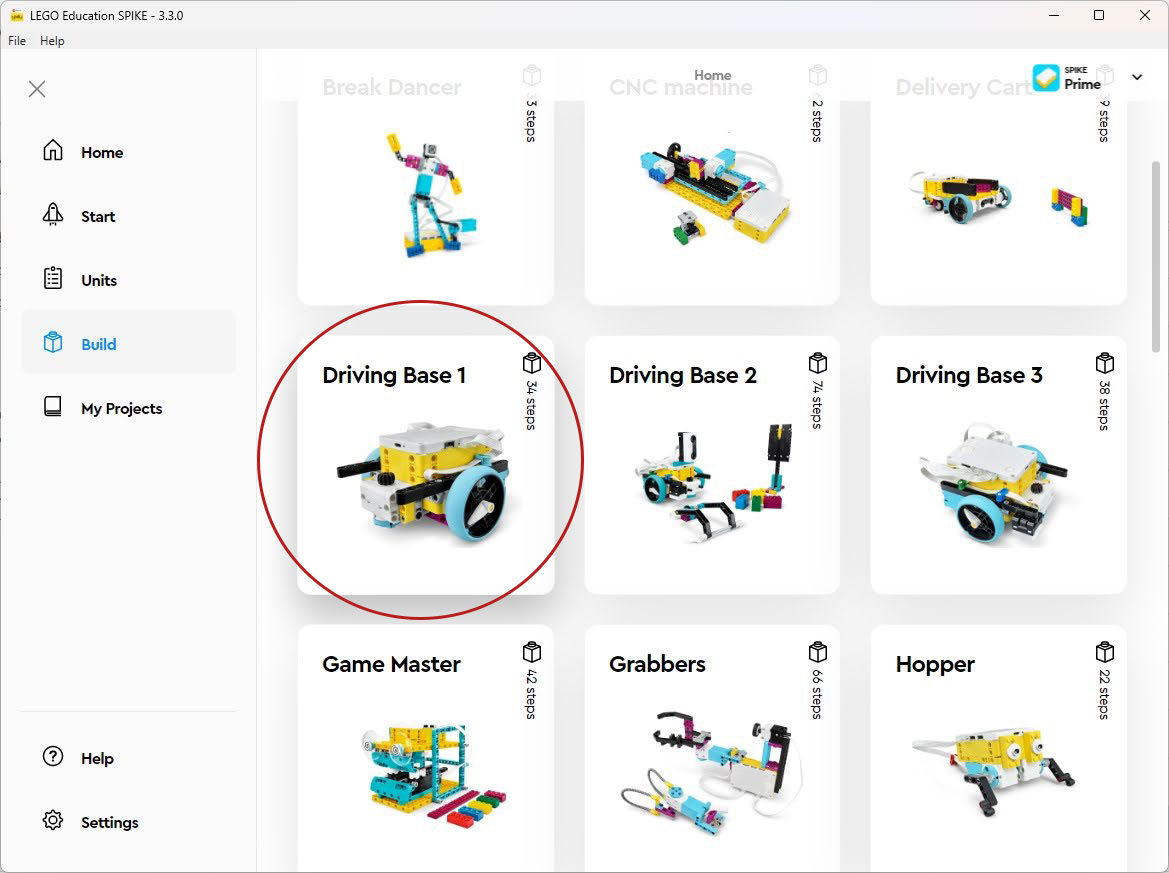
- Before you start building, I recommend getting your workspace set up. It will be handy to have your LEGO trays in front of you with the contents posters nearby and also a space for the laptop so you can read the instructions.
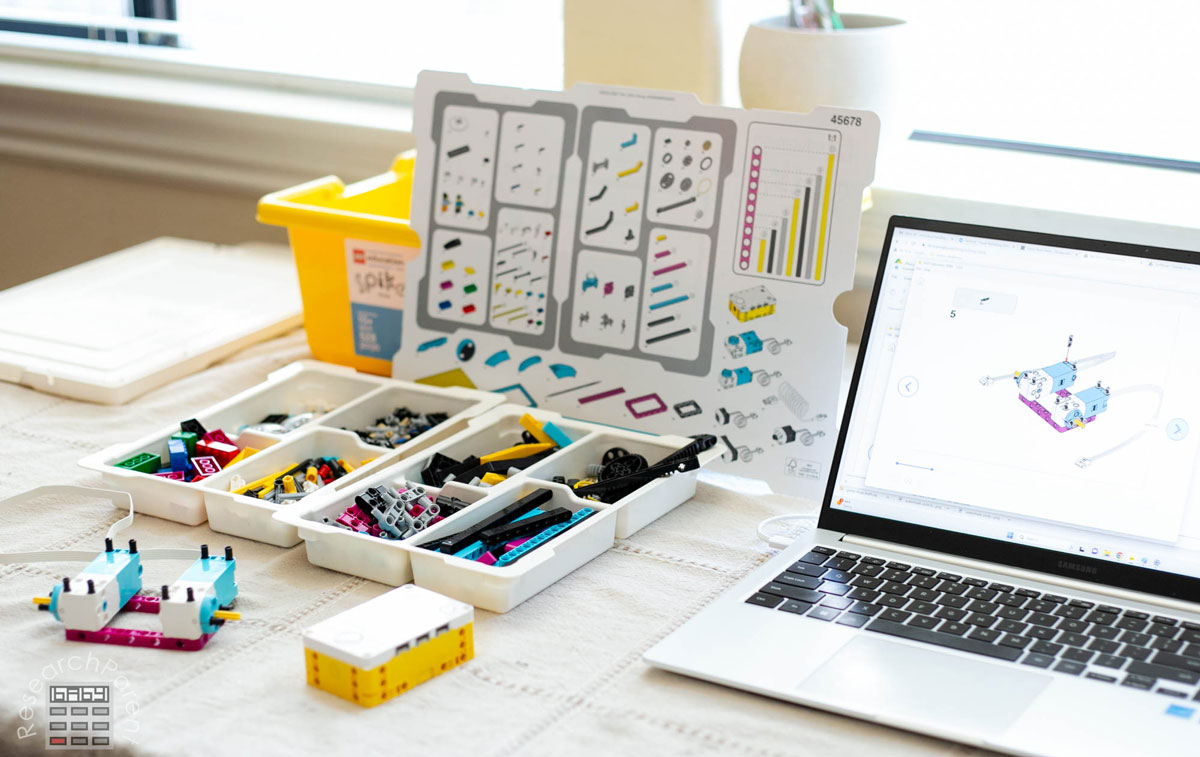
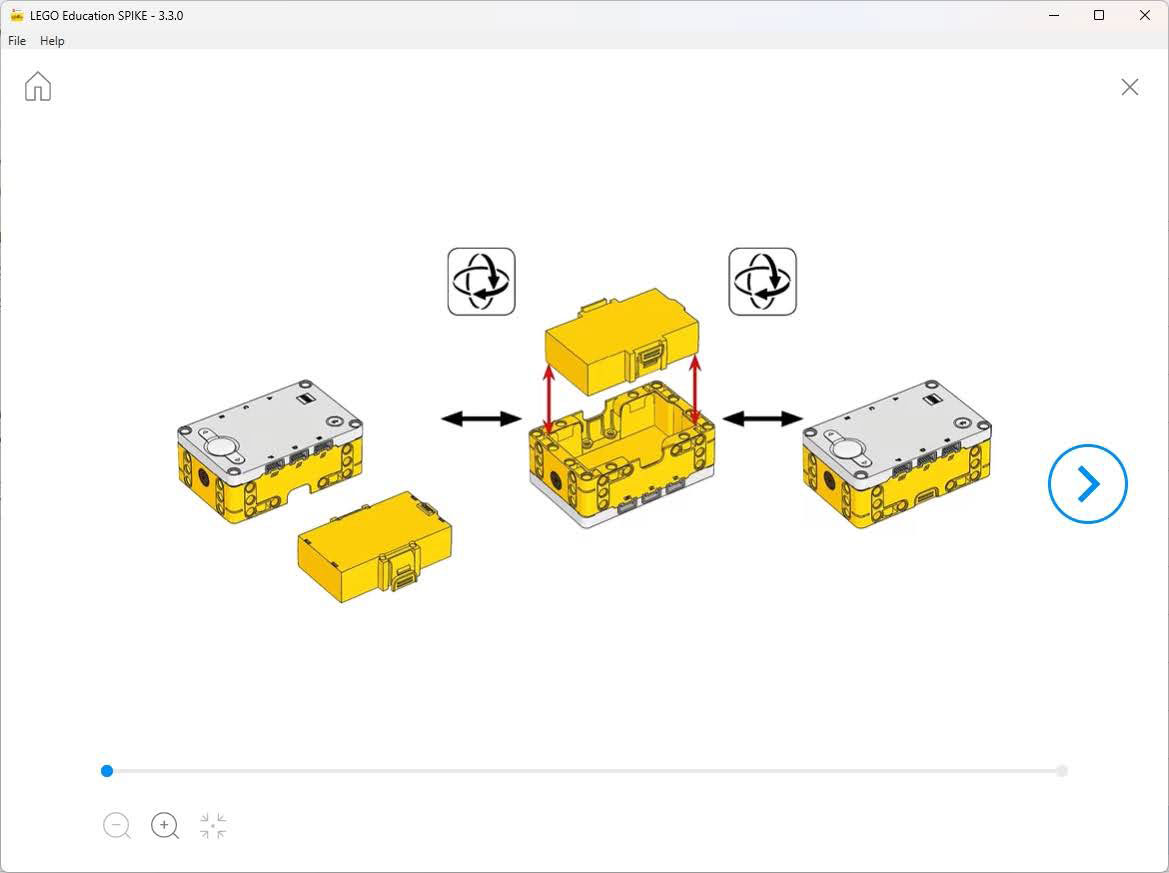
- Once you’ve selected Driving Base 1, you will be presented with step-by-step building instruction in the traditional wordless, picture-based LEGO format. If you are not already comfortable with this style of instructions, I promise you will get better with practice. In the meantime, I’m going to list out some steps that migth be confusing. For example, the step blow is really just telling you to put the battery in the Hub. If you’ve followed my tutorials up to this point, your battery is already in the Hub, so you can just ignore this step.
- Step 3 is telling you to rotate the blue circle on the motors until the dots line up. You can do this just by twisting them with your hand.
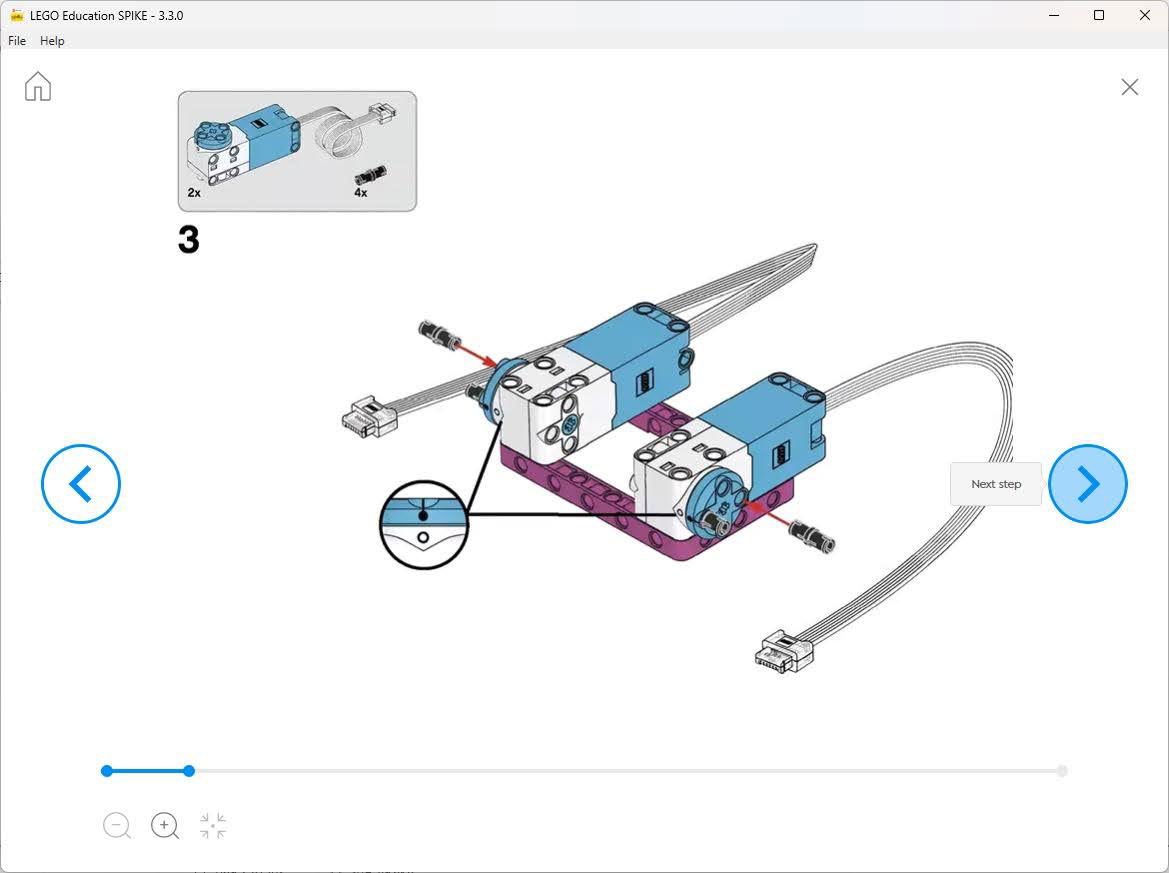
This is about what it should look like when you’re done. Make sure you do this on both sides.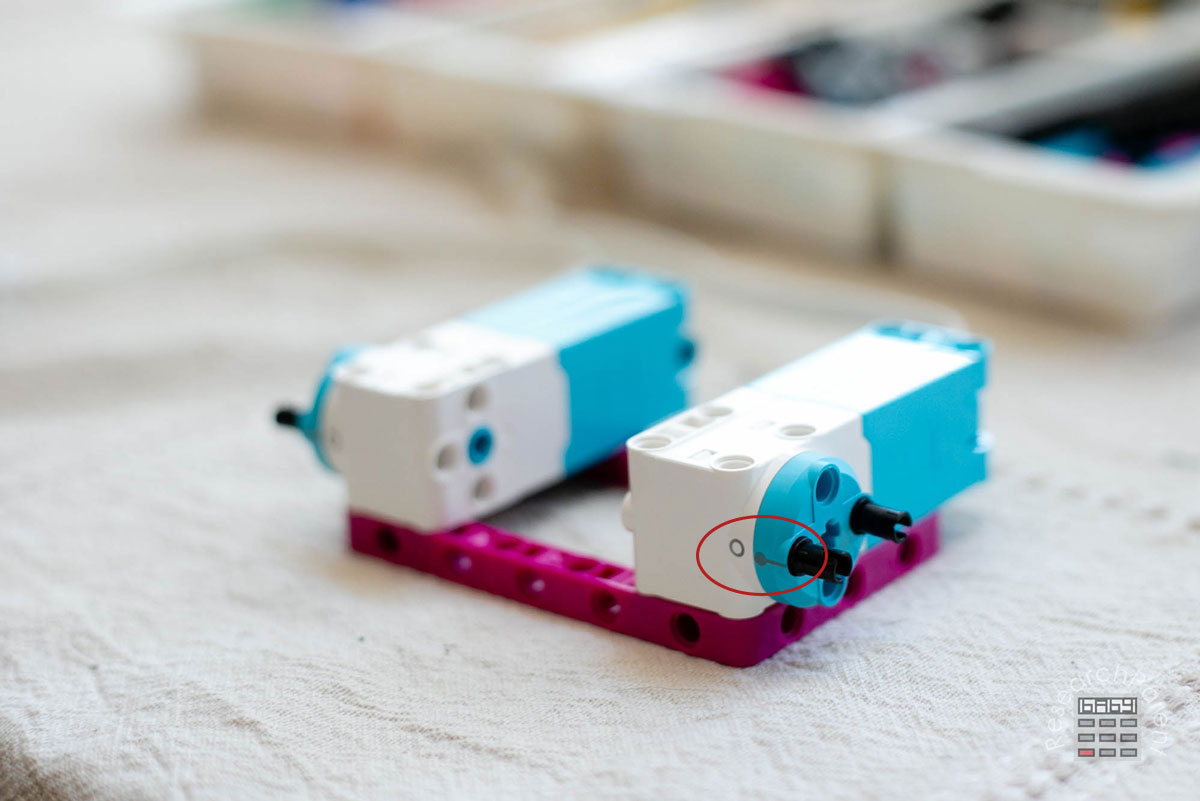
- On step 4, you need two straight yellow pieces to act as axles. Next to the picture in the needed materials box is the number 3 inside of a circle. This is telling you how long the pieces you select should be.
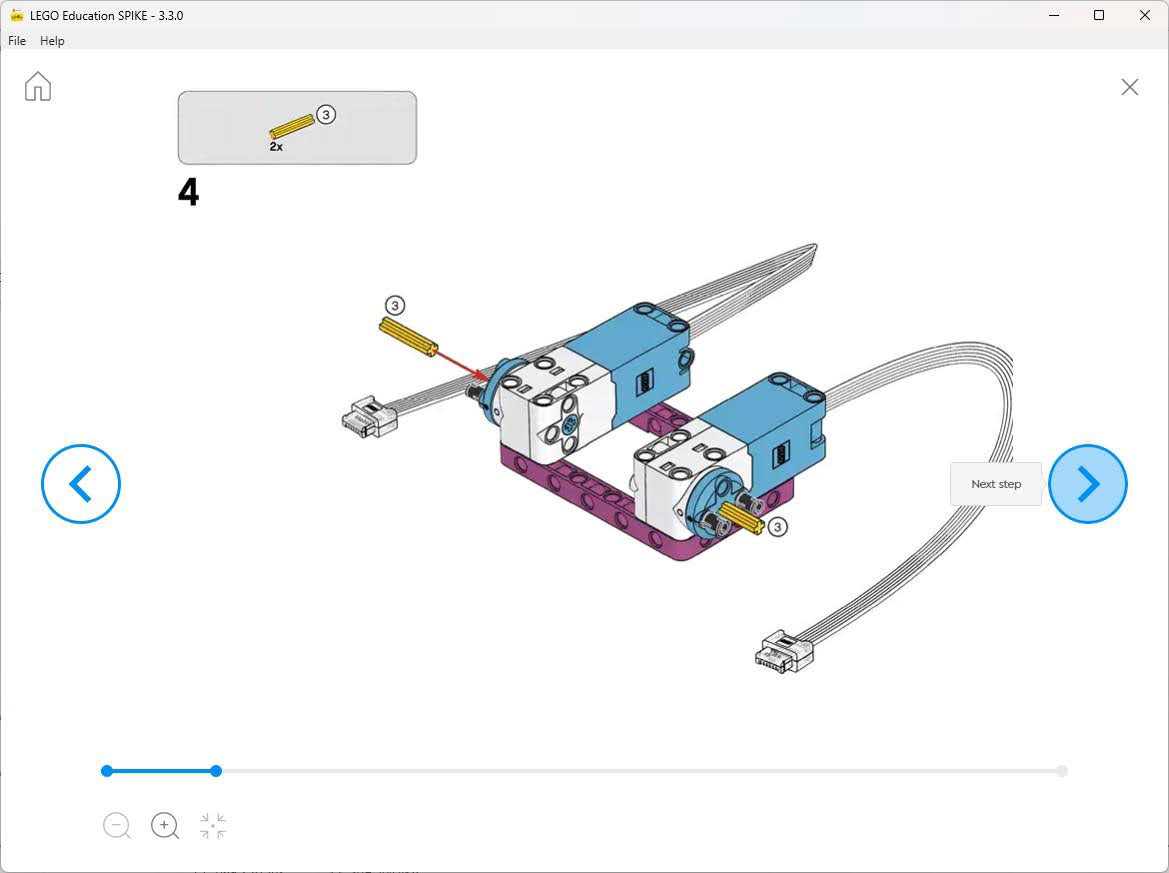
You can match up the axles with the supply list to find precisely the right lengths.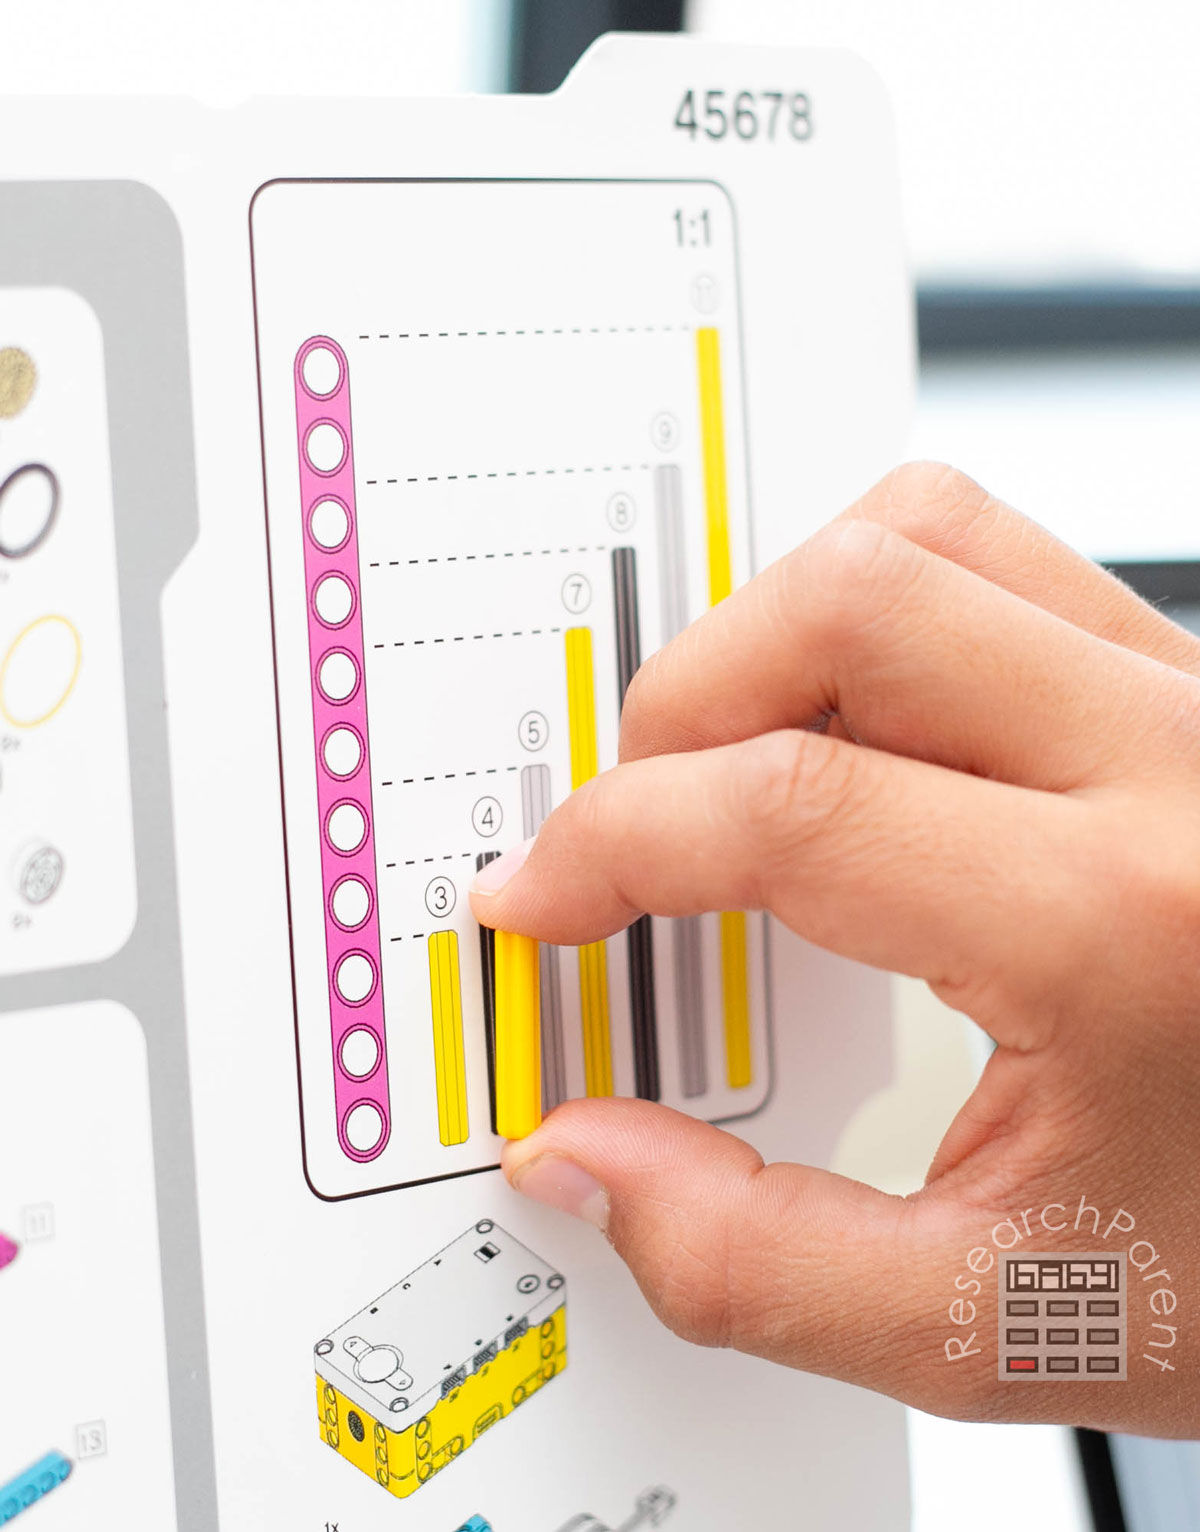
- Step 14 is telling you to attach the Hub to the motors on the base you’ve built.
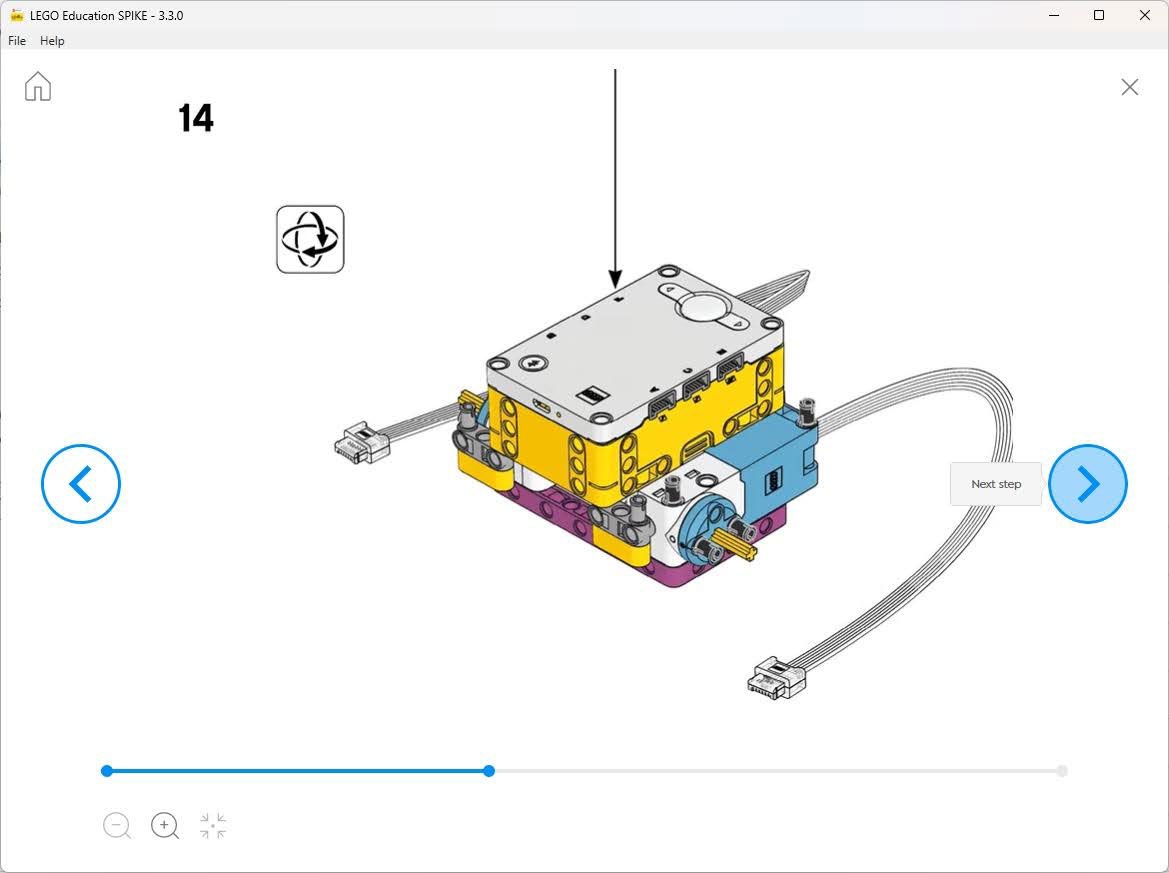
When you are done, it should look like this: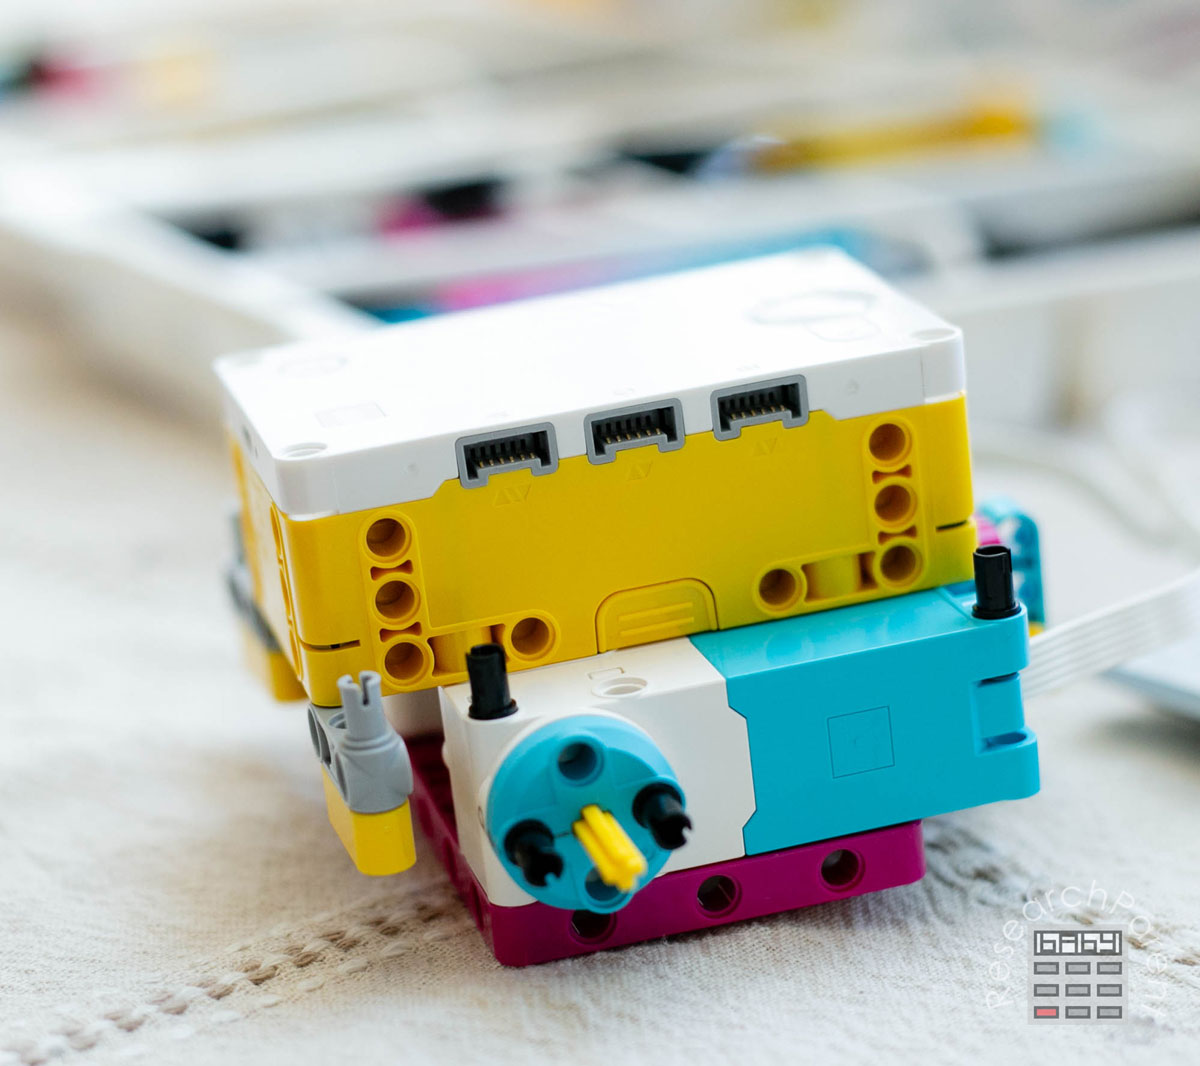
- Step 32 is telling you slide the large motor underneath the Hub and shows you which posts and holes to use to attach it to the car.
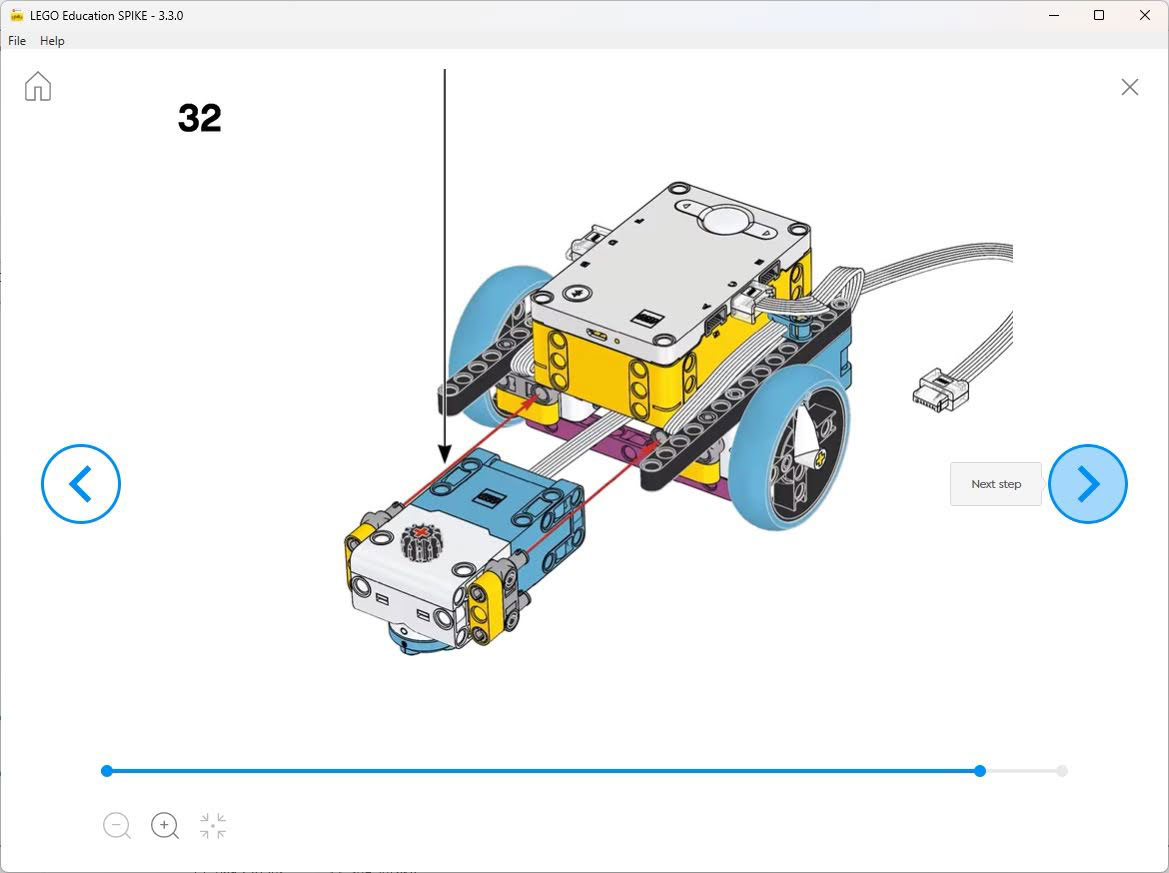
Make sure you weave the cable through too.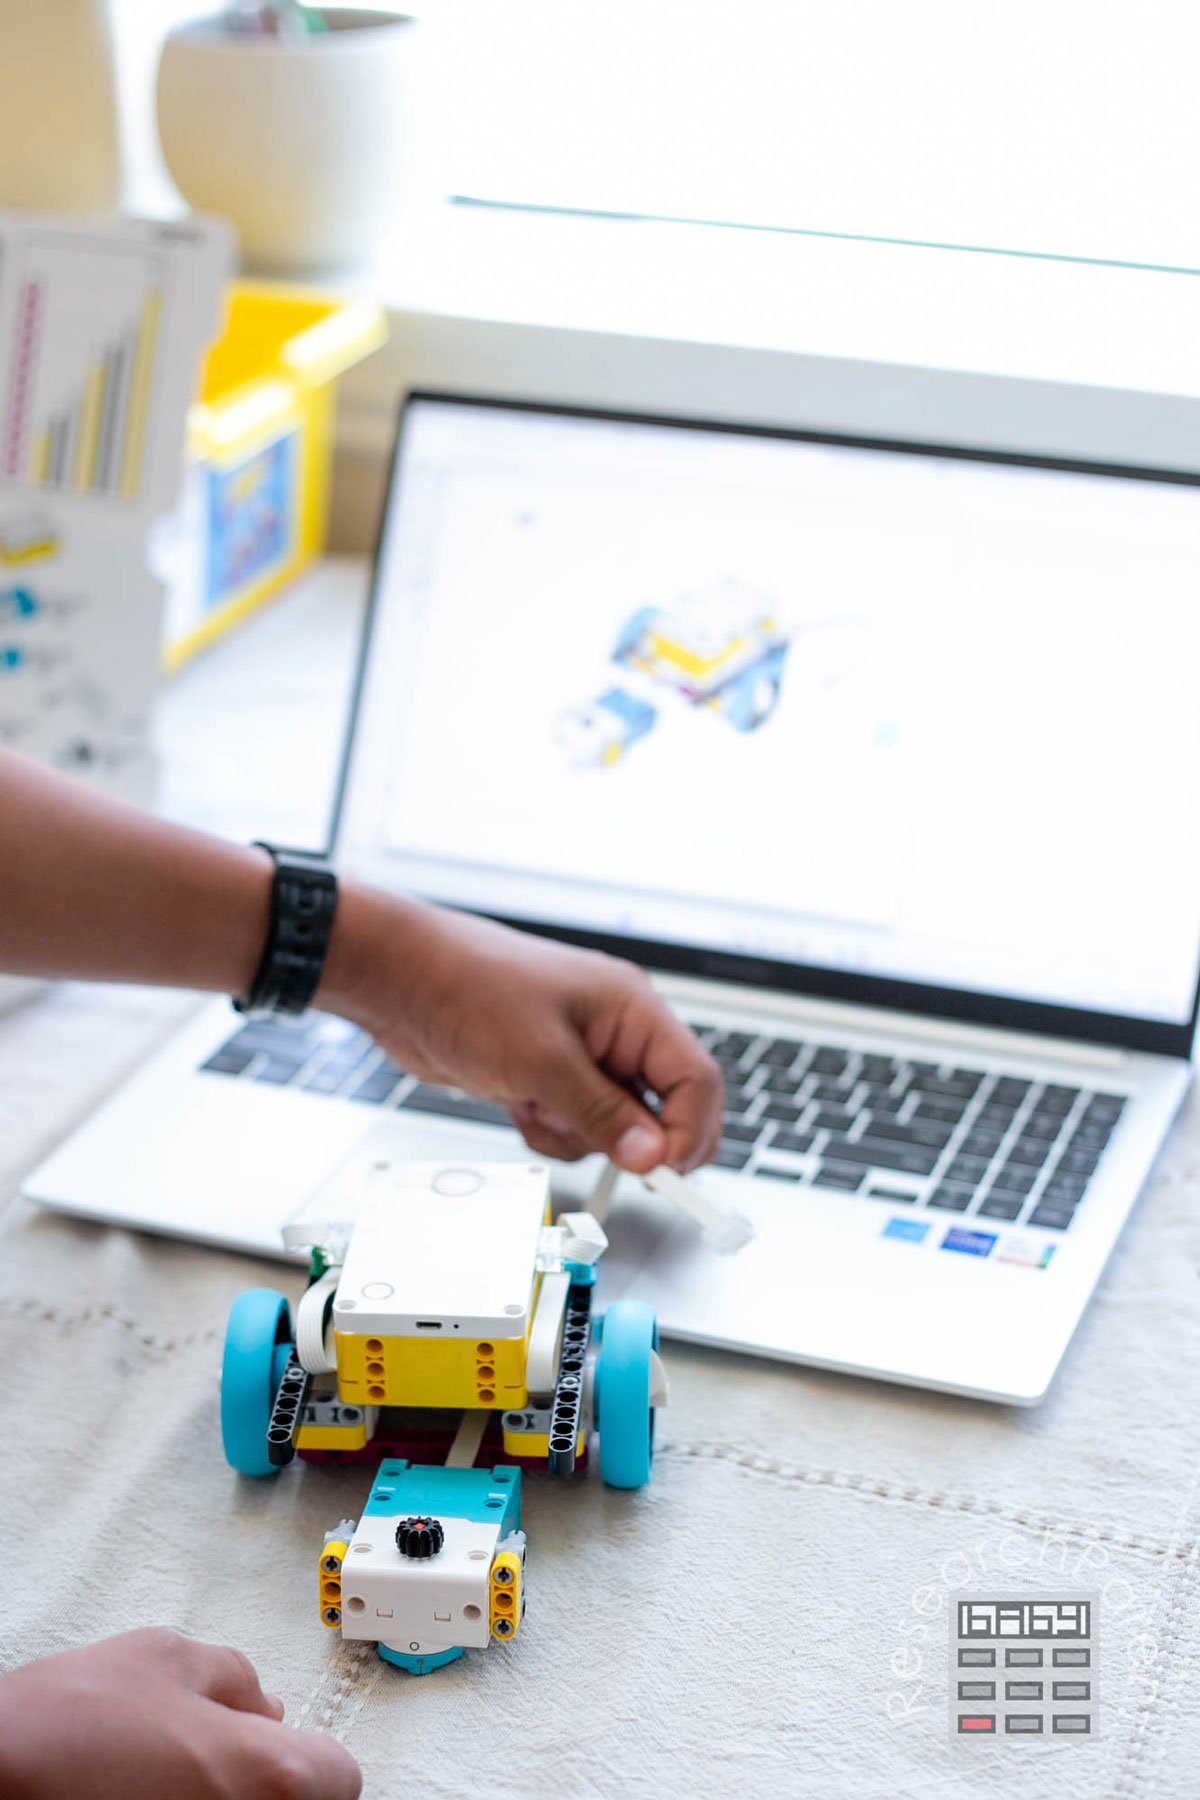
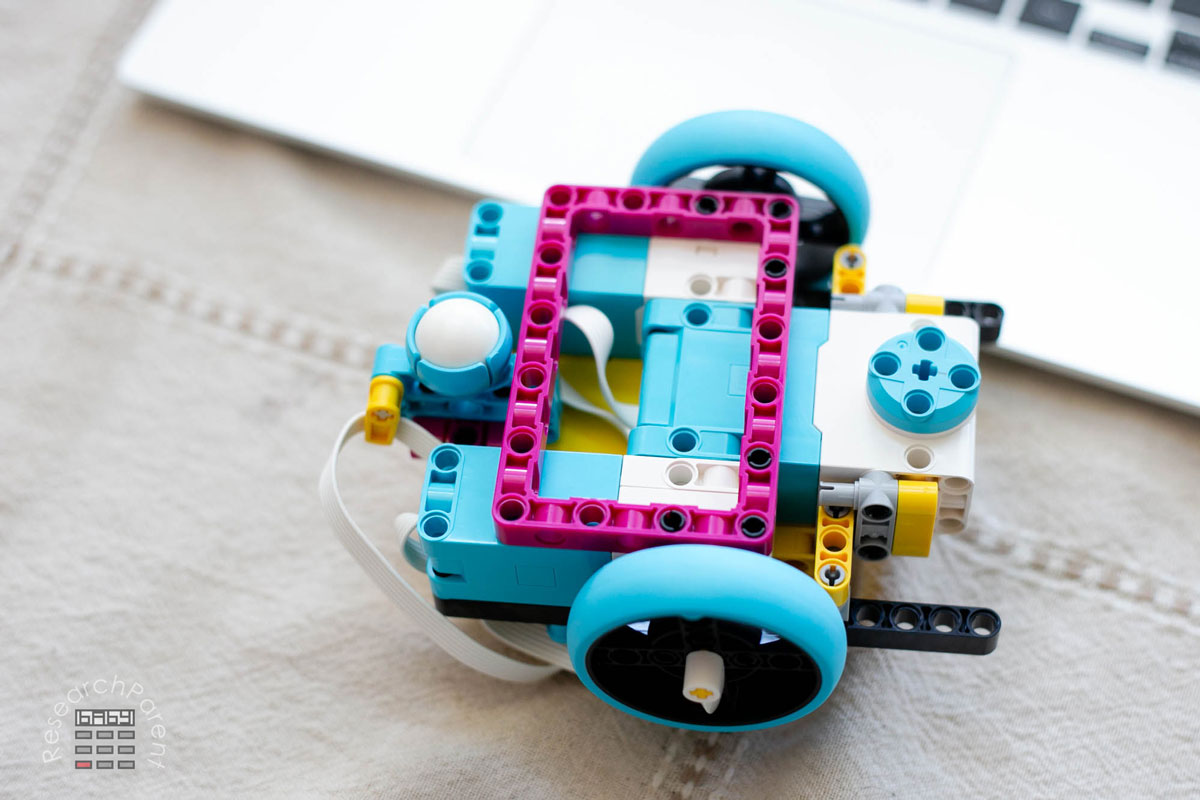
- In the end you should have a completed car with 2 motors that can be used to drive the car and one motor that can ge used to attach to a gear. This third gear motor can do a whole lot as you will soon see.
Stay tuned for some basic challenges to get your kids using robotics and coding to problem-solve. I’m planning to share both the challenges themselves plus an example of how you might both build attachments and program the codes to solve them!
Related Links
Science Activities for Kids
Robotics Activities for Kids
All Learning Activities


Leave a Reply