Over the past few weeks, I have been learning how to use a Spike Prime robot in preparation for coaching a FIRST LEGO League Challenge team for upper elementary and middle school students in my area. I have degrees in engineering and extensive experience programming, but I have never done robotics before, so this is new to me. However, it’s the sort of experience I wish I’d had as a kid, so I’m so happy that it’s an experience I can offer to my own kids. If you have no experience with Spike Prime, start with my unboxing post and follow through the series of posts on testing the motors and sensors, connecting the hub, learning how to manage your files, and building your first robot car.
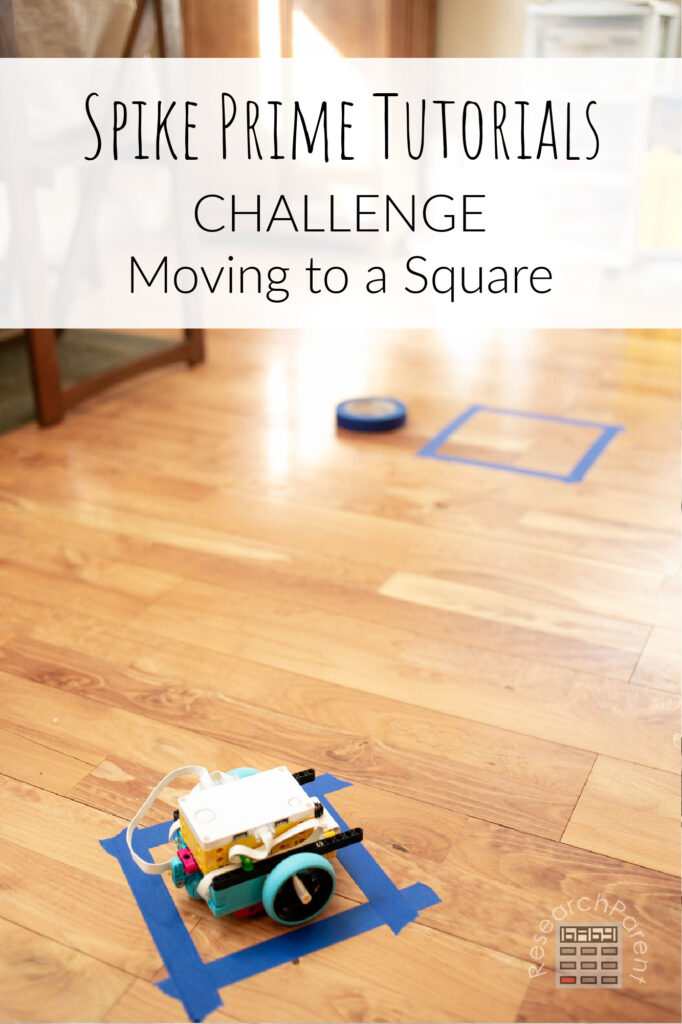
Now that kids have a basic familiarity with how to build a robot and write programs to operate it, the next step is to push the limits of what the robot is capable of doing. Step 1: Moving! This robot that we’ve built can clearly move, but at the moment, we don’t know how. If you’ve followed the tutorials up to this point, particularly the one on writing your first program, your child will realize that there are a LOT of coding word blocks that we haven’t explored.
Now, I could just TELL you how to make your robot move. In fact, I will actually do this at the bottom of this post. However, this is not where I recommend starting. It’s so much more fun for kids to uncover a solution on their own than to mindlessly follow a tutorial. In the long run, I think they actually remember what they learn much better using this technique as well. (Now that I’m getting my Masters in Education and earning my teaching credential, I realize this educational philosophy is actually known as the constructivist theory, and I’m all for it.)
The other day, I had my 7, 9 and 11 year olds all work together to try to get the robot to complete this simple moving challenge. I helped them turn on the robot, connect it to the computer and start a new program. Then I said, “See if you can figure it out. How are you going to make this robot move?” They quickly found the code blocks to turn the motor so they tried that. However, it took them a little longer to figure out how to turn two motors at the same time and not sequentially, so their little bot was spinning all over the place. They eventually figured it out, but it was tricky!
After they got to experience the satisfaction of success and I congratulated them on their hard work, I showed them that there was actually another simpler way to make the motor move! The Spike Prime App actually has built into it functions for driving a robot assuming two wheels are connected to either side of the hub. Because this activity was presented as an exploration rather than something to be graded on, they were excited to learn this new information. After all the work they put into controlling the motors separately, I’m sure they appreciated this dual motor functionality so much more!
Below you will find the “challenge” as I presented it to my kids, some tips you can offer them if they are getting stuck, as well as my own solution. However, my answer is not the only correct answer! While there’s nothing wrong with looking at my solution to learn from it and get ideas, if someone solves the challenge a completely different way (like my own kids did) that is amazing! We can all learn from each other and iterate to improve upon or designs. Isn’t the human mind great?
It’s going to take me awhile to get all of these posts written, but here are the upcoming challenges that you can expect. Sign up for my newsletter if you’d like to stay up to date! Hopefully, I will remember to come back and add the links as I go:
- Spike Prime Challenge 1: Moving to a Square (*this post*)
- Spike Prime Challenge 2: Avoiding an Obstacle
- Spike Prime Challenge 3: Pushing an Object
- Spike Prime Challenge 4: Using a Distance Center for Navigation
- Spike Prime Challenge 5: Knocking Over a Tower
- Spike Prime Challenge 6: Lifting a Square
Spike Prime Challenge: Moving to Square Details
Recommended Age Range: Elementary, Middle School, High School
Time Required: This took my kids about 20 minutes, but it could be more or less!
Difficulty: Easy to Medium
Cost: The LEGO Education Spike Prime Set costs $400 on the LEGO site. As of this writing, it is more expensive on Amazon, but I would check to compare!
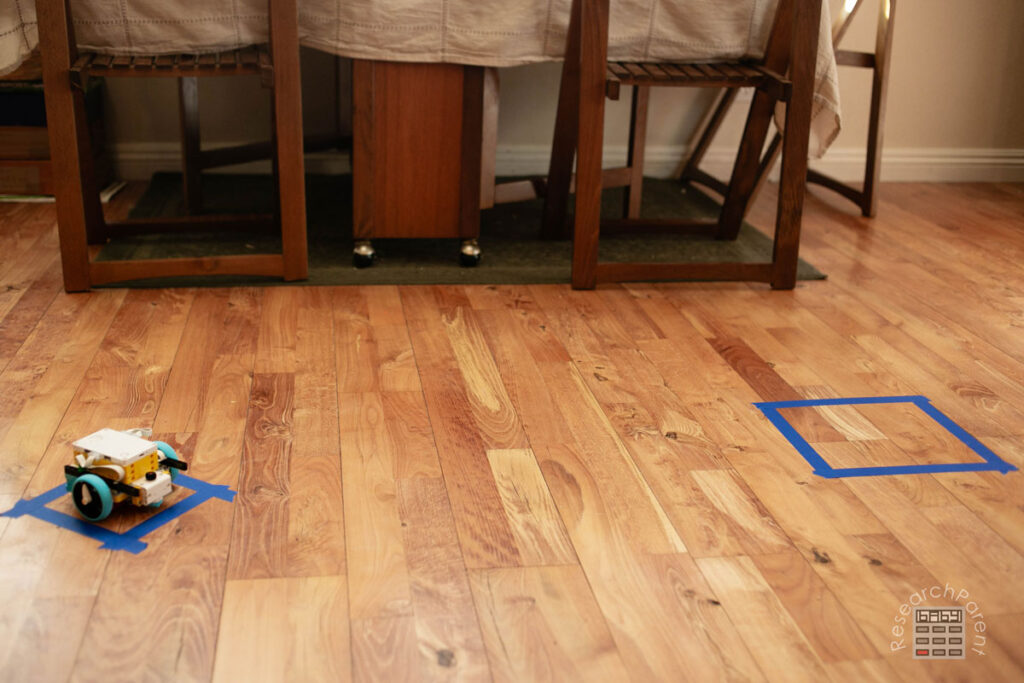
The Challenge
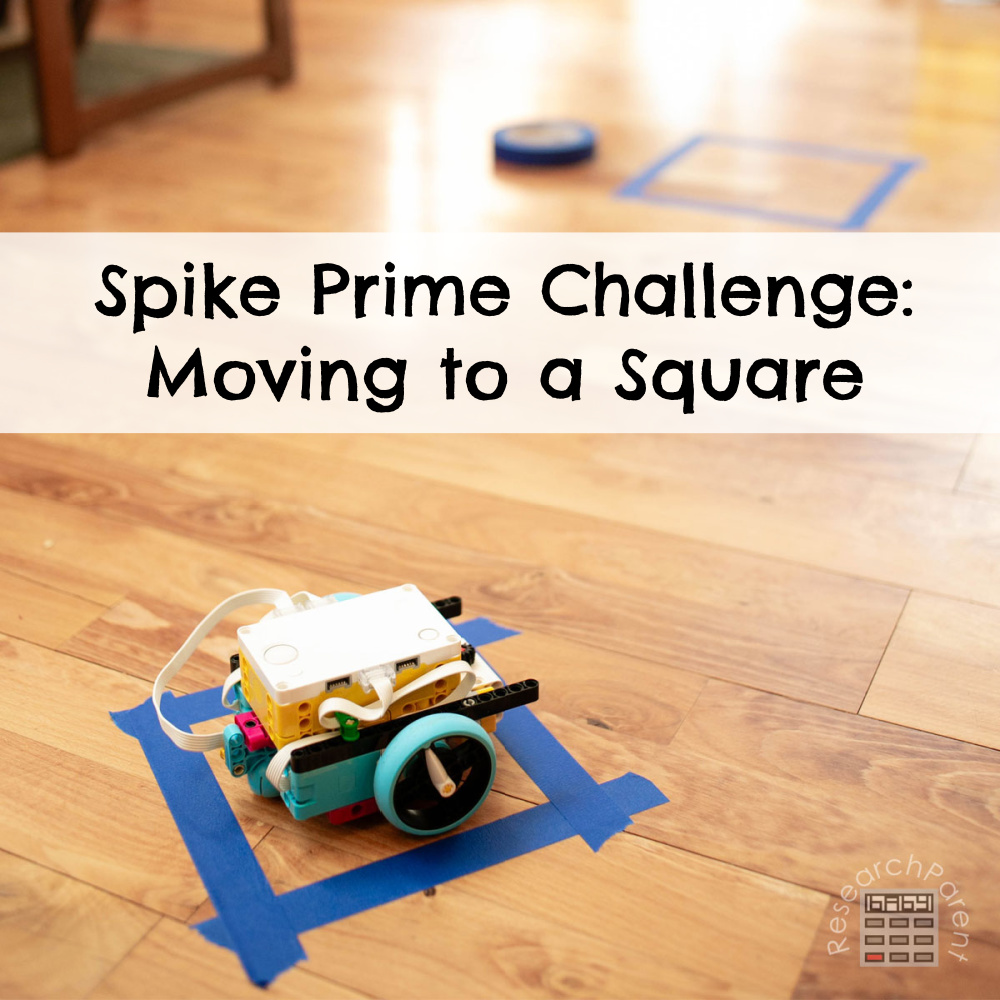
The premise behind this challenge is very simple. The robot car starts in one square that is the same size as the car. The objective is to move to another square a few feet away that is slightly bigger. The initial orientation of the robot car should not be pointed at the target square. (Or, to start with an easier challenge, point the car at the target! Why not?)
It is important when you are setting up this challenge that the square the robot starts in is the same size as the car itself.
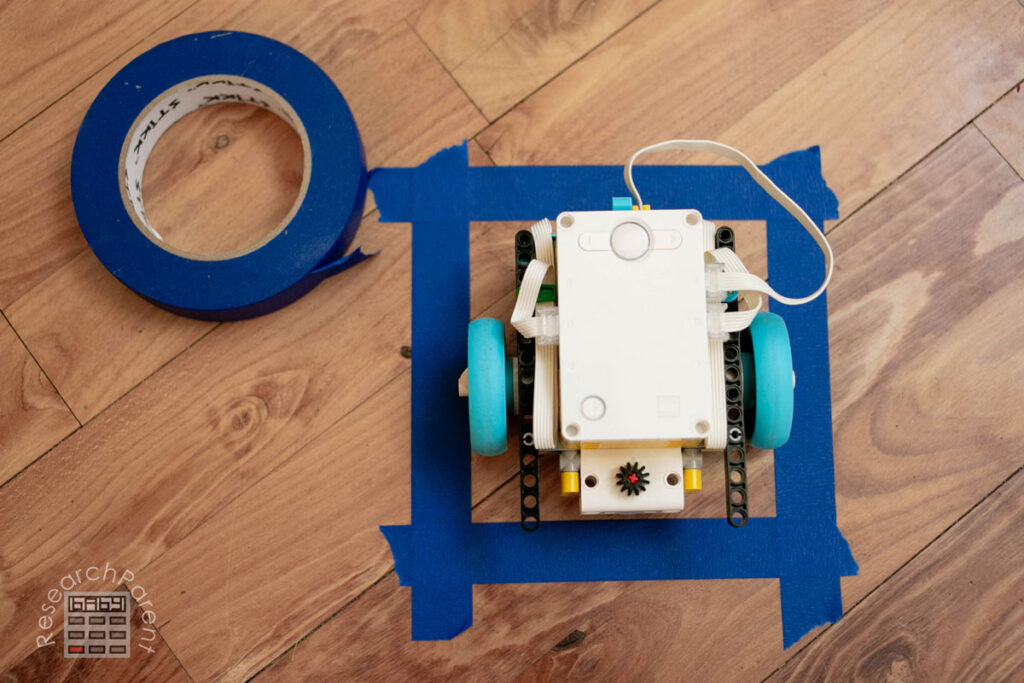
The reason why this matters is that you want your robots movement to be repeatable. If we made the starting location be a big square then you might not set your robot in the exact same place every time. We want the robot to fit snugly inside its homebase so that we can minimize variability in the robots movements.
The reason why we want the target destination to be bigger is just to minimize frustration.
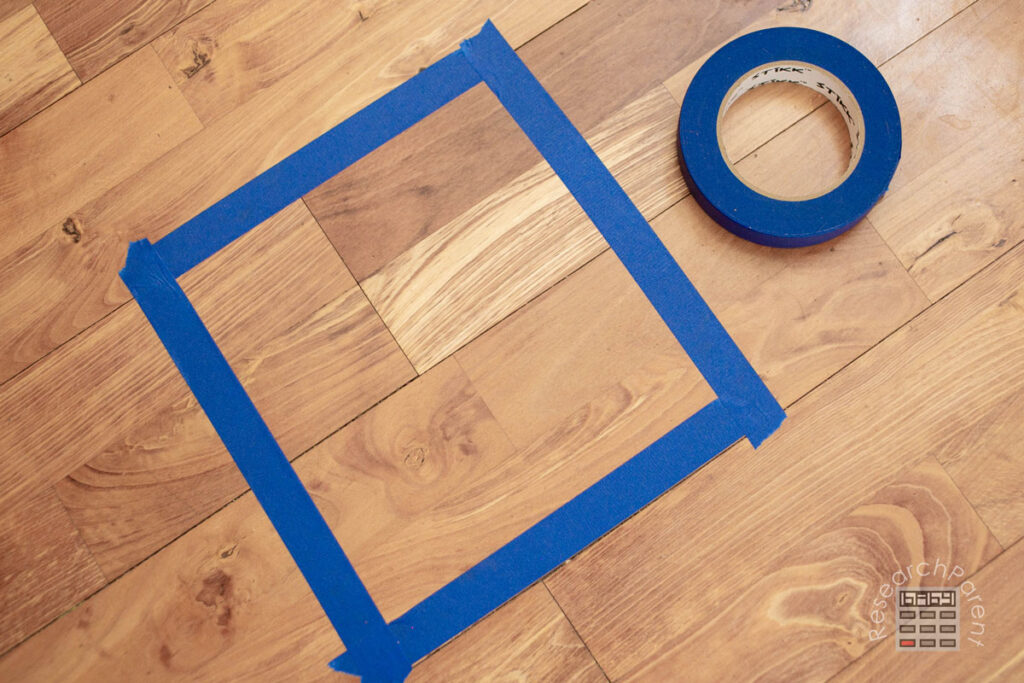
You have a lot of flexibility in how define your success criteria. Maybe you want to make the destination square really big. You could specify that the entire robot has to be inside the square to make it more challenging. Personally, I just said that any part of the robot had to touch the square to make it easier. To make it really easy, you could also just make a big line and say the child has to cross the line in order to succeed.
Since the point is just to learn how to make the robot move, I opted to make it as easy as possible to succeed. Once they understand the basic concepts of motion, at that point, it is just a matter of iterating to fine tune their solution.
My Solution
Again, my solution technique is not the only right way to go about this! Also, because our squares will not be in the same spots, you will need to adjust the exact number of rotations to have it work for your bot.
As I mentioned above, it is possible to solve this challenge using only the “Motors” coding blocks. That’s the way my kids did it. However, it is a little tricky since you can only operate the motors sequentially. A way around this is to add another “When program starts” block, however, this can get confusing really quickly. I highly recommend you allowing kids to follow this rabbit trail if they get started on it to see how far they can go.
LEGO built a whole set of command blocks called “Movement” that allow you to move forward, backward, left, and right. However, in order for these commands to work, you have to tell the program which two ports are connected to your two wheels! Here is my program so you can see what I mean.
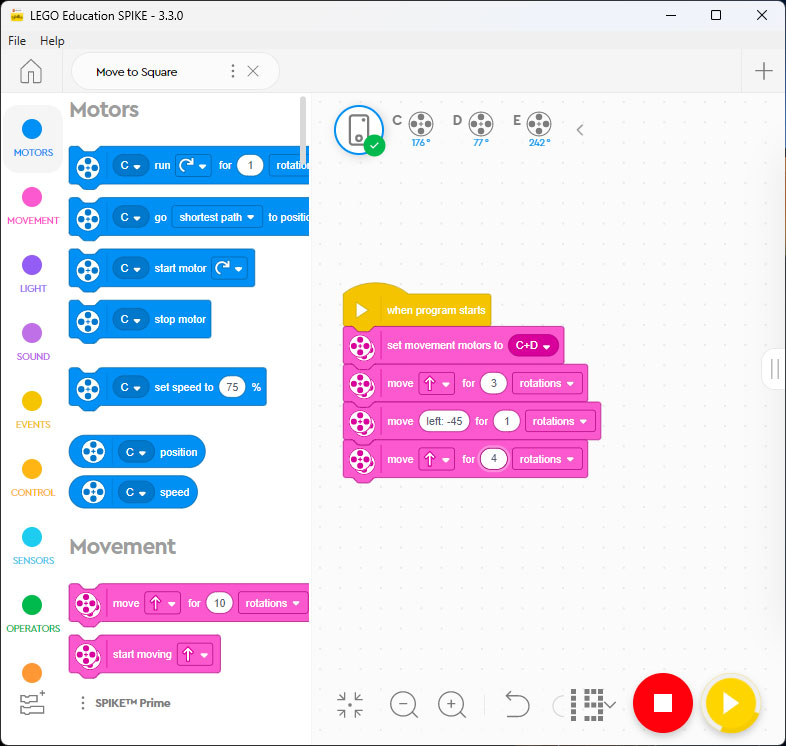
To figure out how many rotations to do, I just used trial and error and it didn’t take very long. When I am coaching my FLL tournament team, I will definitely be encouraging them to try out the “Set Motor Rotation to ___ cm” block!
Good luck coming up with your own solution! 😄
Related Links
Robotics Activities for Kids
Science Activities for Kids
All Learning Activities


Leave a Reply