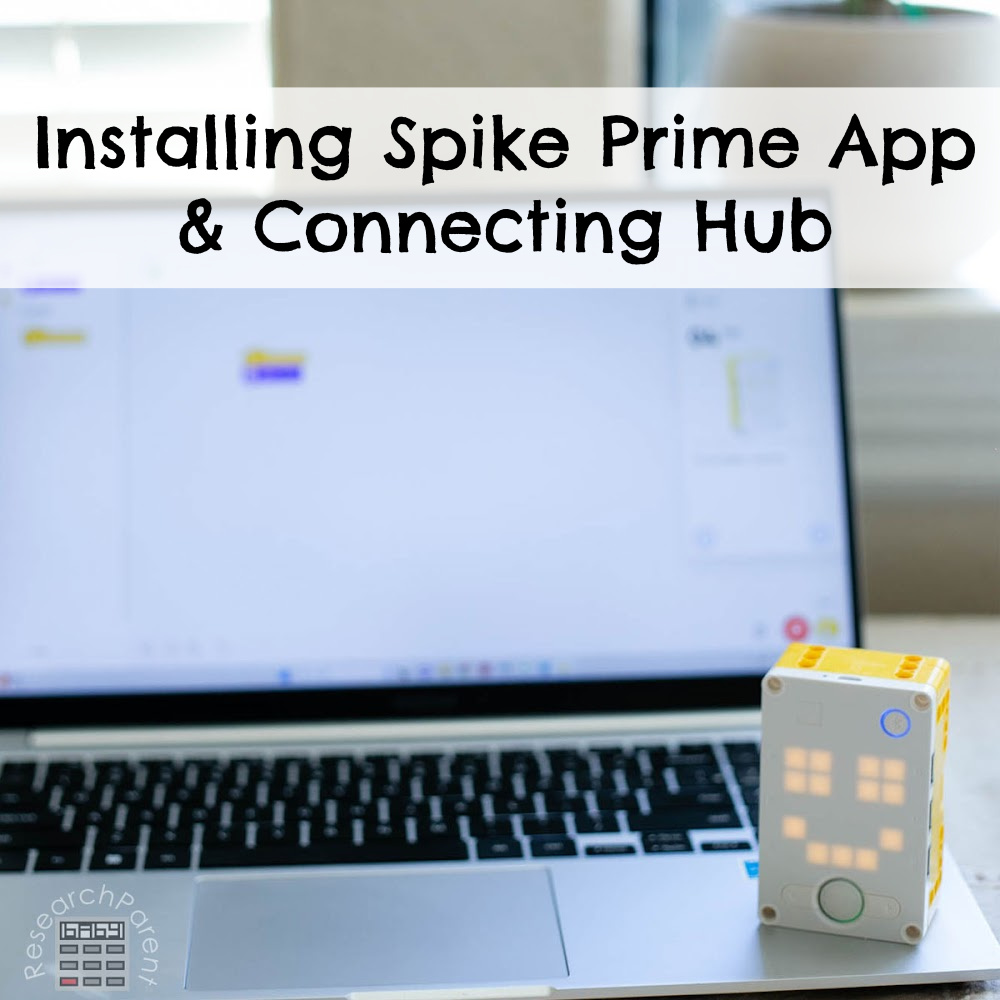
Since deciding to coach a First Lego League Challenge team this fall, I have posted about unboxing our Spike Prime and testing the motors and sensors. This post will walk step-by-step through the process of installing the app and connecting the hub to Bluetooth for the first time. Eventually I am hoping to have a whole series of posts that will help those just getting started with Spike Prime learn to have fun learning robotic using this kid-friendly tool.
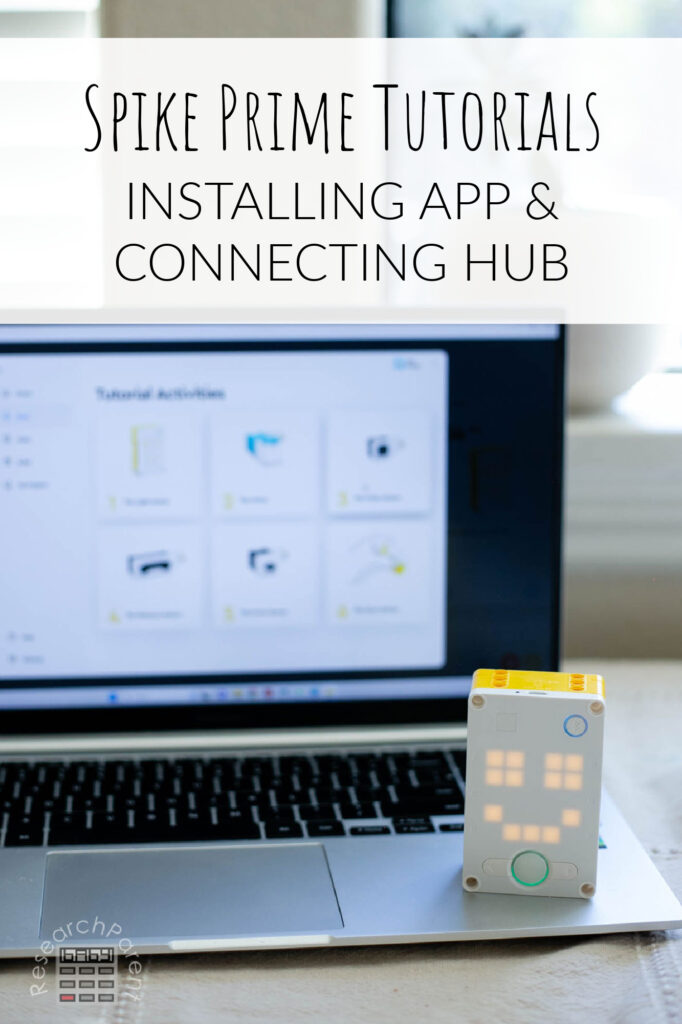
Even if you are not planning to join an official LEGO League team, the Spike Prime can be such a fun way to get kids learning how to build and program robots. I have been offering my 13 year old a series of simple challenges the past couple of days and he’s been enjoying it so much that he’s asking to do more. Kids feel a sense of accomplishment when they can make their robot do what they want with the push of a button.
The first step down this programming path whoever is to install the software! Below ou will find a step-by-step breakdown of what this process looks like as of Summer 2023. The next step is to transfer your program to your robot. This can be done simply using the cable that comes with the robot. However, since it has the technology built-in, we wanted to be able to connect the robot to the computer using Bluetooth as well!
Connecting to Bluetooth wasn’t as seamless a process as I would have hoped. It took us two tries to make it work. If you’re having trouble as well, read the steps below! (Basically, you need to have your Bluetooth turned on BEFORE you try to connect your robot. If you forget, just start over and try again.) Once we had the order of steps figured out, it was smooth sailing! The next few tutorials will describe how to write your first program from scratch and building your first robot following LEGO’s tutorial.
For your convenicene, here is the entire LEGO Spike Prime Tutorial Sequence. I am hoping I will remember to come back and update this as we go!
- Tutorial 1: The Unboxing
- Tutorial 2: Testing the Motors and Sensors
- Tutorial 3: Installing the App and Connecting the Hub
- Tutorial 4: Writing and Managing Programs
- Tutorial 5: Building the First Robot Car
Installing App and Connecting Hub Details
Recommended Age Range: Elementary, Middle School, High School
Time Required: About 20 – 30 minutes (depending on whether you follow the LEGO getting started tutorials)
Difficulty: Easy
Cost: The LEGO Education Spike Prime Set costs $400 on the LEGO site. As of this writing, it is more expensive on Amazon, but I would check!
Instructions
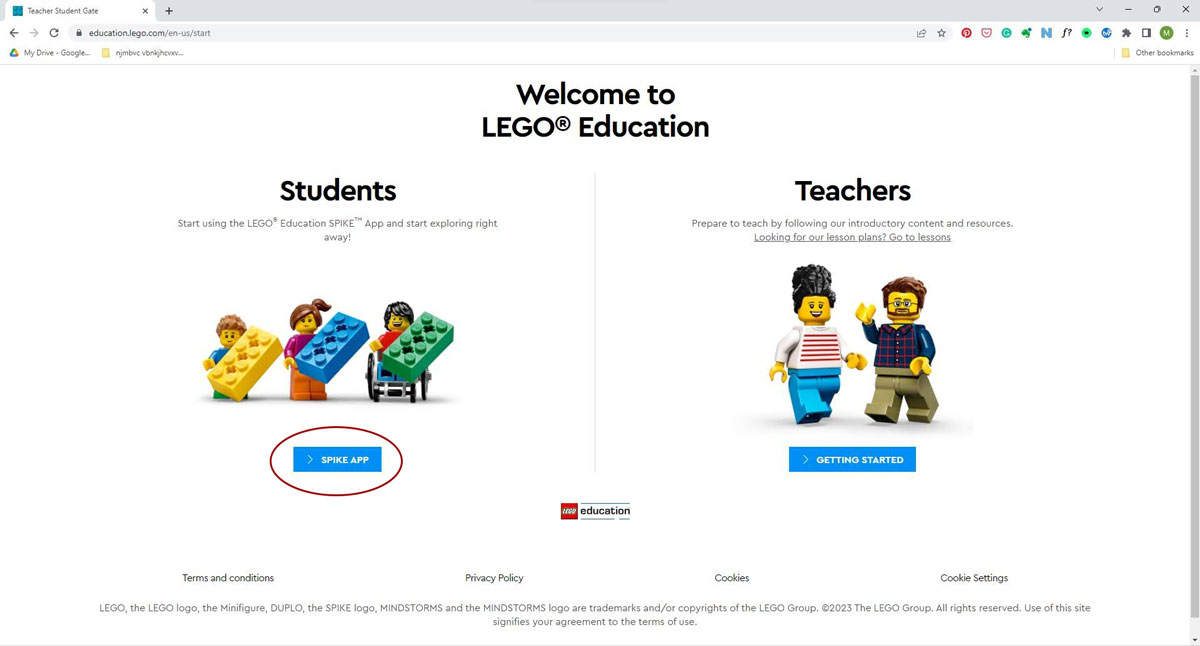
- To start, go to http://www.legoeducation.com/start. Choose the Spike App.
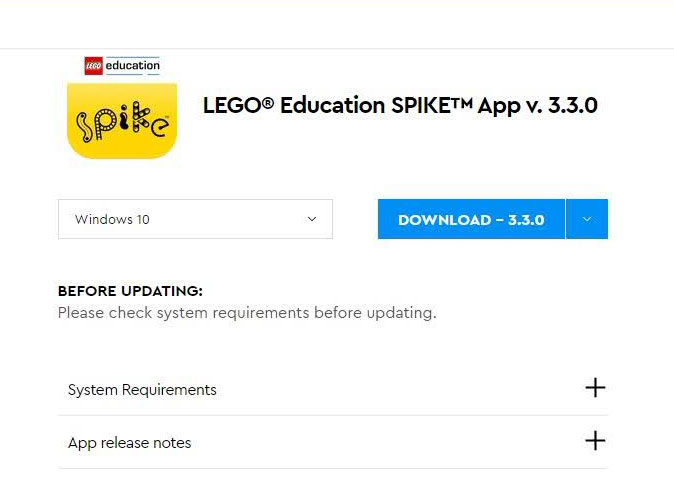
- This will take you to a page to download the app. Make sure you choose the correct option for your computer and operating system. (This will likely be selected by default.)
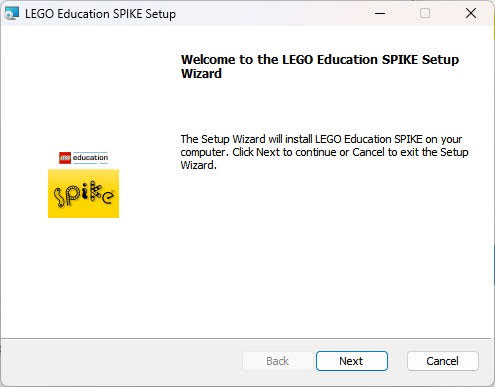
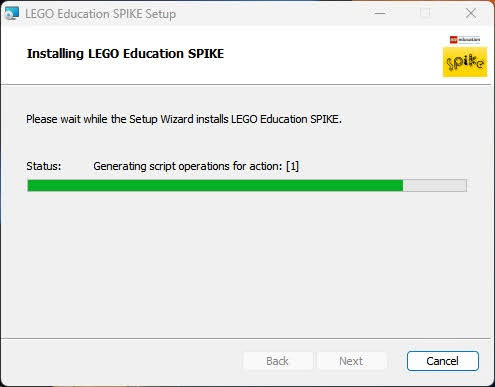
- Use the installation wizard to install the hub.
 |
|
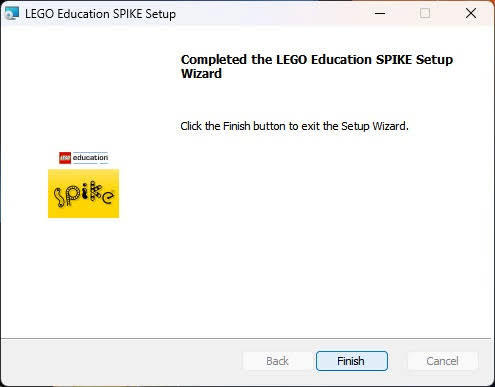
- When you click “Finish” to close the setup wizard, the app should open automatically. All future times you want to run the app, you will use the shortcut which was automatically installed to your desktop (or find the app in your program files).
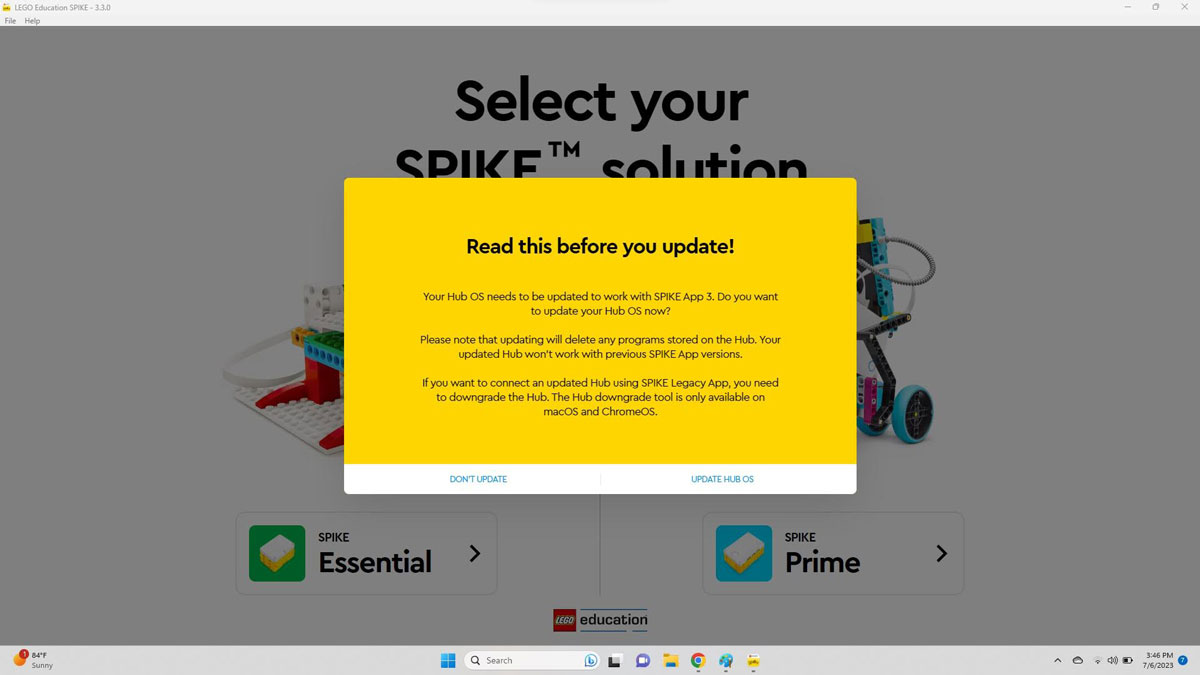
- My hub was charging via the cable the first time I opened the app, so the computer was able to detect the hub and realize that it needed an update. I went ahead and updated my hub by choosing “UPDATE HUB OS.” I recommend that you make sure you update your hub righ away as well as the message says it will delete any programs already installed on your hub. Best to do this before you start transfering programs!
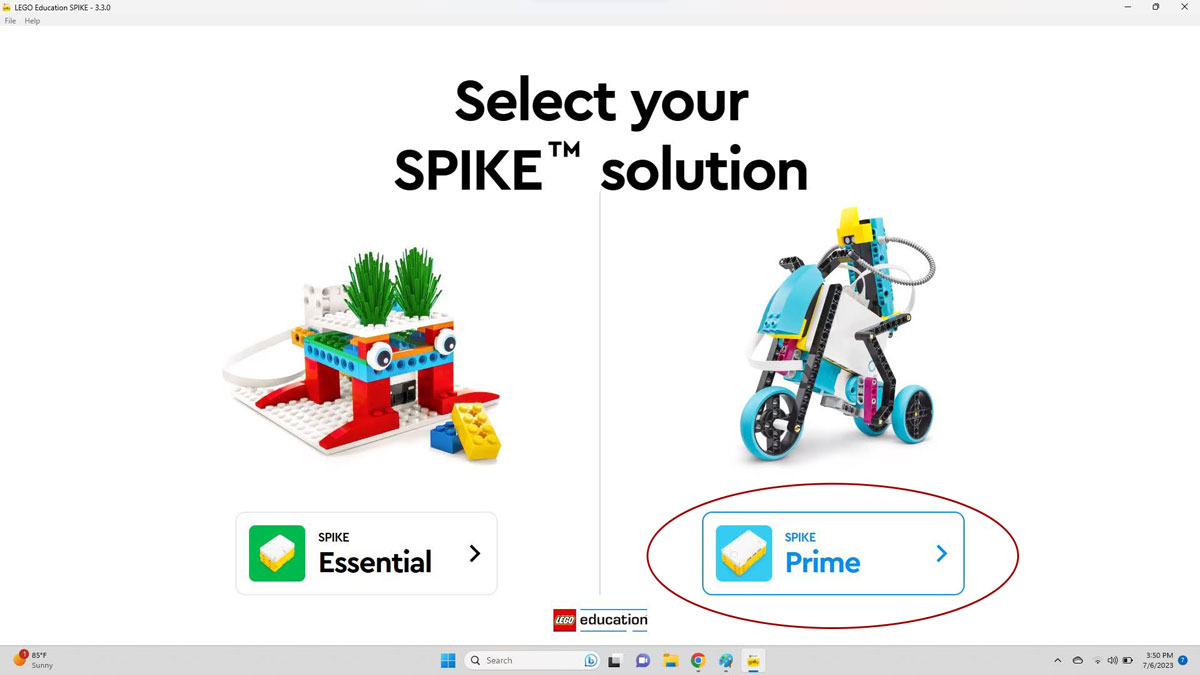
- Once the app is open, select Spike Prime.
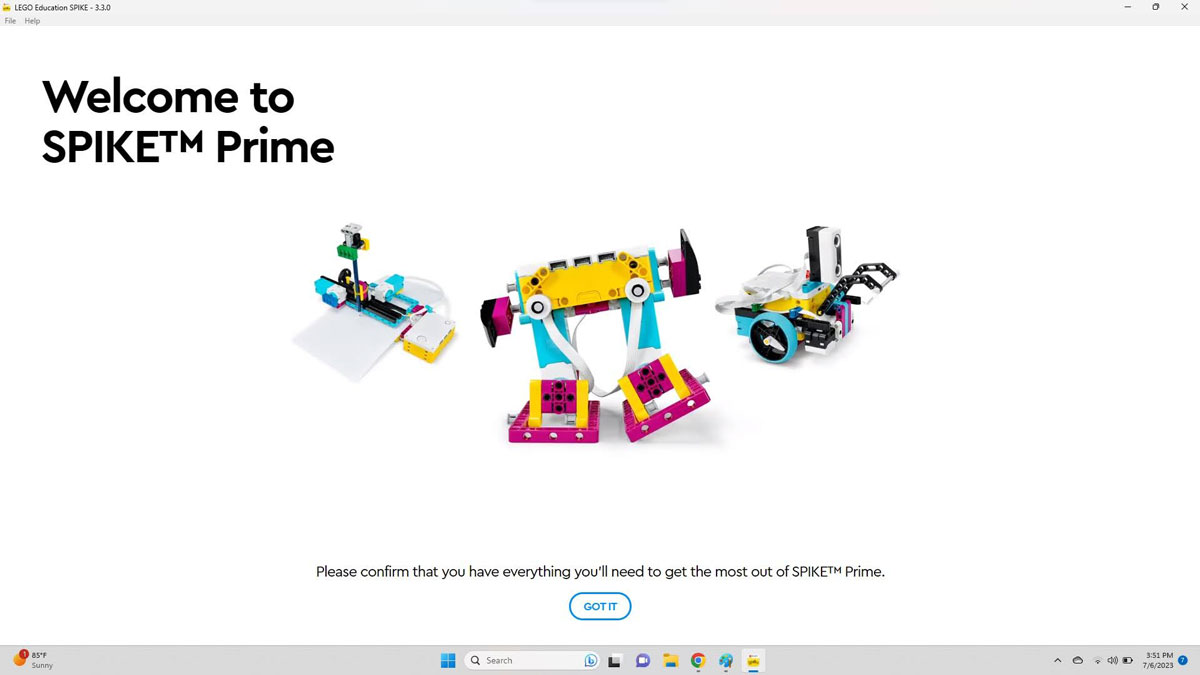
- The very first time you run the app, you’ll have to confirm that you have everything you need.
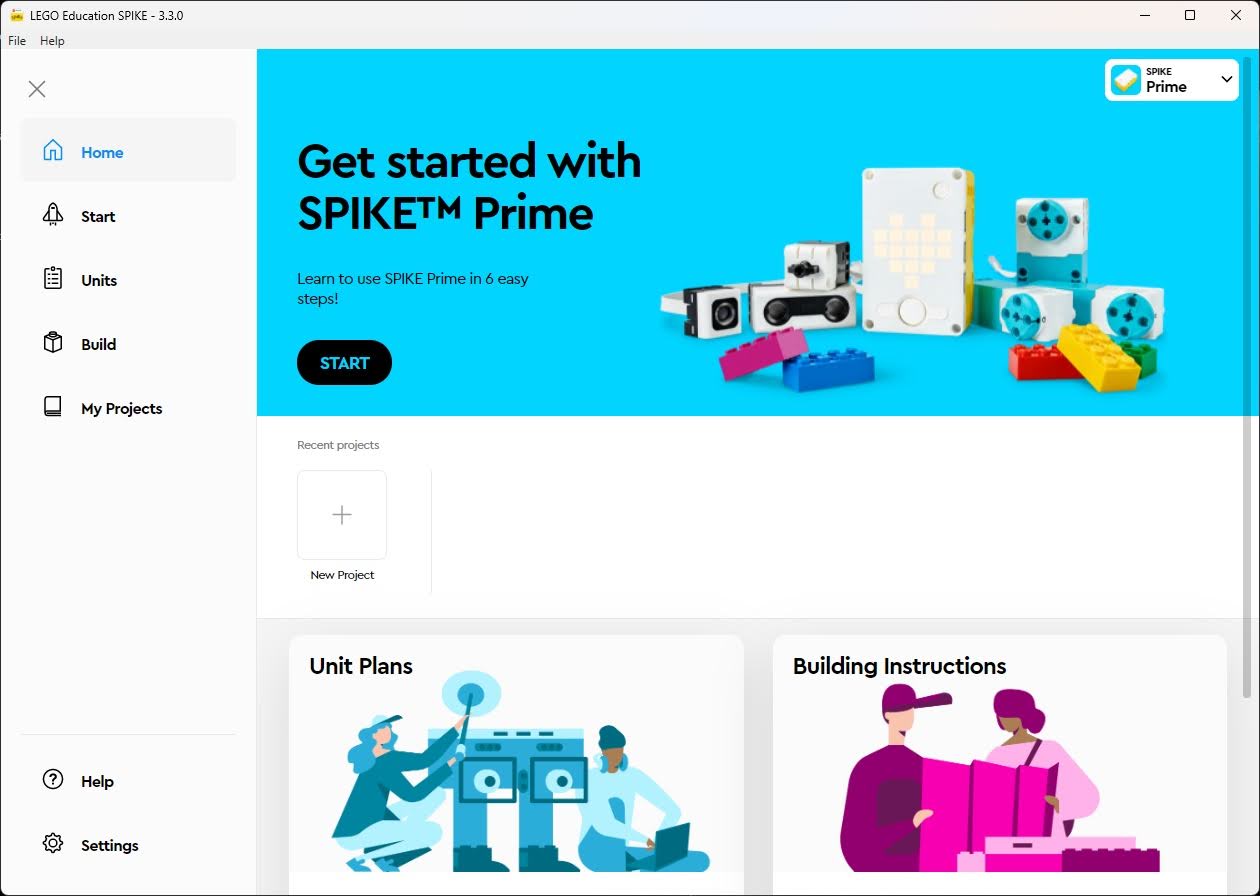
- You did it! The app is finally open. If you’re like me, you’ll go ahead and click the buttons along the side, just to see what’s in there: Home, Start, Units, Build, My Projects. Over the next several tutorials, I’m sure I will cover all of these pages, but for now, the best place to start is with the Start button. You can either select this from the side menu or inside the section labeled “Get started with Spike Prime.”
- This is what the start menu looks like. It is filled with multiple, easy to follow tutorials that help you get started writing programs to control the Spike Prime hub, motors, and sensors. These tutorials simplify the process by removing all unnecessary features.
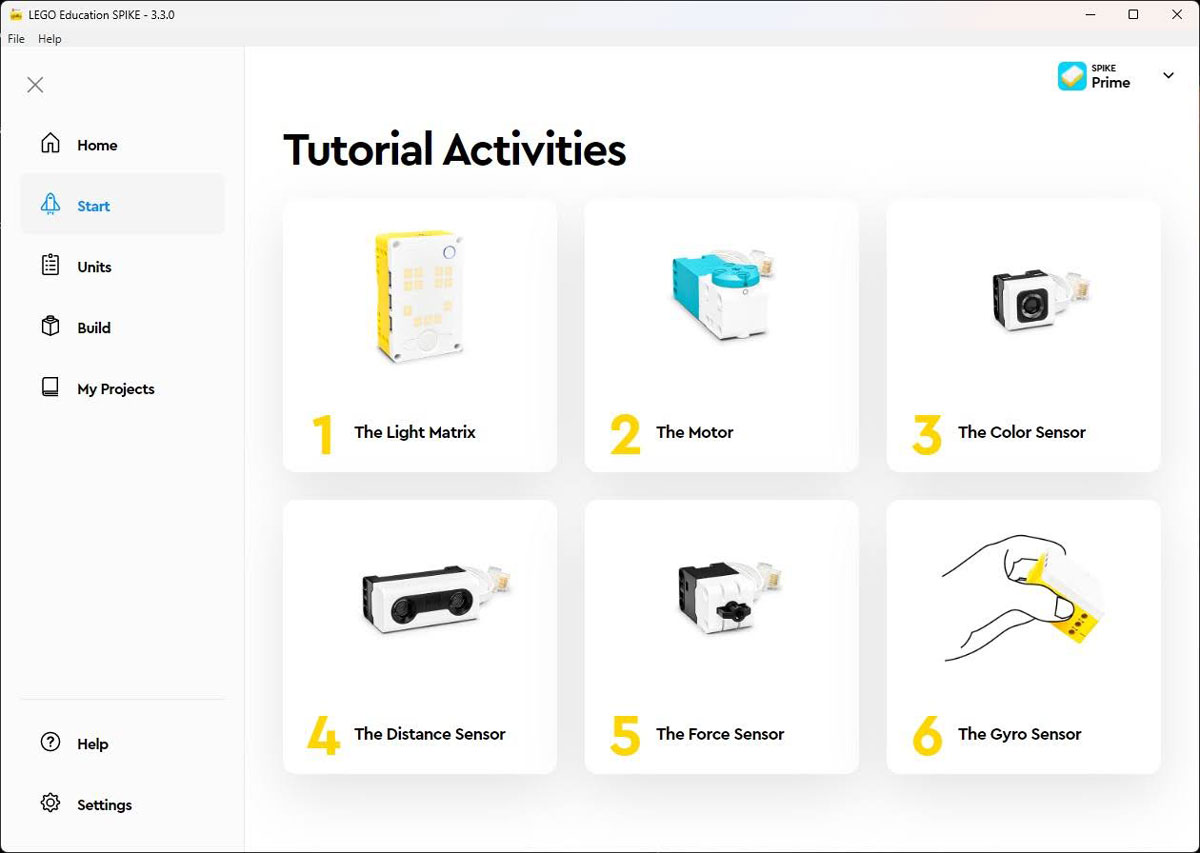
- These programs are so easy to follow that I’m not going to go through each one, though I recommend that you do them all! It shouldn’t take very long as each one is only 2 to 3 lines of code. However, I will go through the first one as it helps to make sure you can connect to Bluetooth.
You always have the option of just connecting your hub to the computer with the included USB cable, so technically, you don’t need to use Bluetooth. However, we definitely want to be able to connect to Bluetooth for convenience. This is where I ran into a little trouble the first time I tried this. My recommendation: before you start the Light Matrix tutorial, first make sure the Bluetooth on your computer is turned on. I have a PC, but I imagine on any computer this can be done from the Settings. Just search for “Bluetooth.”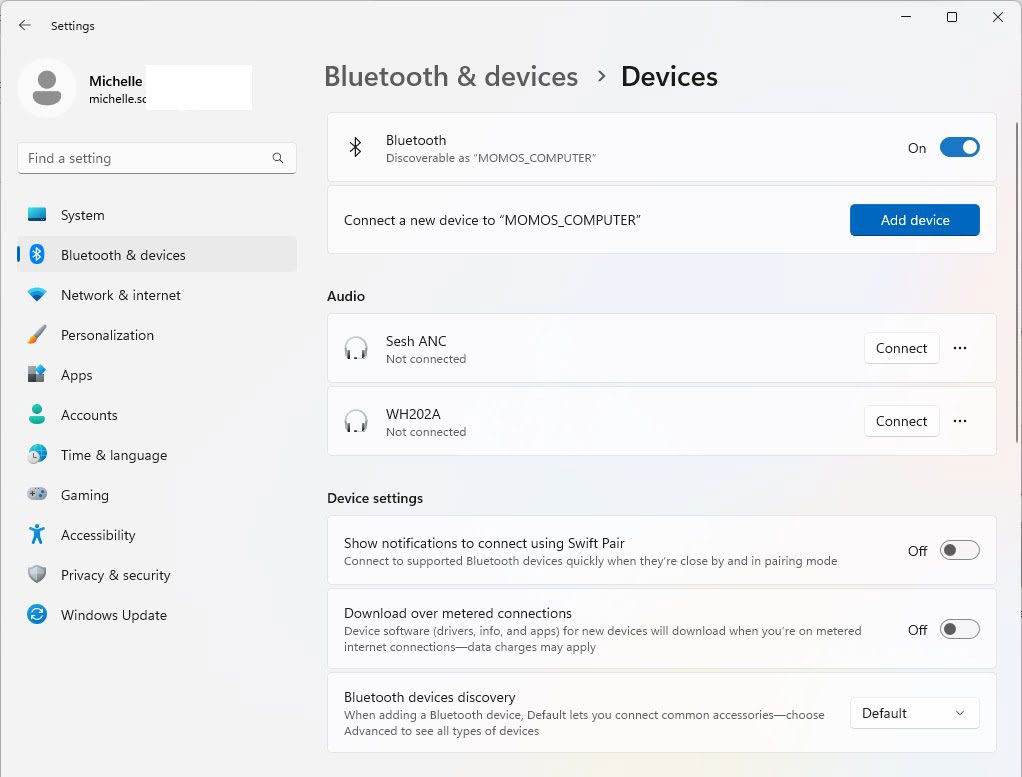
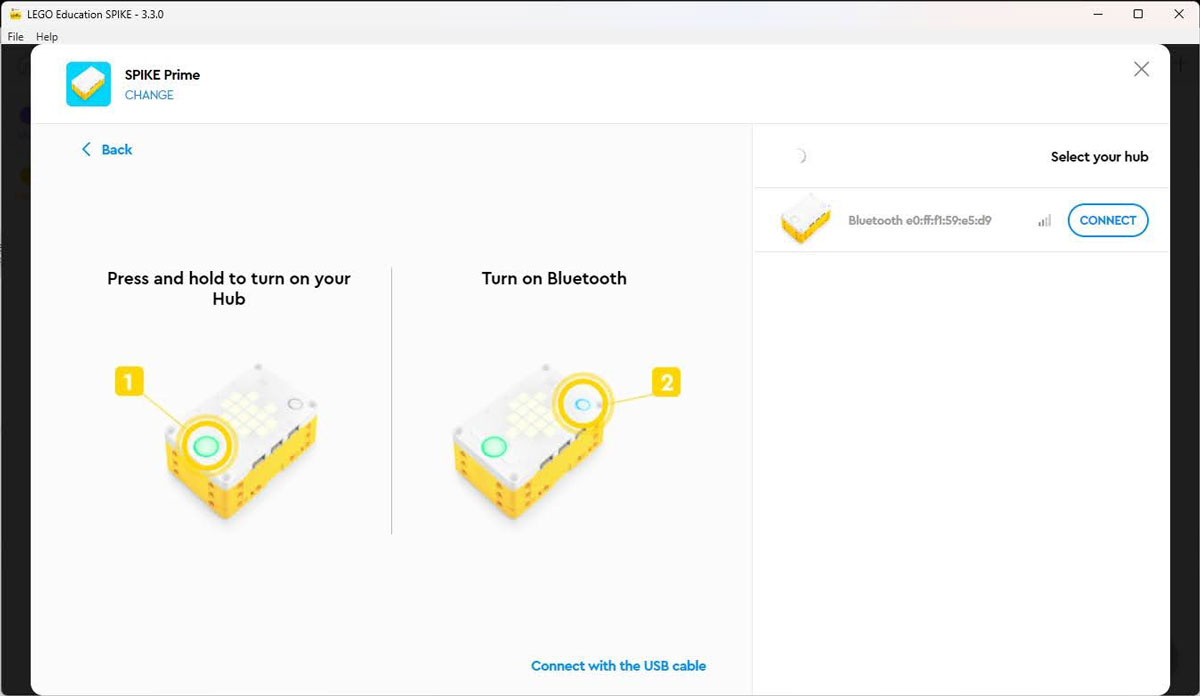
- Next, before you click into the Light Matrix tutorial, it won’t hurt anything to turn the hub on and press the Bluetooth button in the upper right corner so that it is already looking for your computer. Moving forward, when I start creating programs from scratch, I will always do these two steps before I try to connect the hub as it seems to work seamlessly done in this order. However, this first time, I did not. I pressed the button to connect to the hub with it turned off.
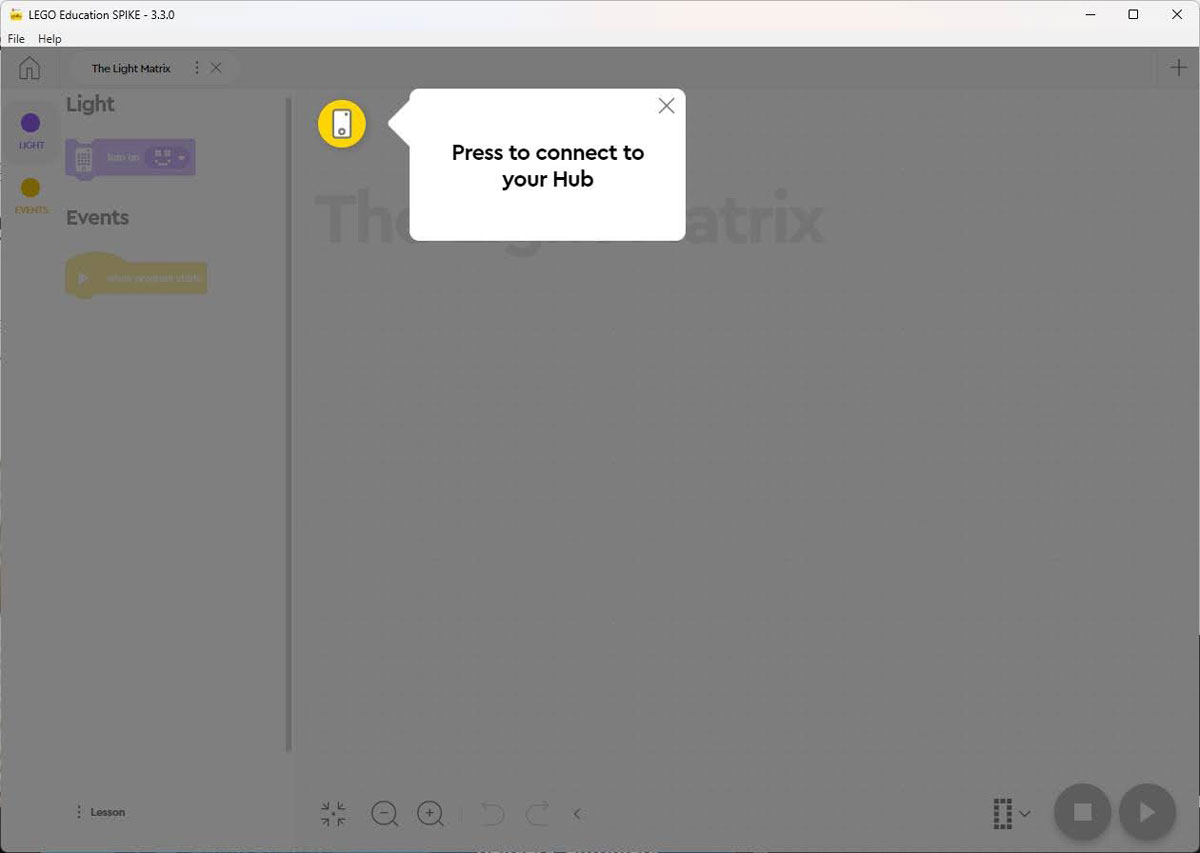
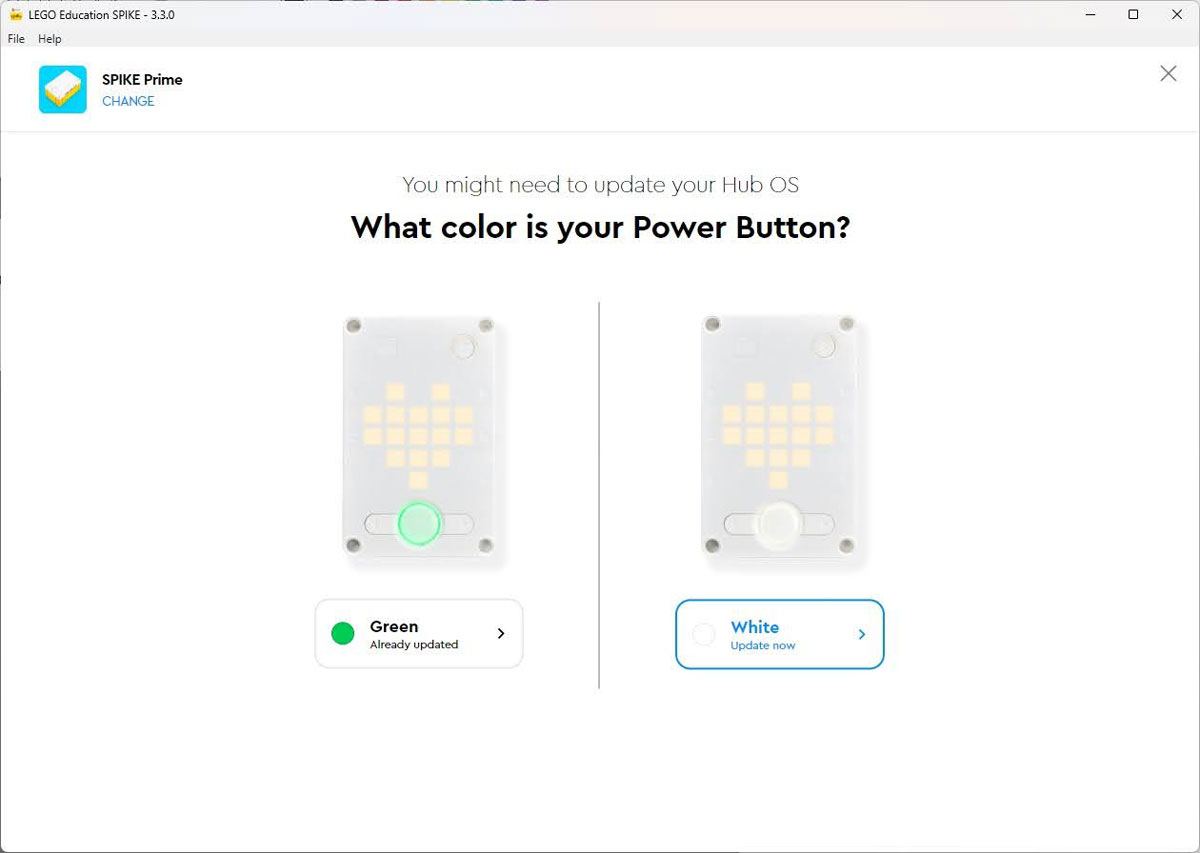
- The first step was that it asked me the color of the power button. This tells you whether or not the hub needs to be updated. However, in order to know the color of your power button, the hub needs to be on. If you haven’t already, turn it on. Since I already updated the hub when it was connected via the USB cable, mine was green, so I seleced green.
- Next, if you haven’t already, press the Bluetooth button in the upper right corner of the hub. Provided your computer’s Bluetooth is turned on, it should find the hub and give you the option to connect with a button on the right. If for some reason it doesn’t, close the app, restart it and try again, but this time, turn on the Hub and press the Bluetooth button before you start the tutorial.
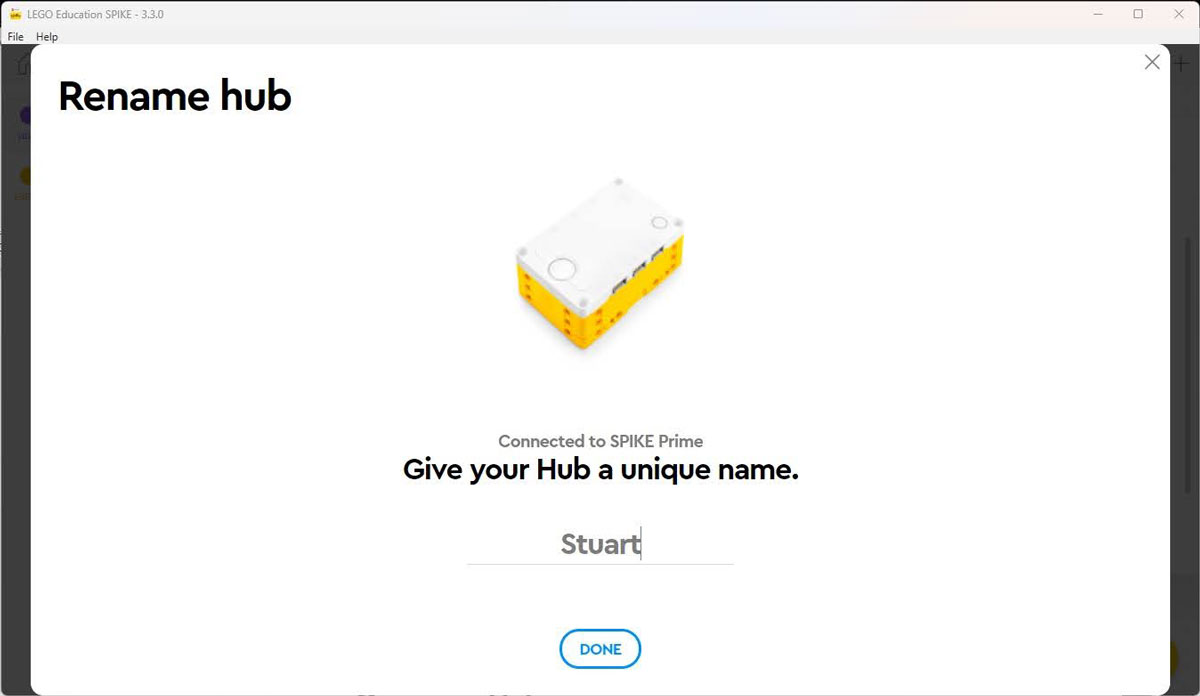
- The first time you connect your Hub, you will have the option to rename it. We named our’s Stuart.
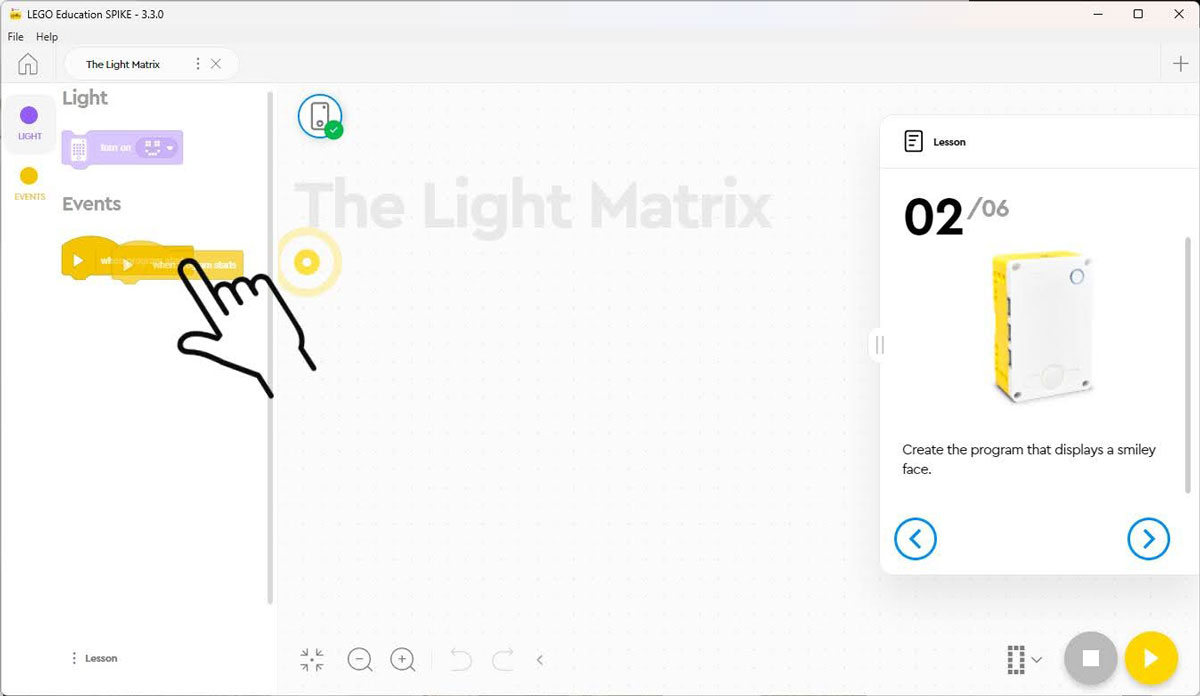
- Now you are free to follow the steps in the Light Matrix tutorial to make your hub make a smiley face. I feel the instructions in these tutorials are very well done, so I don’t think you will have any trouble. You start by clicking and dragging the appropriate “word blocks” onto the area of the screen where your program will live.
Once the code is written, you press the play button in the lower right to make the code display the smiley face. Note that by pressing this button, you are actually downloading the code to slot 0 on your hub, since the number zero is selected to the left of the stop button. You could change this number and put the program in a different slot. I will talk about this more in the next tutorial where we created our own program from scratch!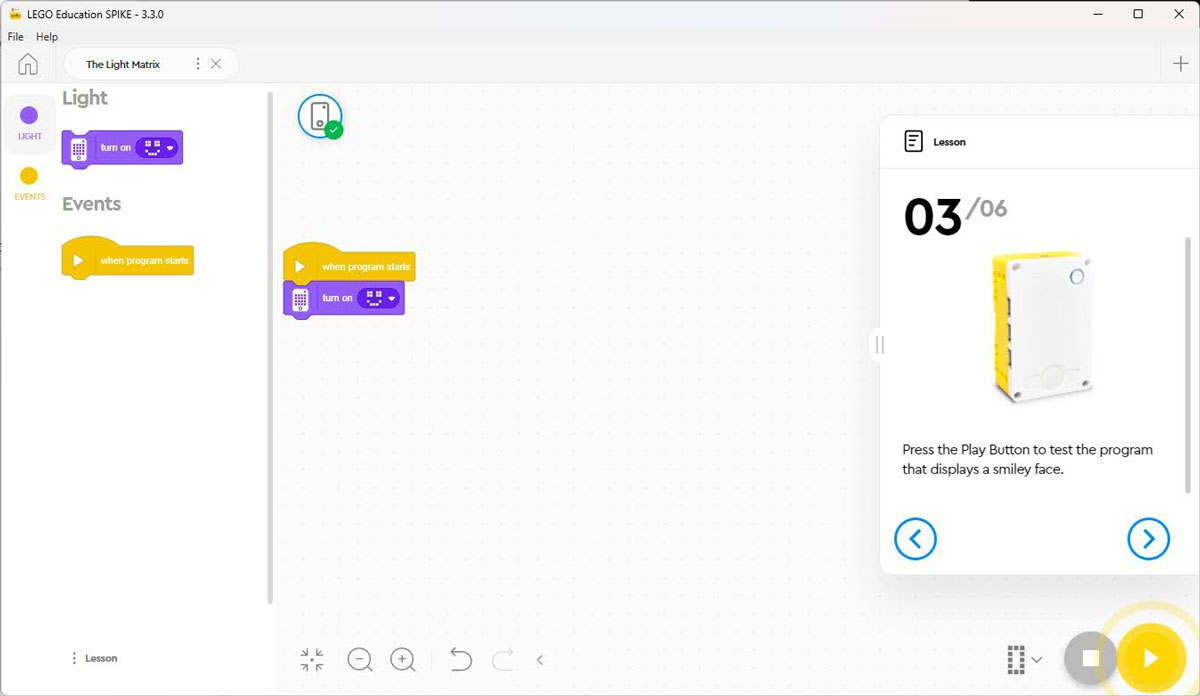
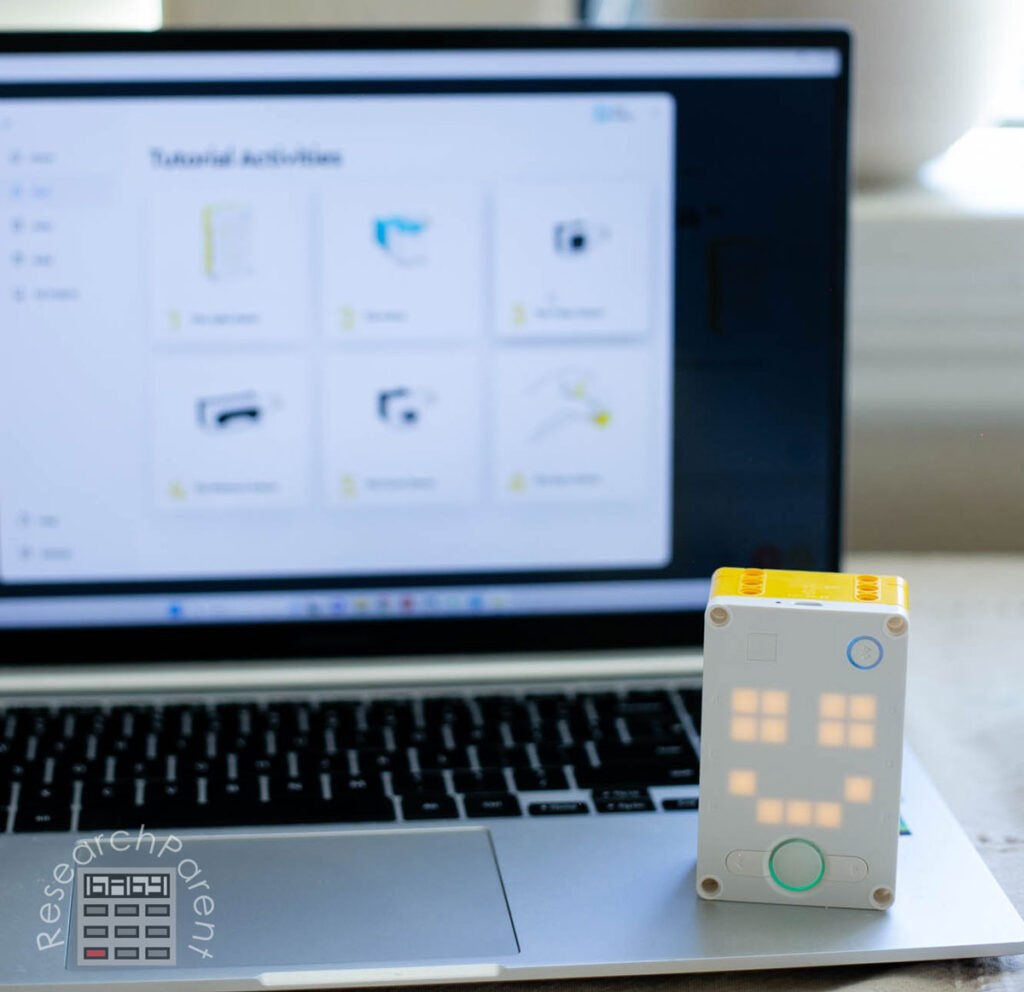
- At this point, your Hub should be displaying a smiley face! The rest of the steps walk you through changing the light pattern on the hub to make it look like a winking smiley face. Now that you have the app running and are connected to Bluetooth, I recommend you complete all 6 tutorials in the start section.
I hope you are enjoying getting to know your Spike Prime Hub as much as we are! Feel free to reach out if you run into any trouble. My next couple tutorials will be on creating your first program by starting a new project from scratch and learning how to manage your projects. After that we will build our first robot car using LEGO’s instructions. One we have a car and know how to program, I plan to create simple challenges that I will give to my kids so they can work on their building and programming skills. Feel free to follow along!
Related Links
Science Activities for Kids
Robotics Activities for Kids
All Learning Activities


Leave a Reply